Introduction
One of the most vital components to any electronic device is of course, the battery. (After all, it wouldn’t run at all without this) which is why it’s important to be able to know what to do when it gets damaged or straight up broken. The following guide will teach you in simple steps what you need to do when you are replacing the battery of your ASUS Q405U. (Proceed with caution using these tools around battery because they could accidentally puncture the battery)
Ce dont vous avez besoin
-
-
Using the Phillips #1 screwdriver, remove eleven (11) 1.5 mm screws from the back cover.
-
-
-
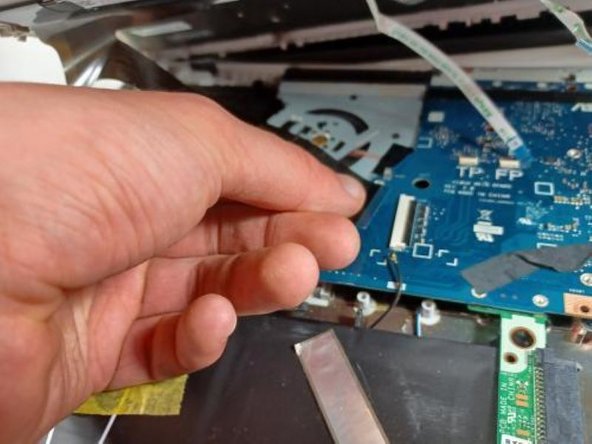
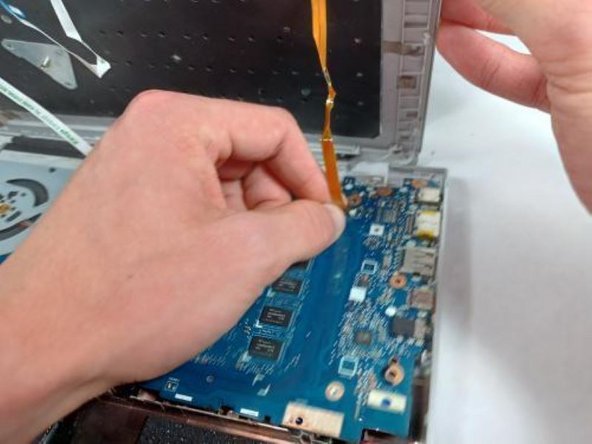
-
Using the Phillips #1 screwdriver, remove the four 1.5 mm screws securing the battery to the device.
-


To reassemble your device, follow these instructions in reverse order.
For optimal performance, after completing this guide, calibrate your newly installed battery.
Take your e-waste to an R2 or e-Stewards certified recycler.
To reassemble your device, follow these instructions in reverse order.
For optimal performance, after completing this guide, calibrate your newly installed battery.
Take your e-waste to an R2 or e-Stewards certified recycler.
Annulation : je n'ai pas terminé ce tutoriel.
2 autres ont terminé cette réparation.
Équipe

UMass Dartmouth, Team 2-8, Sinclaire Fall 2021 Membre de l'équipe UMass Dartmouth, Team 2-8, Sinclaire Fall 2021
UMASSD-SINCLAIRE-F21S2G8
4 membres
5 tutoriels rédigés
Un commentaire
I had to remove two other screws from right side where the hard drive is and an extra screw from Step 4 picture. Also I had to remove the wifi card (or the antennas)