Aller au contenu principal

Amazon Echo Show 8 2nd Generation Motherboard Replacement

Ce dont vous avez besoin

  1. Amazon Echo Show 8 2nd Generation Motherboard Replacement, Rear Case: étape 1, image 1 de 3 Amazon Echo Show 8 2nd Generation Motherboard Replacement, Rear Case: étape 1, image 2 de 3 Amazon Echo Show 8 2nd Generation Motherboard Replacement, Rear Case: étape 1, image 3 de 3
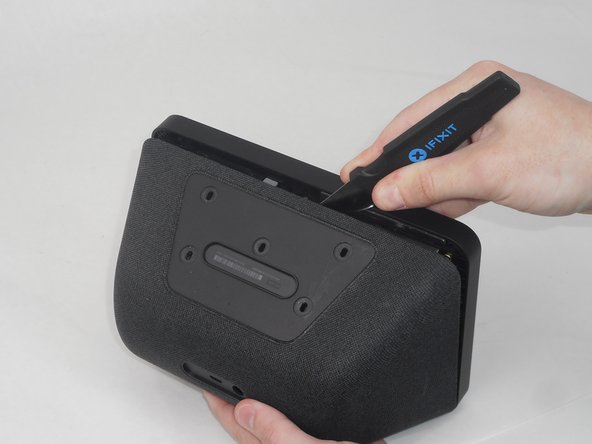
    • Flip the device so that the rubber foot is facing up.

    • Insert a Jimmy between the rubber foot and chassis, then slide it around the perimeter until the rubber foot releases.

    • The adhesive that holds the rubber mat on may require some force to sever.

    • Remove the rubber foot.

  2. Amazon Echo Show 8 2nd Generation Motherboard Replacement: étape 2, image 1 de 3 Amazon Echo Show 8 2nd Generation Motherboard Replacement: étape 2, image 2 de 3 Amazon Echo Show 8 2nd Generation Motherboard Replacement: étape 2, image 3 de 3
    • Use a T6 Torx screwdriver to remove the five 4.5 mm screws from the base of the device.

  3. Amazon Echo Show 8 2nd Generation Motherboard Replacement: étape 3, image 1 de 3 Amazon Echo Show 8 2nd Generation Motherboard Replacement: étape 3, image 2 de 3 Amazon Echo Show 8 2nd Generation Motherboard Replacement: étape 3, image 3 de 3
    • Insert a Jimmy in the gap between the front and rear case.

    • Work the Jimmy around the perimeter to gently detach the rear case from the front case.

    • Separate the rear case from the front case.

    • There are 2 thin ribbon cables connecting the microphone board to the back cover. Take care not to tear or strain them as you separate the cases.

  4. Amazon Echo Show 8 2nd Generation Motherboard Replacement: étape 4, image 1 de 3 Amazon Echo Show 8 2nd Generation Motherboard Replacement: étape 4, image 2 de 3 Amazon Echo Show 8 2nd Generation Motherboard Replacement: étape 4, image 3 de 3
    • Use a T6 Torx screwdriver to remove the four 5.25 mm screws that secure the microphone board to the rear case.

  5. Amazon Echo Show 8 2nd Generation Motherboard Replacement, Motherboard: étape 5, image 1 de 3 Amazon Echo Show 8 2nd Generation Motherboard Replacement, Motherboard: étape 5, image 2 de 3 Amazon Echo Show 8 2nd Generation Motherboard Replacement, Motherboard: étape 5, image 3 de 3
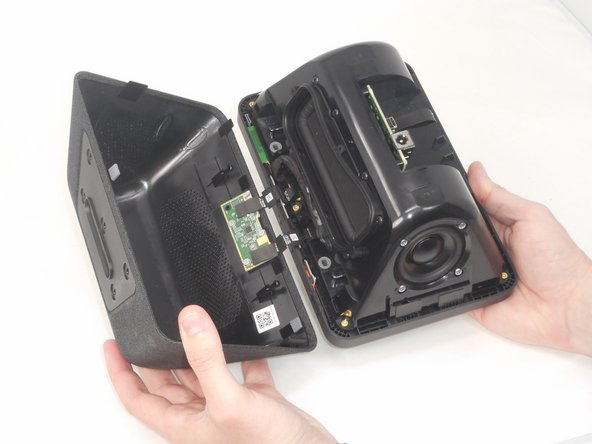
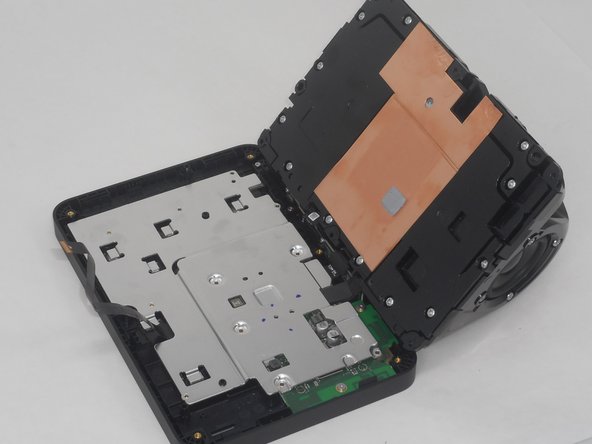
    • Use a T6 Torx screwdriver to remove the six 7.6 mm screws that secure the speaker housing to the display assembly.

    • There is a screw that is not pictured in the center of the bottom two screws.

  6. Amazon Echo Show 8 2nd Generation Motherboard Replacement: étape 6, image 1 de 3 Amazon Echo Show 8 2nd Generation Motherboard Replacement: étape 6, image 2 de 3 Amazon Echo Show 8 2nd Generation Motherboard Replacement: étape 6, image 3 de 3
    • Open the device and place it on a flat surface.

    • There is a cable connecting the speaker housing to the display. Be careful when separating the two parts to prevent damaging the connector.

    • Use a rubber spudger to remove the foam mat at the center of the silver plate on the device and place it to the side.

  7. Amazon Echo Show 8 2nd Generation Motherboard Replacement: étape 7, image 1 de 2 Amazon Echo Show 8 2nd Generation Motherboard Replacement: étape 7, image 2 de 2
    • Use a T6 Torx screwdriver to remove the twelve 6 mm screws that secure the silver bracket.

  8. Amazon Echo Show 8 2nd Generation Motherboard Replacement: étape 8, image 1 de 2 Amazon Echo Show 8 2nd Generation Motherboard Replacement: étape 8, image 2 de 2
    • Use a plastic spudger to lift the silver bracket slightly.

    • Lift the silver bracket up and out of the chassis.

  9. Amazon Echo Show 8 2nd Generation Motherboard Replacement: étape 9, image 1 de 3 Amazon Echo Show 8 2nd Generation Motherboard Replacement: étape 9, image 2 de 3 Amazon Echo Show 8 2nd Generation Motherboard Replacement: étape 9, image 3 de 3
    • Use a spudger to remove the 4 foam covers on the cables.

  10. Amazon Echo Show 8 2nd Generation Motherboard Replacement: étape 10, image 1 de 2 Amazon Echo Show 8 2nd Generation Motherboard Replacement: étape 10, image 2 de 2
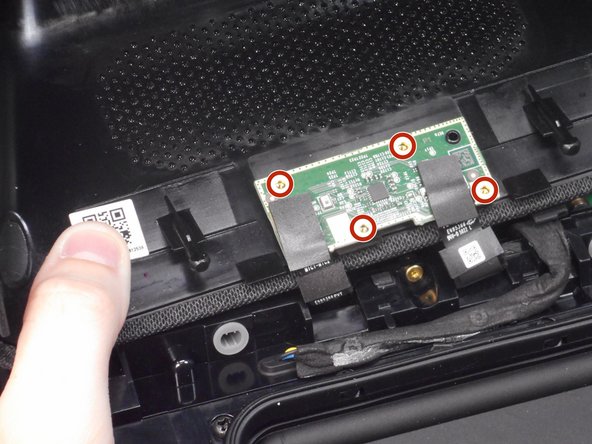
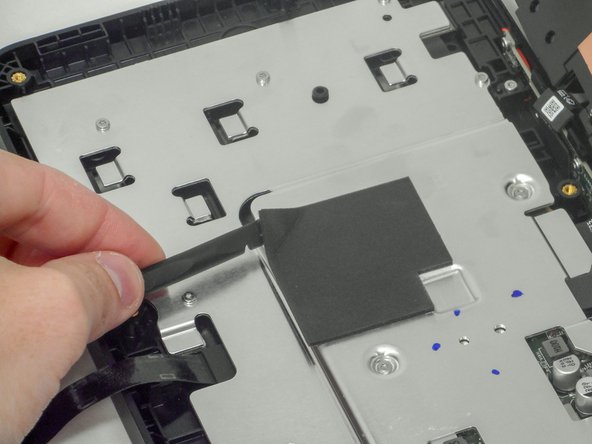
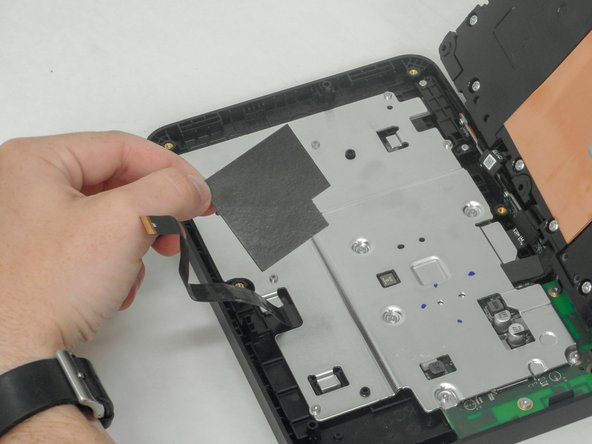
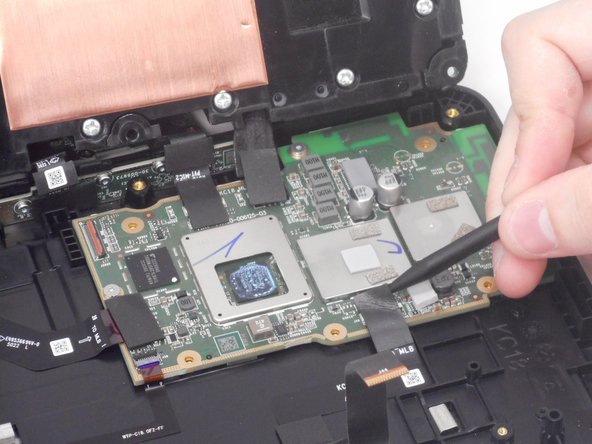
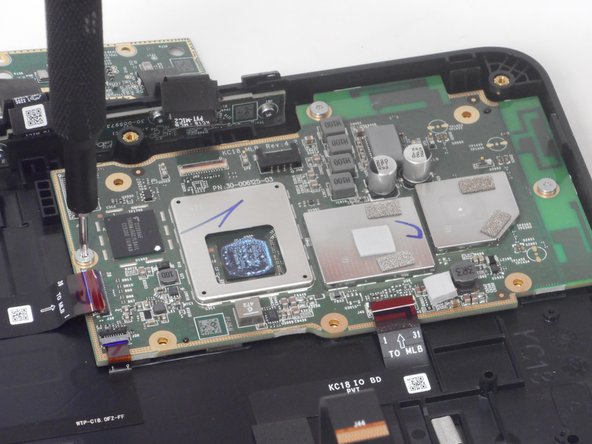
    • Use the pointed end of a spudger to flip up the both of the ZIF locking flaps. Gently pull both of the cables out of their respective ports..

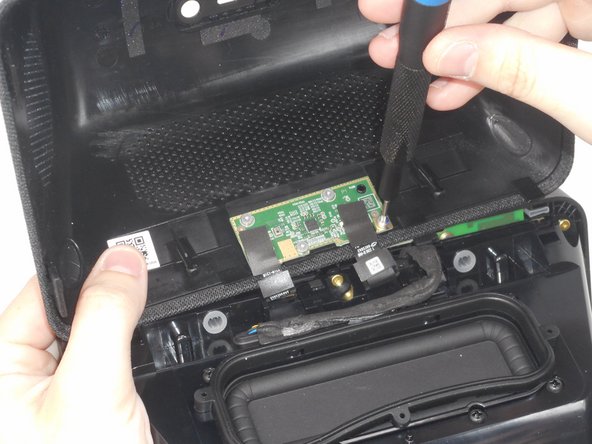
    • Flipping up the locking flap OPPOSITE of the cable, i.e., the other side from the previous cables.

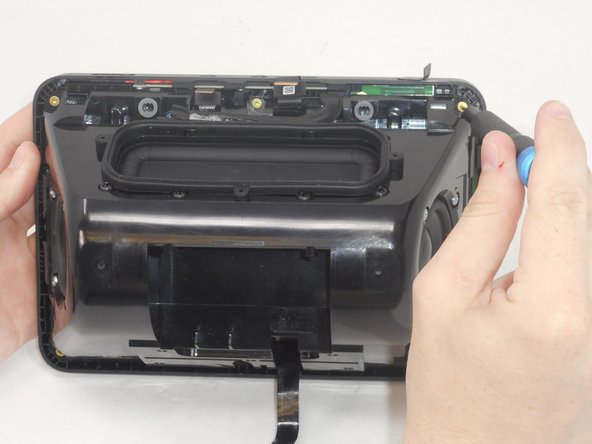
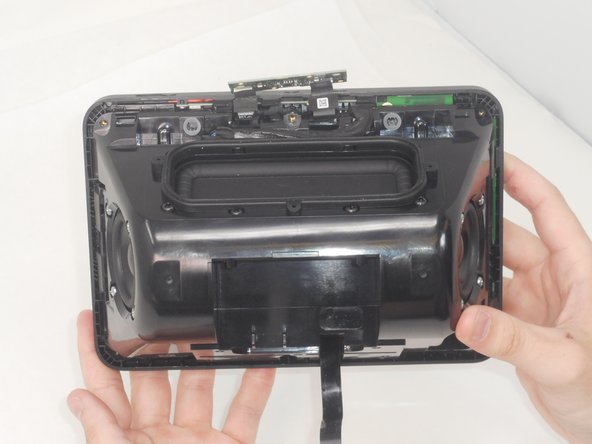
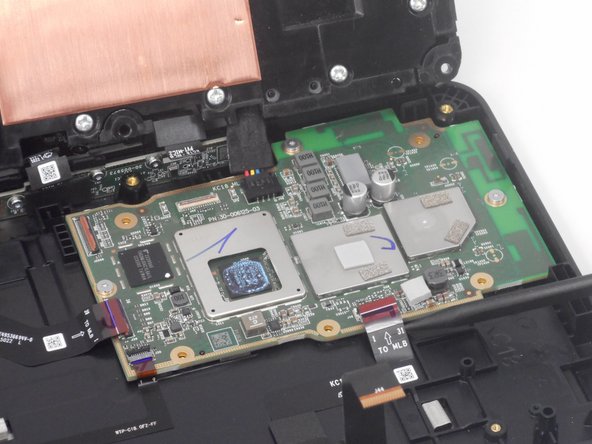
    • Remove the speaker connector by pushing it away from the motherboard with the pointed end of a spudger.

  11. Amazon Echo Show 8 2nd Generation Motherboard Replacement: étape 11, image 1 de 3 Amazon Echo Show 8 2nd Generation Motherboard Replacement: étape 11, image 2 de 3 Amazon Echo Show 8 2nd Generation Motherboard Replacement: étape 11, image 3 de 3
    • Use a T6 Torx screwdriver to remove the eight 5.25 mm screws that secure the motherboard.

  12. Amazon Echo Show 8 2nd Generation Motherboard Replacement: étape 12, image 1 de 2 Amazon Echo Show 8 2nd Generation Motherboard Replacement: étape 12, image 2 de 2
    • Gently lift the motherboard up and out of the chassis.

Conclusion

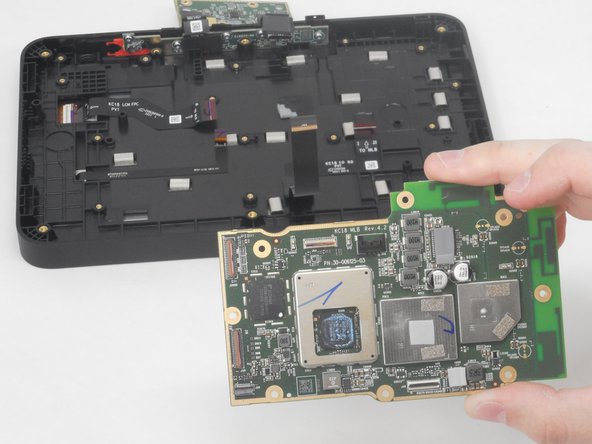
To reassemble your device, follow these instructions in reverse order.

Brian Le

Membre depuis le 02/14/24

675 Réputation

4 tutoriels rédigés

Équipe

University of Memphis, Team 1-3, Sneed Spring 2024 Membre de l'équipe University of Memphis, Team 1-3, Sneed Spring 2024

UM-SNEED-S24S1G3

3 membres

6 tutoriels rédigés

0 commentaires

Ajouter un commentaire

Nombre de vues :

Dernières 24 heures : 0

7 derniers jours : 1

30 derniers jours : 16

Total : 54