Introduction
The heatsink is a component that helps regulate the temperatures in and around the central processing unit (CPU) on the motherboard. These parts sometimes fail over time and can cause the temperatures to be higher than normal, so it is a good idea to replace them as they age. Excessive amounts of heat can be potentially damaging to various internal components.
Be sure to clean the contact surfaces on both the heatsink and CPU with isopropyl alcohol during replacement and reapply thermal paste during reinstallation. Sometimes reapplying the thermal paste is all that’s necessary to reattain good heat transfer and restore the condition of your device.
Ce dont vous avez besoin
-
-
Remove Phillips #1 screws from the bottom of the Chromebook using a Phillips #1 screwdriver.
-
Ten 8 mm screws
-
Two of the screws are hidden by rubber caps along the rubber rest of the device. Use tweezers to get them out.
-
-
Outil utilisé dans cette étape :iFixit Opening Tool$1.99
-
Place the plastic opening tool into the edges between the front of the Chromebook and the back of it with the upper scoop of the opening tool facing upward.
-
Push down on the plastic opening tool to unhinge the top portion of the Chromebook from its lower portion. Opening the Chromebook all the way where the display touches the ground helps in opening up the top edge.
-
Use your hand to gently lift the top portion of the Chromebook from the bottom portion of it to avoid damaging the ribbon cables.
-
-
-
-
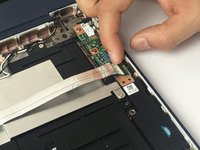
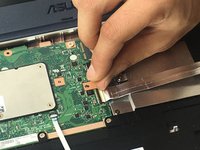
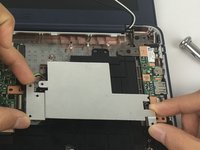
Pull the latch out on both the Input/Output board as well as the motherboard.
-
Gently remove the ribbon cable connecting the I/O board to the motherboard.
-
-
-
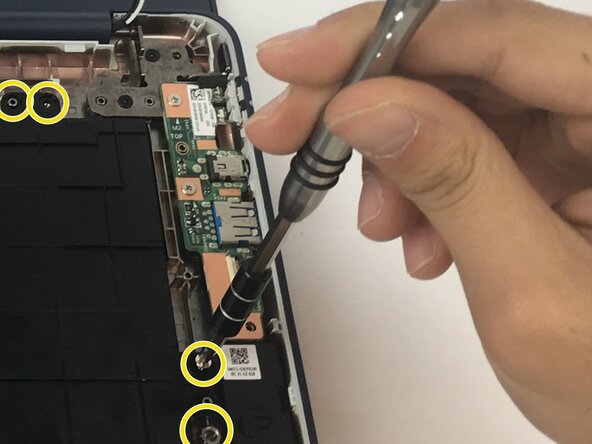
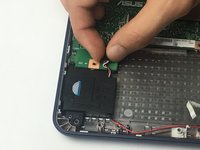
Unscrew one 3 mm Phillips #1 screw.
-
Unscrew one 2.5 mm Phillips #1 screw.
-
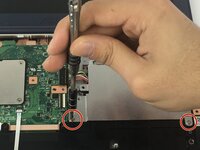
Unscrew four 4 mm Phillips #1 screws.
-
-
-
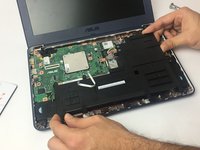
After removing the motherboard, flip it, right hand over left, to reveal the heatsink.
-
When the motherboard is laying on the table, the wireless card slot should be on the top left corner of the motherboard.
-
On the right should be the various USB and plug in ports.
-
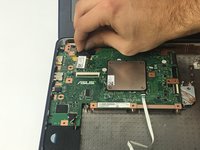
Using a Phillips #0 Screwdriver take out the four screws holding in the heatsink.
-


To reassemble your device, follow these instructions in reverse order.
To reassemble your device, follow these instructions in reverse order.
Équipe

The Citadel Military College of South Carolina, Team S1-G18, Eggleston Fall 2019 Membre de l'équipe The Citadel Military College of South Carolina, Team S1-G18, Eggleston Fall 2019
CMCSC-EGGLESTON-F19S1G18
3 membres
5 tutoriels rédigés