Aller au contenu principal

Asus Q524U Fan Assembly Replacement

Ce dont vous avez besoin

  1. Asus Q524U Fan Assembly Replacement, Back Panel: étape 1, image 1 de 2 Asus Q524U Fan Assembly Replacement, Back Panel: étape 1, image 2 de 2
    • Remove ten 3 mm screws using a Phillips #0 screwdriver.

  2. Asus Q524U Fan Assembly Replacement: étape 2, image 1 de 1
    • Lift up the back panel and set it to the side.

  3. Asus Q524U Fan Assembly Replacement, Battery: étape 3, image 1 de 2 Asus Q524U Fan Assembly Replacement, Battery: étape 3, image 2 de 2
    • Using your fingers, grip onto both sides of the wire harness and push it upwards.

  4. Asus Q524U Fan Assembly Replacement: étape 4, image 1 de 2 Asus Q524U Fan Assembly Replacement: étape 4, image 2 de 2
    • Remove the five 3 mm screws holding the battery in place using a Phillips #0 screwdriver.

  5. Asus Q524U Fan Assembly Replacement: étape 5, image 1 de 3 Asus Q524U Fan Assembly Replacement: étape 5, image 2 de 3 Asus Q524U Fan Assembly Replacement: étape 5, image 3 de 3
    • Tilt the small black tab up which will allow the blue tape to be slid out.

  6. Asus Q524U Fan Assembly Replacement: étape 6, image 1 de 1
    • Simply lift the battery up and out of its holding area.

  7. Asus Q524U Fan Assembly Replacement, Fan Assembly: étape 7, image 1 de 1
    • Remove the four 3 mm screws holding the fan in place using a Phillips #0 screwdriver.

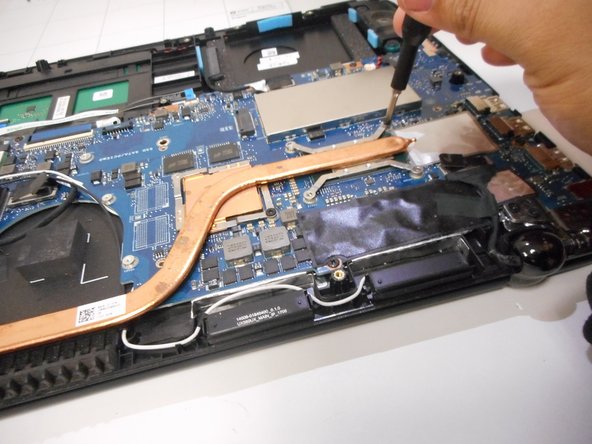
  8. Asus Q524U Fan Assembly Replacement: étape 8, image 1 de 2 Asus Q524U Fan Assembly Replacement: étape 8, image 2 de 2
    • Remove five 3 mm screws holding the heat sink in place using a Phillips #0 screwdriver.

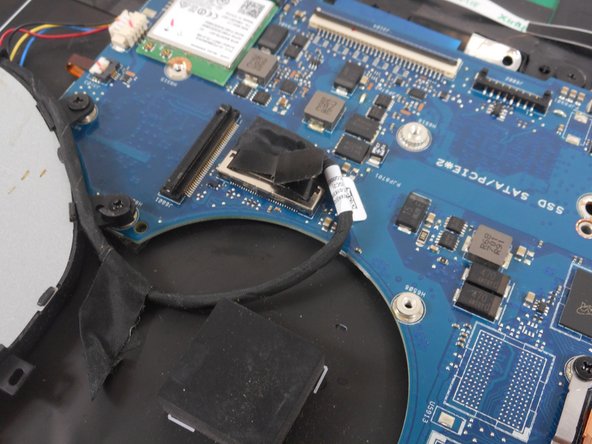
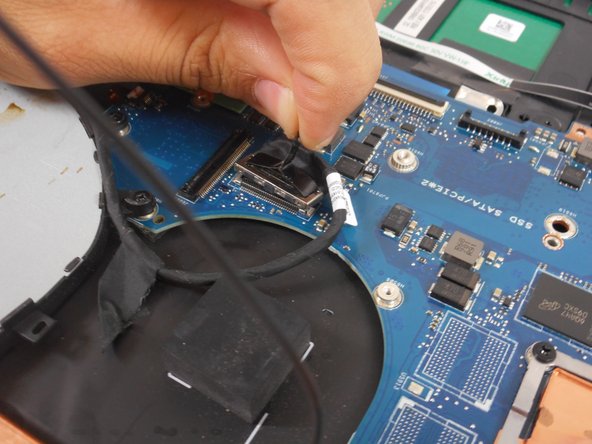
  9. Asus Q524U Fan Assembly Replacement: étape 9, image 1 de 3 Asus Q524U Fan Assembly Replacement: étape 9, image 2 de 3 Asus Q524U Fan Assembly Replacement: étape 9, image 3 de 3
    • Pull up fan connector tab by using the plastic handle.

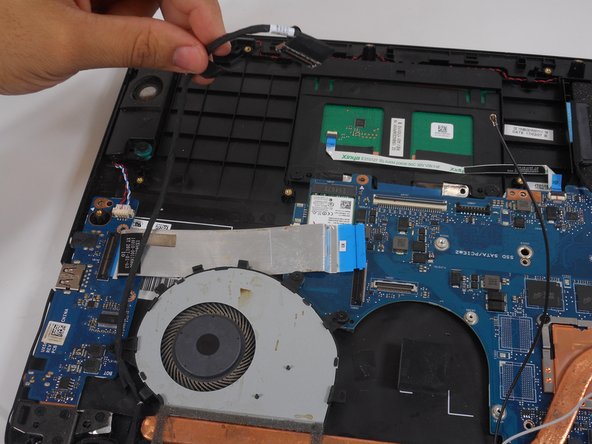
  10. Asus Q524U Fan Assembly Replacement: étape 10, image 1 de 2 Asus Q524U Fan Assembly Replacement: étape 10, image 2 de 2
    • Unwind the cable wrapped around the fan casing.

  11. Asus Q524U Fan Assembly Replacement: étape 11, image 1 de 1
    • Disconnect the small cable from the fan.

  12. Asus Q524U Fan Assembly Replacement: étape 12, image 1 de 1
    • After all screws and cables are unsecured, lift the fan assembly out of the laptop.

Conclusion

To reassemble your device, follow these instructions in reverse order.

Robert Stuart

Membre depuis le 03/08/23

233 Réputation

1 tutoriel rédigé

Équipe

0 commentaires

Ajouter un commentaire

Nombre de vues :

Dernières 24 heures : 0

7 derniers jours : 0

30 derniers jours : 5

Total : 77