Introduction
A good starting point for the Bissell Crosswave Cordless Max (model 2554A) is to remove the handle to make the vacuum more maneuverable. A guide to removing the handle is available here. The battery component powers the vacuum. If it runs out of power, charging is required. The first recommendation is to run through the troubleshooting guide before moving to replacement.
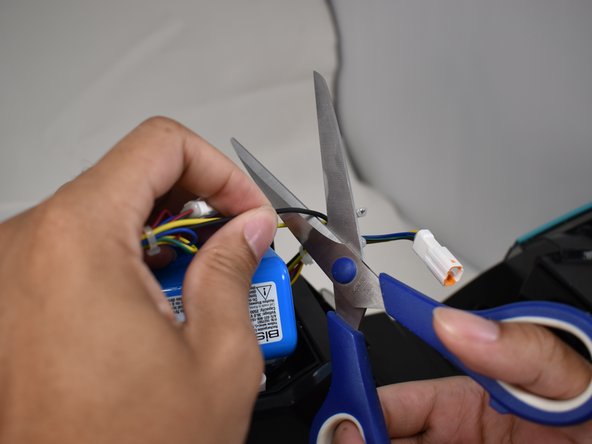
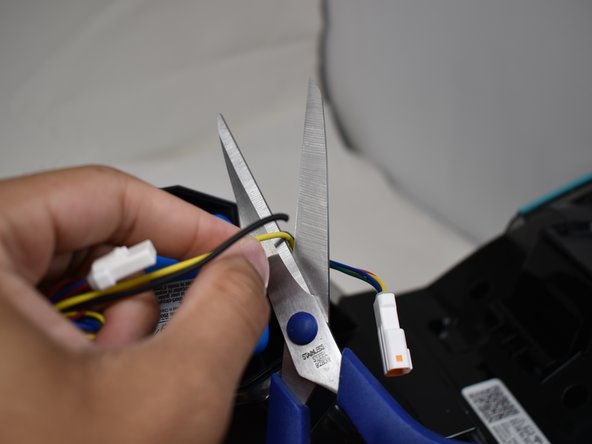
Use this guide if the battery consistently loses power or is not holding a charge. There are several screws involved in this removal as well as two wires that we need to cut. Step 4 requires the cutting of wires and the primary tool that needs to be used are wirecutters. If not on hand, be careful and use necessary insulated tools for cutting to protect from electrical problems. This guide has information regarding battery removal and safety.
Ce dont vous avez besoin
-
-
Remove the four 16 mm Phillips #2 screws at the back of the vacuum and below the clean water tank.
-
-
-
-
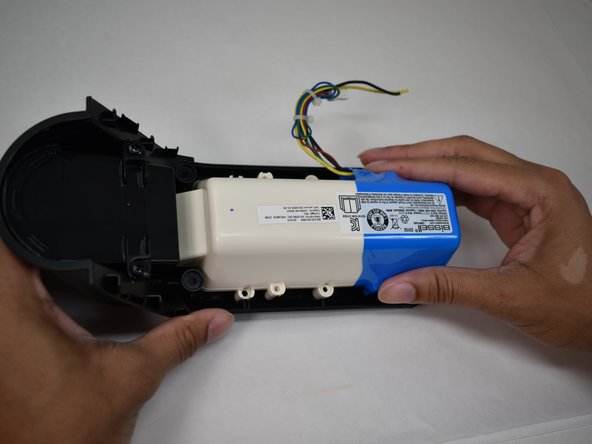
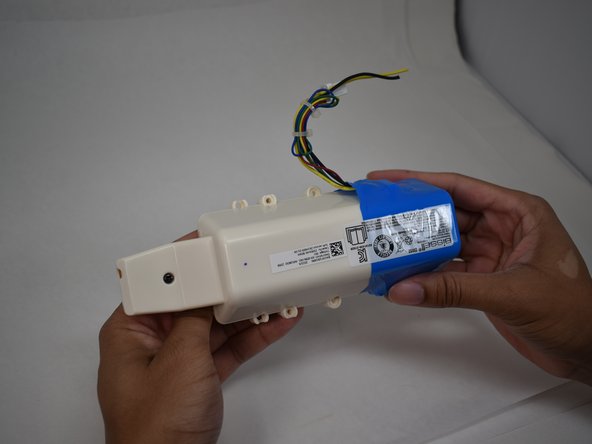
Cut the remaining yellow and black wires to detach the battery from the main body.
-
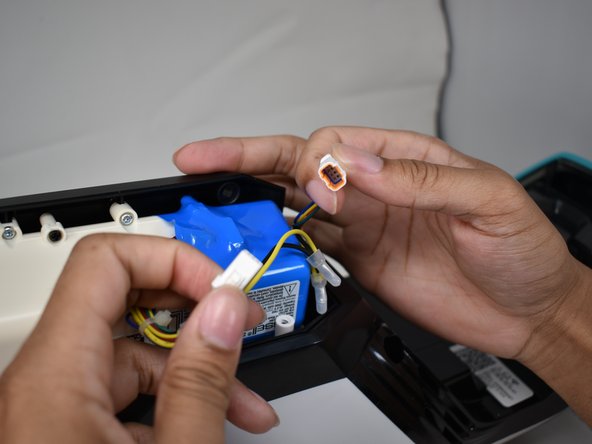
These wires do have a device connecting them to the wires on the main body, but these devices are unable to be removed without specialized equipment.
-


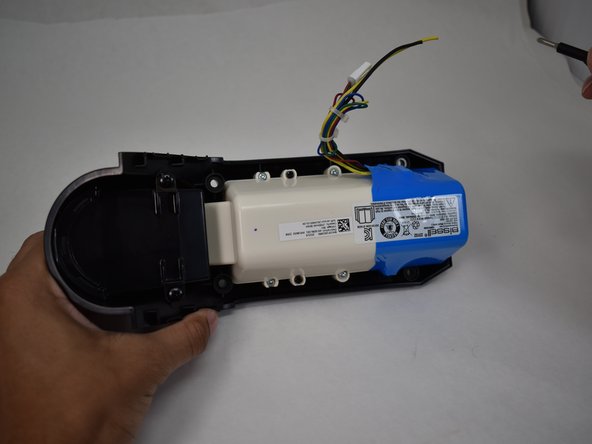


To reassemble your device, follow these instructions in reverse order. Make sure you properly insulate the wires that were cut when reconnecting them.
To reassemble your device, follow these instructions in reverse order. Make sure you properly insulate the wires that were cut when reconnecting them.
Annulation : je n'ai pas terminé ce tutoriel.
Une autre personne a terminé cette réparation.
Équipe

University of Memphis, Team 4-2, Sneed Spring 2024 Membre de l'équipe University of Memphis, Team 4-2, Sneed Spring 2024
UM-SNEED-S24S4G2
4 membres
9 tutoriels rédigés