Aller au contenu principal

Black and Decker DCM100R Heating Element Replacement

Ce dont vous avez besoin

  1. Black and Decker DCM100R Heating Element Replacement, Heating Element: étape 1, image 1 de 2 Black and Decker DCM100R Heating Element Replacement, Heating Element: étape 1, image 2 de 2
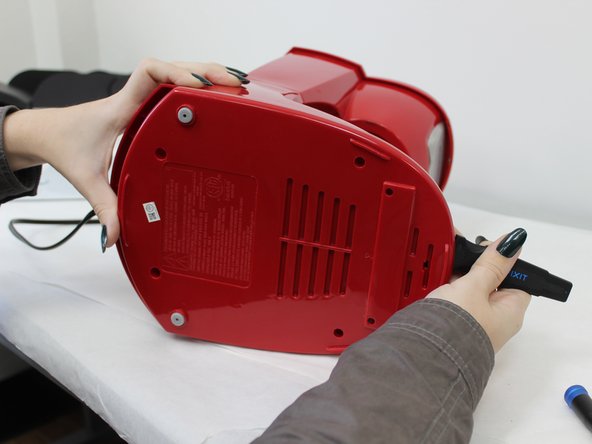
    • Turn the coffee maker on its side.

    • Remove the four 6 mm Phillips #2 that secure the baseplate.

  2. Black and Decker DCM100R Heating Element Replacement: étape 2, image 1 de 3 Black and Decker DCM100R Heating Element Replacement: étape 2, image 2 de 3 Black and Decker DCM100R Heating Element Replacement: étape 2, image 3 de 3
    • Insert the jimmy at the back of the panel and slide it around to the front.

  3. Black and Decker DCM100R Heating Element Replacement: étape 3, image 1 de 3 Black and Decker DCM100R Heating Element Replacement: étape 3, image 2 de 3 Black and Decker DCM100R Heating Element Replacement: étape 3, image 3 de 3
    • Apply pressure to the backside of the panel until it releases.

    • Remove the plate.

  4. Black and Decker DCM100R Heating Element Replacement: étape 4, image 1 de 2 Black and Decker DCM100R Heating Element Replacement: étape 4, image 2 de 2
    • Remove the two 10 mm Phillips #2 screws securing the metal support brace.

    • Remove the brace and set aside.

  5. Black and Decker DCM100R Heating Element Replacement: étape 5, image 1 de 2 Black and Decker DCM100R Heating Element Replacement: étape 5, image 2 de 2
    Outil utilisé dans cette étape :
    Tweezers
    $4.99
    J'achète
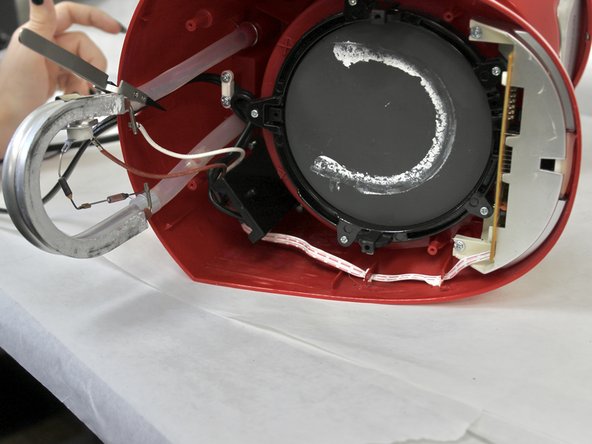
    • Pull back the tubing and wiring to reveal the hot plate.

    • To hold these out of your way, you can use the Nylon Tipped Tweezers to pin them back to the back panel.

  6. Black and Decker DCM100R Heating Element Replacement: étape 6, image 1 de 2 Black and Decker DCM100R Heating Element Replacement: étape 6, image 2 de 2
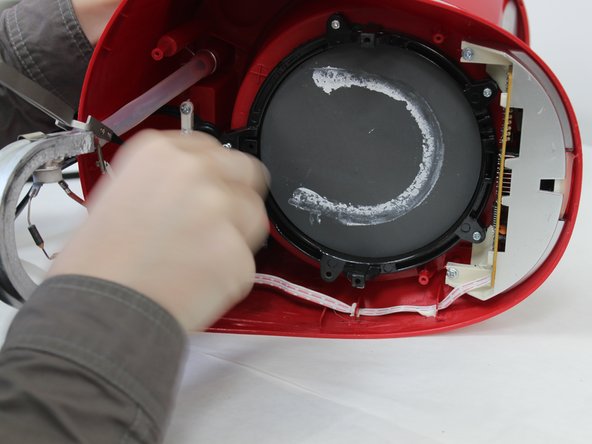
    • Use a Phillips #2 screwdriver to remove the five 8 mm screws that secure the mounting bracket and hot plate.

  7. Black and Decker DCM100R Heating Element Replacement: étape 7, image 1 de 2 Black and Decker DCM100R Heating Element Replacement: étape 7, image 2 de 2
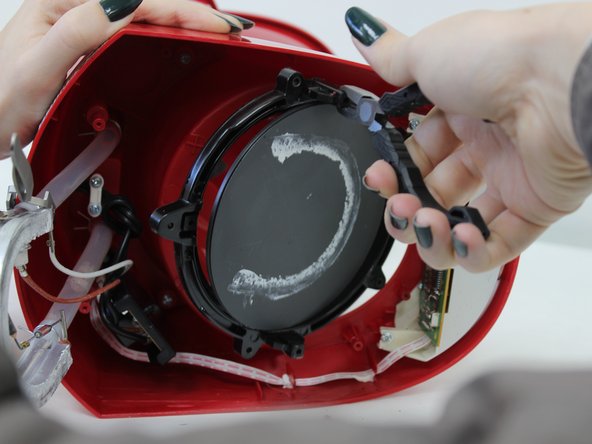
    • Use a pair of pliers to gently pull the mounting bracket out of place.

  8. Black and Decker DCM100R Heating Element Replacement: étape 8, image 1 de 3 Black and Decker DCM100R Heating Element Replacement: étape 8, image 2 de 3 Black and Decker DCM100R Heating Element Replacement: étape 8, image 3 de 3
    • Remove the hot plate from the mounting bracket.

    • Remove the O-ring from the hot plate.

Conclusion

To reassemble your device, follow these instructions in reverse order.

Ella Barbour

Membre depuis le 09/13/23

207 Réputation

1 tutoriel rédigé

Équipe

0 commentaires

Ajouter un commentaire

Nombre de vues :

Dernières 24 heures : 0

7 derniers jours : 3

30 derniers jours : 18

Total : 130