Aller au contenu principal

Cuisinart DGB-650 Heating Element Replacement

Ce dont vous avez besoin

  1. Cuisinart DGB-650 Heating Element Replacement, Heating Element: étape 1, image 1 de 3 Cuisinart DGB-650 Heating Element Replacement, Heating Element: étape 1, image 2 de 3 Cuisinart DGB-650 Heating Element Replacement, Heating Element: étape 1, image 3 de 3
    • Turn the coffee maker upside down.

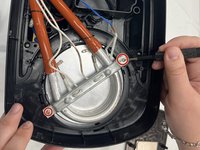
    • Remove the four 1.2 mm screws using a Phillips #0 screwdriver.

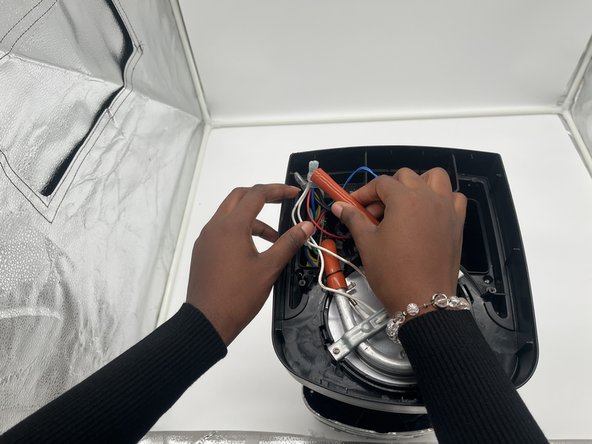
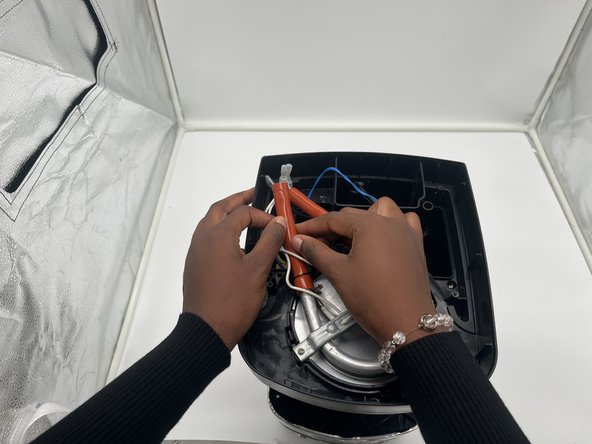
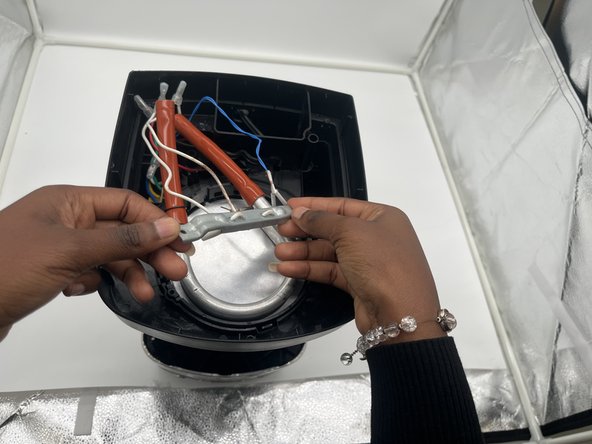
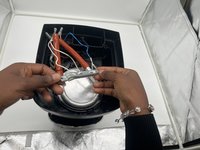
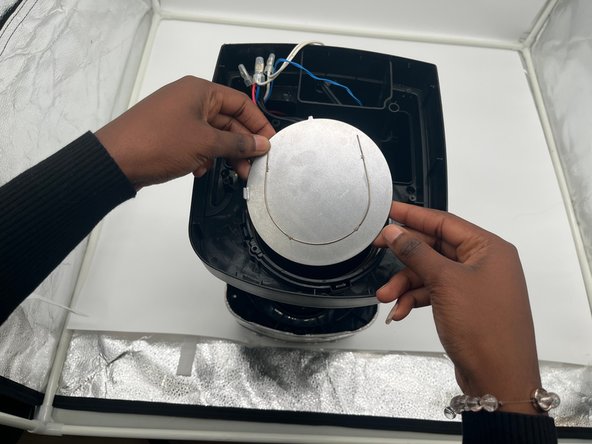
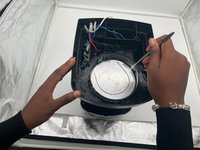
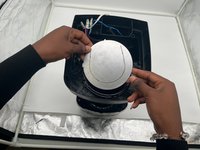
    • Remove the bottom cover to expose the heating element and pipes.

  2. Cuisinart DGB-650 Heating Element Replacement: étape 2, image 1 de 3 Cuisinart DGB-650 Heating Element Replacement: étape 2, image 2 de 3 Cuisinart DGB-650 Heating Element Replacement: étape 2, image 3 de 3
    • Firmly grasp both pipe endings next to the motherboard and gently pull both ends out.

  3. Cuisinart DGB-650 Heating Element Replacement: étape 3, image 1 de 2 Cuisinart DGB-650 Heating Element Replacement: étape 3, image 2 de 2
    • Remove the two 1.2 mm screws keeping the pipe clamp attached using a Phillips #0 screwdriver.

    • Lift the pipe clamp up and set it aside.

  4. Cuisinart DGB-650 Heating Element Replacement: étape 4, image 1 de 2 Cuisinart DGB-650 Heating Element Replacement: étape 4, image 2 de 2
    • Wedge the metal spudger between the heating element and the plastic.

    • Remove the heating element.

Conclusion

To reassemble your device, follow these instructions in reverse order.

Ryan Clark

Membre depuis le 09/30/24

523 Réputation

3 tutoriels rédigés

Équipe

0 commentaires

Ajouter un commentaire

Nombre de vues :

Dernières 24 heures : 0

7 derniers jours : 0

30 derniers jours : 9

Total : 60