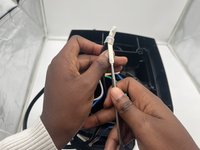
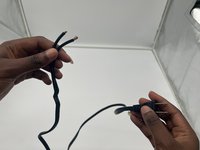
Aller au contenu principal

Cuisinart DGB-650 Power Cord Replacement

Ce dont vous avez besoin

  1. Cuisinart DGB-650 Power Cord Replacement, Power Cord: étape 1, image 1 de 3 Cuisinart DGB-650 Power Cord Replacement, Power Cord: étape 1, image 2 de 3 Cuisinart DGB-650 Power Cord Replacement, Power Cord: étape 1, image 3 de 3
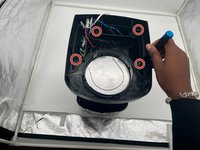
    • Turn the coffee maker upside down.

    • Remove the four 1.2 mm screws using a Phillips #0 screwdriver.

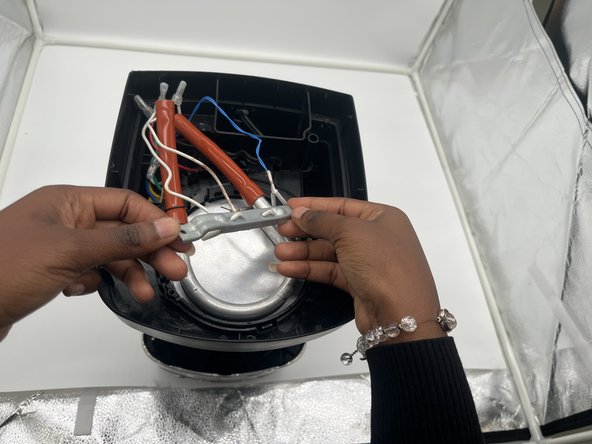
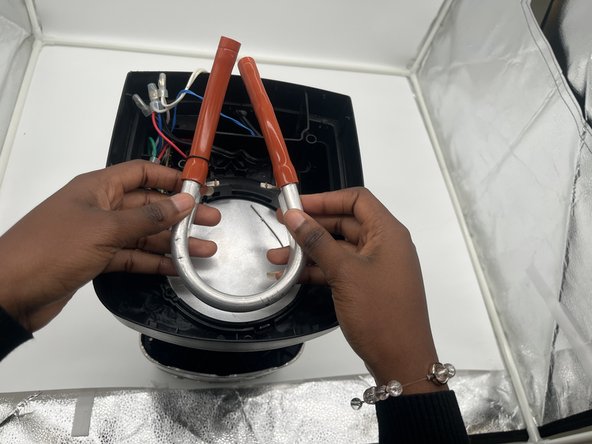
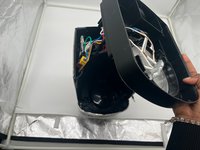
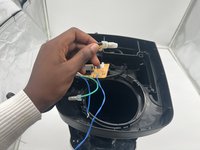
    • Remove the bottom cover to expose the heating element and pipes.

  2. Cuisinart DGB-650 Power Cord Replacement: étape 2, image 1 de 3 Cuisinart DGB-650 Power Cord Replacement: étape 2, image 2 de 3 Cuisinart DGB-650 Power Cord Replacement: étape 2, image 3 de 3
    • Firmly grasp both pipe endings next to the motherboard and gently pull both ends out.

  3. Cuisinart DGB-650 Power Cord Replacement: étape 3, image 1 de 3 Cuisinart DGB-650 Power Cord Replacement: étape 3, image 2 de 3 Cuisinart DGB-650 Power Cord Replacement: étape 3, image 3 de 3
    • Remove the two 1.2 mm screws keeping the pipe clamp attached using a Phillips #0 screwdriver.

    • Lift the pipe clamp up and set it aside.

  4. Cuisinart DGB-650 Power Cord Replacement: étape 4, image 1 de 2 Cuisinart DGB-650 Power Cord Replacement: étape 4, image 2 de 2
    • Remove the four 1.2 mm screws using a Phillips #0 screwdriver.

    • Remove the lid to get access to the power cord.

  5. Cuisinart DGB-650 Power Cord Replacement: étape 5, image 1 de 3 Cuisinart DGB-650 Power Cord Replacement: étape 5, image 2 de 3 Cuisinart DGB-650 Power Cord Replacement: étape 5, image 3 de 3
    • Use the metal spudger to remove the plastic clamp that is connected to the power cord and the motherboard.

Conclusion

To reassemble your device, follow these instructions in reverse order.

Ryan Clark

Membre depuis le 09/30/24

523 Réputation

3 tutoriels rédigés

Équipe

0 commentaires

Ajouter un commentaire

Nombre de vues :

Dernières 24 heures : 1

7 derniers jours : 5

30 derniers jours : 7

Total : 47