Introduction
Verify with the device’s troubleshooting page whether the replacement of your power adapter port is required for your situation.
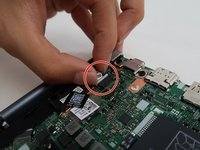
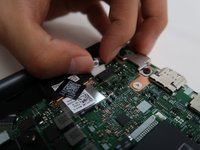
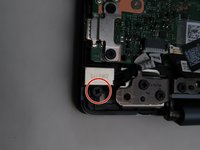
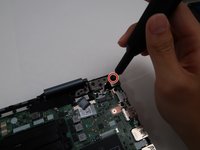
This guide will go through the process of replacing the power adapter port for the Dell Inspiron 14 5100.
A faulty power adapter port can cause your device to never be charge or randomly shut down due to the lack of connection between the charger and the battery and to the motherboard.
If this guide is unnecessary, go to our device page to look for the correct guide for your situation.
Ce dont vous avez besoin
-
-
Remove nine screws securing the base cover of the laptop's keyboard assembly using the Phillips #0 screwdriver.
-
There are 2 sets of screws.
-
Remove the 3 captive screws.
-
Remove the 6M2*6 screws.
-
-
To reassemble your device, follow these instructions in reverse order.
To reassemble your device, follow these instructions in reverse order.
Annulation : je n'ai pas terminé ce tutoriel.
2 autres ont terminé cette réparation.


