Introduction
Replacing the Hard Drive for a laptop can speed it up and add more storage. Keep in mind that after replacing the hard drive you must reinstall your Operating System. Locate all product keys needed before performing this guide.
Ce dont vous avez besoin
-
-
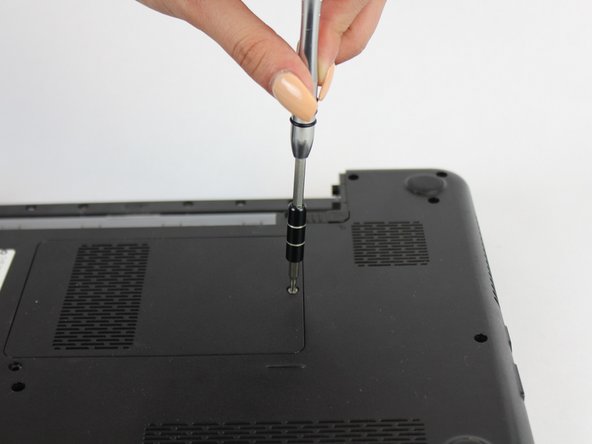
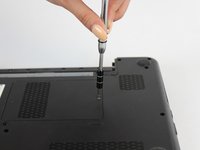
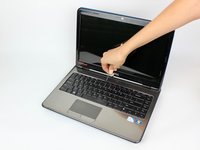
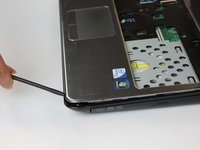
Using the #0 Philips head, unscrew the indicated screw.
-
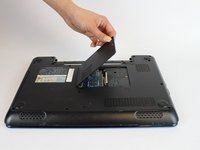
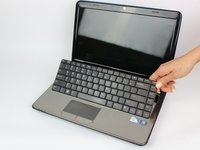
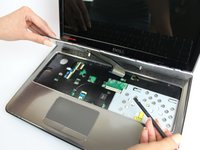
Carefully pull the RAM cover up and away.
-
-
-
Unscrew the indicated 5.7mm screw beneath the RAM Cover.
-
-
-
-
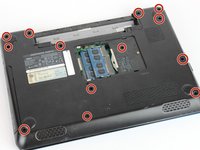
Remove the indicated 5.7mm screws.
-
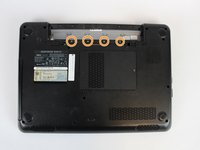
Remove the smaller 3mm screws from underneath the battery compartment.
On the one I worked on there where 3 screws above the disk drive which caused the shroud to break. Make use to remove the disk drive and take out the screws before proceeding to the next step
-
-
-
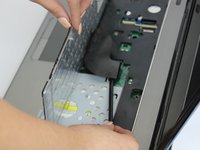
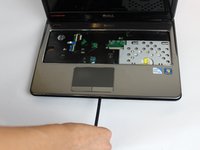
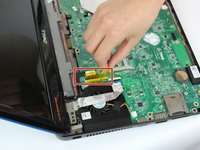
Peel back the yellow tape to expose the ribbon connector.
-
Unplug the ribbon cable from the motherboard.
-
-
-
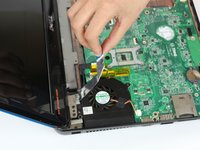
Remove the fan from the device.
Aluminum flux cable isn’t attached to fan assembly
On bottom right to remove the driver gently slide the entire assembly to the right it will come out in one piece
-
-
-
Unscrew the two screws on the right hand speaker with the #0 Phillips Head.
-
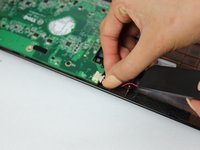
Unplug the speaker connector from the motherboard.
-
-
-
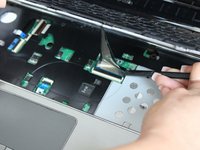
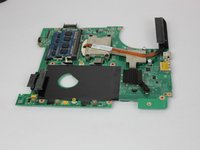
Unscrew the indicated 5.6mm screws with a Phillips #0 screwdriver.
Incorrect screw removal info. Under and to the right of B3 no screw until further assembly.
The screws are numbered B1-B9 on the motherboard. There are three along the front edge not marked in this photo. The DVD drive screw is marked in this photo but it was removed previously.
-
-
-
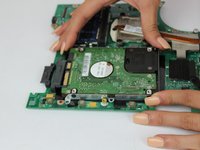
Unscrew the 6 Phillips head screws holding the hard drive to the motherboard with the #0 driver head.
-


To reassemble your device, follow these instructions in reverse order.
To reassemble your device, follow these instructions in reverse order.
Annulation : je n'ai pas terminé ce tutoriel.
5 autres ont terminé cette réparation.
Équipe

USF Tampa, Team S13-G5, Boczar Fall 2017 Membre de l'équipe USF Tampa, Team S13-G5, Boczar Fall 2017
USFT-BOCZAR-F17S13G5
5 membres
9 tutoriels rédigés
7 commentaires
I hope somebody at Dell lost their job over this design.
hahaha i agree
Robert G -
The N4010 is definitely a beautiful-looking set, but it’s sure a tough nut to crack when it’s time to repair something inside it, lol :-D
A bunch of screws not listed have to be removed also they are in proximity of the cmos battery I imagine someone will damage their machine following this NOT GOOD! I signed up just to post this! Look for screws with the LETTER B they need removing before the board can come out! ifixit should screen their submissions better
In step 20 we remove the screws
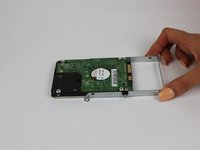
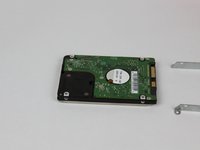
I have the blue top/black bottom/silver keyboard-bezel N4010…. it’s defintely beautiful to my eyes, both in cabinet design and bright and clear picture on the display. Changing the 500 gig hard drive is exactly what I need to do to it. Thanks for sharing this tutorial, Jonathan Sellier. I was wondering what kind of connectors the HD had, and I see from the last photo that you posted in the series above that it’s a SATA connection. Now I know what to order for a replacement. Thanks again. :-)
This was a fantastic guide and I can't thank you enough. One thing to note when reassembling is to make sure the daughterboard connector is fully seated before putting all of those screws back in. I found this one out the hard way because I wasn't paying enough attention to what I was doing.