Aller au contenu principal

Digitac Jazz Ultratab C725 Charging Port Replacement

Ce dont vous avez besoin

  1. Digitac Jazz Ultratab C725 Charging Port Replacement, Charging Port: étape 1, image 1 de 3 Digitac Jazz Ultratab C725 Charging Port Replacement, Charging Port: étape 1, image 2 de 3 Digitac Jazz Ultratab C725 Charging Port Replacement, Charging Port: étape 1, image 3 de 3
    • Locate the four 3.5 mm Phillips head screws holding the silver back plate and the screen together. There are 2 screws on the top and another 2 screws on the bottom.

    • Remove all four screws with the Phillips #00 screwdriver.

    • Remove the screws with the least amount of force. The removal of the screw will be more difficult if thread damage occurs.

  2. Digitac Jazz Ultratab C725 Charging Port Replacement: étape 2, image 1 de 3 Digitac Jazz Ultratab C725 Charging Port Replacement: étape 2, image 2 de 3 Digitac Jazz Ultratab C725 Charging Port Replacement: étape 2, image 3 de 3
    • Flip your device so that the long side without the buttons is facing you.

    • Insert the plastic opening tool between the silver back plate and the screen. From the corner of the device on either side, pry the seam of the device about 1 inch.

    • With the plastic opening tool, pry the screen apart from the back plate.

    • Keep prying the screen apart from the back plate until they are separated.

    • With the plastic opening tool, if necessary, pry apart the remaining seams of the device.

    • After the screen is loose, pull the screen towards you. Lift it to prevent damage to the buttons.

  3. Digitac Jazz Ultratab C725 Charging Port Replacement: étape 3, image 1 de 3 Digitac Jazz Ultratab C725 Charging Port Replacement: étape 3, image 2 de 3 Digitac Jazz Ultratab C725 Charging Port Replacement: étape 3, image 3 de 3
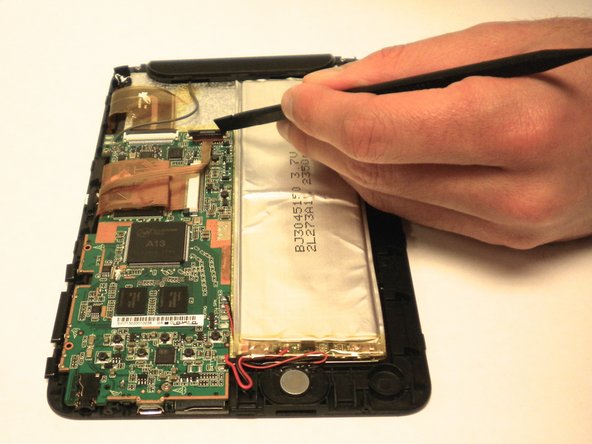
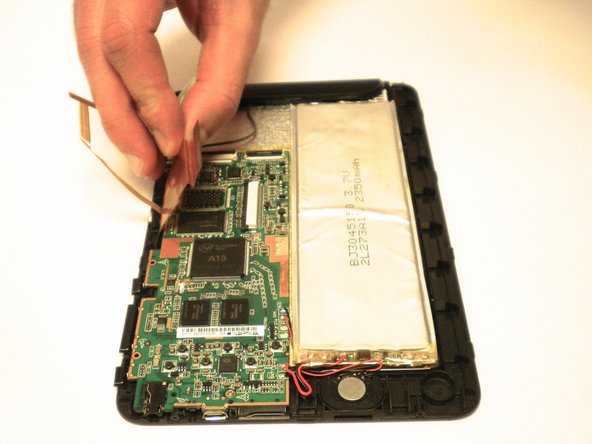
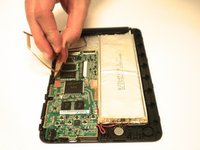
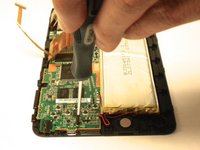
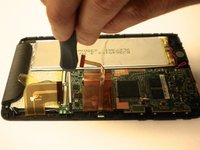
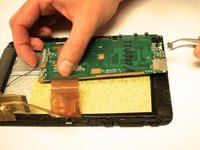
    • Locate the 3 black clips on the motherboard that hold the data cables./

    • Using the Spudger, pry the black clips up to a 90 degree angle./

    • Pull the data cables out once the clips are up to a 90 degree angle.

    • Repeat this for all 3 clips.

  4. Digitac Jazz Ultratab C725 Charging Port Replacement: étape 4, image 1 de 3 Digitac Jazz Ultratab C725 Charging Port Replacement: étape 4, image 2 de 3 Digitac Jazz Ultratab C725 Charging Port Replacement: étape 4, image 3 de 3
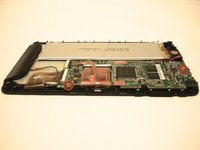
    • Locate the two 4.0 mm Phillips head screws that are holding the motherboard in place.

    • Use the Phillips #00 screwdriver to remove both of the screws.

  5. Digitac Jazz Ultratab C725 Charging Port Replacement: étape 5, image 1 de 3 Digitac Jazz Ultratab C725 Charging Port Replacement: étape 5, image 2 de 3 Digitac Jazz Ultratab C725 Charging Port Replacement: étape 5, image 3 de 3
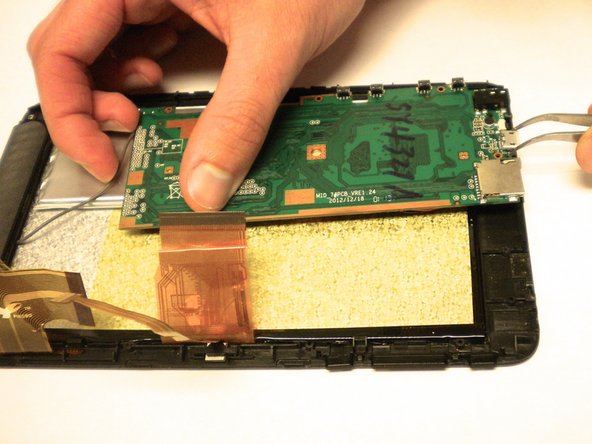
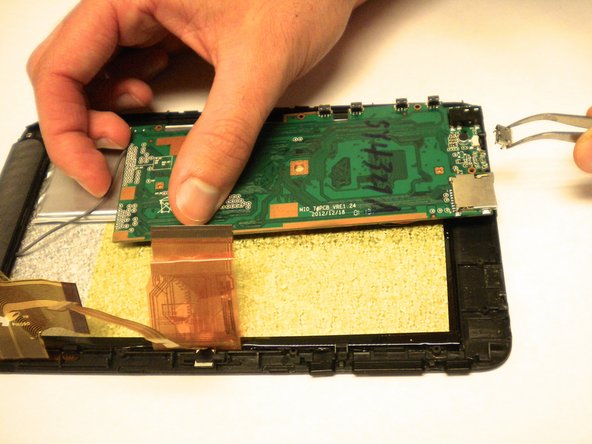
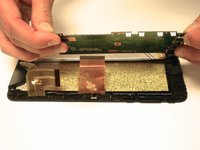
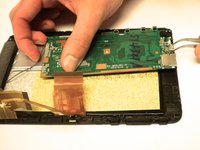
    • The motherboard should now be loose.

    • To gain access to the charging port, flip the motherboard over.

    • Use the tweezers to pull the charging port off of the motherboard.

Conclusion

To reassemble your device, follow these instructions in reverse order.

Une autre personne a terminé cette réparation.

Savannah Brazzeal

Membre depuis le 01/20/15

300 Réputation

2 tutoriels rédigés

Équipe

USF Tampa, Team 11-6, Blackwell Winter 2015 Membre de l'équipe USF Tampa, Team 11-6, Blackwell Winter 2015

USFT-BLACKWELL-W15S11G6

2 membres

5 tutoriels rédigés

0 commentaires

Ajouter un commentaire

Nombre de vues :

Dernières 24 heures : 0

7 derniers jours : 0

30 derniers jours : 0

Total : 444