Introduction
This guide demonstrates how to replace the joystick of your EasySMX ESM-9100 game controller. A probable reason for the analog sticks or joystick to stop working or start drifting is that they have experienced significant wear and tear within the controller and no longer have proper calibration. Another reason could be that they are dirty; cleaning them with isopropyl alcohol on a cloth is a more immediate solution. You may also attempt to calibrate or adjust the dead zones where possible. However, if you want a permanent fix, you should consider replacing the analog sticks on your EasySMX ESM-9100 controller. Since this will require working closely with the internal electronics, be careful not to damage them to avoid making the controller entirely unresponsive.
Before you begin this repair, ensure that the controller is unplugged from your console or PC.
Ce dont vous avez besoin
-
-
Place the controller face down on a solid surface.
-
Use a Phillips #00 screwdriver to remove the seven 10 mm screws from the back cover.
-
-
-
-
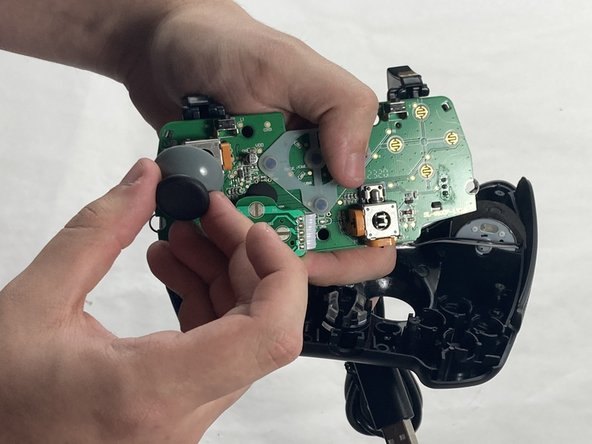
Firmly pull off the two analog sticks (joysticks) from the potentiometers.
-


To reassemble your device, follow these instructions in reverse order. Take your e-waste to an R2 or e-Stewards certified recycler.
To reassemble your device, follow these instructions in reverse order. Take your e-waste to an R2 or e-Stewards certified recycler.
Annulation : je n'ai pas terminé ce tutoriel.
2 autres ont terminé cette réparation.

Équipe

UMass Dartmouth, Team 4-4, Shaddix Spring 2024 Membre de l'équipe UMass Dartmouth, Team 4-4, Shaddix Spring 2024
UMASSD-SHADDIX-S24S4G4
4 membres
6 tutoriels rédigés