Introduction
Using this guide is essential if your Epson Powerlite 410W projector is plugged in, but not turning on, or has been physically damaged.
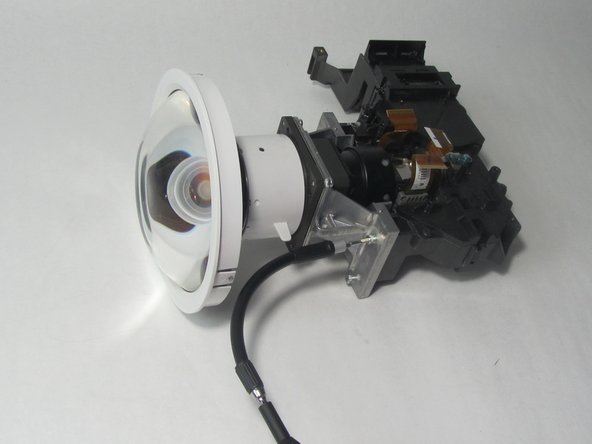
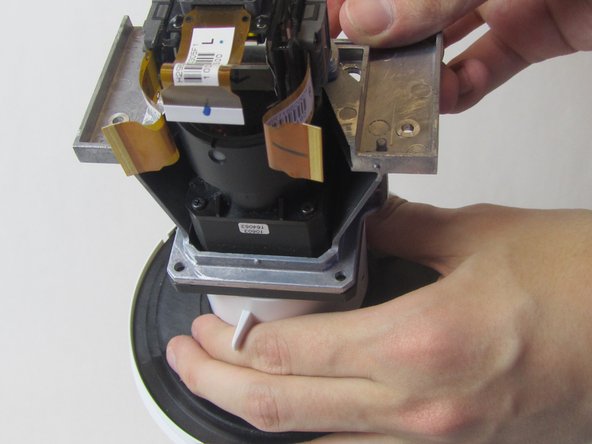
The lens is the part of the projector that focuses the light produced by the lamp onto whatever the projector is projecting onto. The lens is made of glass, so it can get scratched, shattered, or chipped, rendering it useless and in need of replacement.
The lens is only one component of the projector that can prevent it from working, so refer to the troubleshooting page
Make sure to replace the lens with a compatible replacement lens, since there are many lenses of various types that do not all work on the Epson Powerlite 410W
Ce dont vous avez besoin
-
-
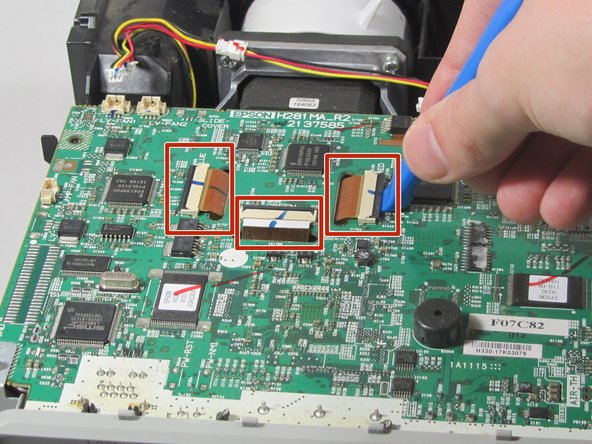
Remove the two screws holding down the motherboard using a Phillips #00 screwdriver.
-
Remove the four screws holding down the I/O board using a Phillips #00 screwdriver.
-
-


To reassemble your device, follow these instructions in reverse order.
To reassemble your device, follow these instructions in reverse order.

Équipe

Illinois Wesleyan University, Team 1-4, Bullock Spring 2022 Membre de l'équipe Illinois Wesleyan University, Team 1-4, Bullock Spring 2022
IWU-BULLOCK-S22S1G4
3 membres
5 tutoriels rédigés