Introduction
The motherboard is an important piece of the projector and many other electronic devices as it gives commands to the device so that it works the way it is intended. If there is any physical damage or the motherboard fails to operate than the guide here will help you replace it. If your device isn’t properly starting or is experiencing errors, it may be time to replace the motherboard. Follow the steps in this guide to remove and replace the motherboard in the Epson VS240.
Ce dont vous avez besoin
-
-
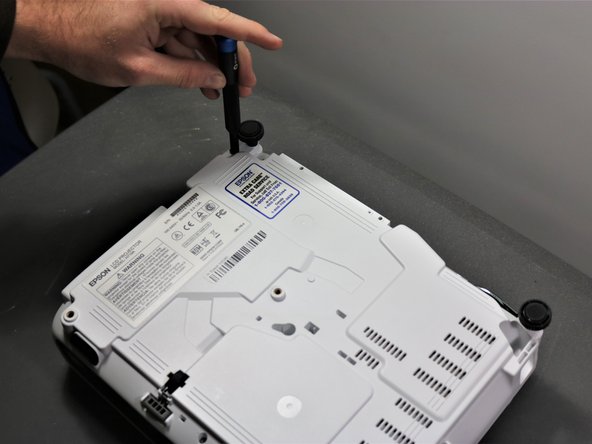
Using the Phillips #2 screwdriver, loosen the single captive screw on the left side of the projector.
-
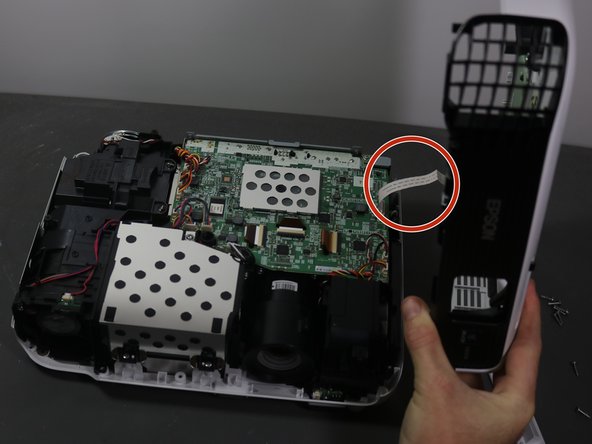
Slide the panel off and remove it from the device.
-
-
-
-
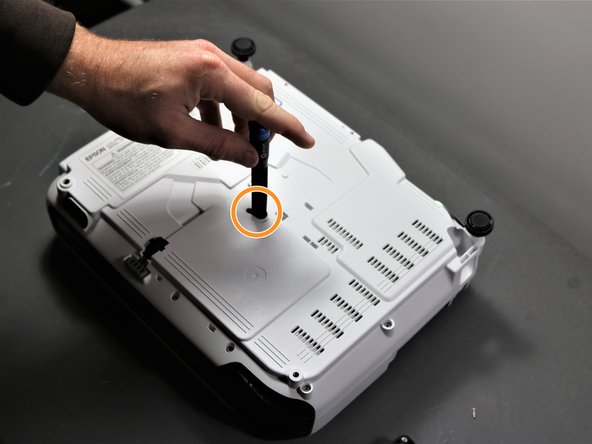
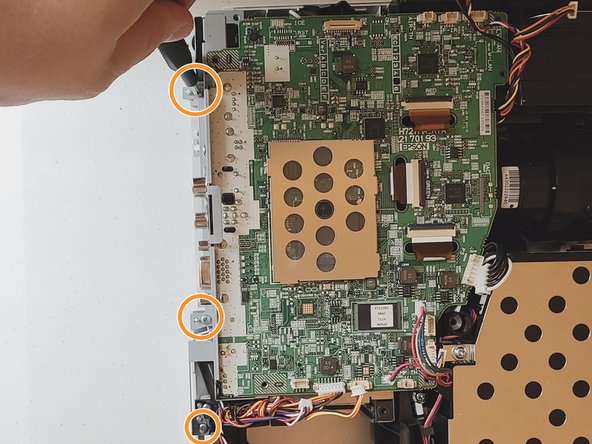
Use a Phillips #1 screwdriver to remove two 10 mm screws from the openings on each side of the air filter, on the topside of the projector.
-
Using the same Phillips #1 screwdriver, remove the two 10 mm screws where the white panel was removed on the topside of the projector in Step 1.
-
-
-
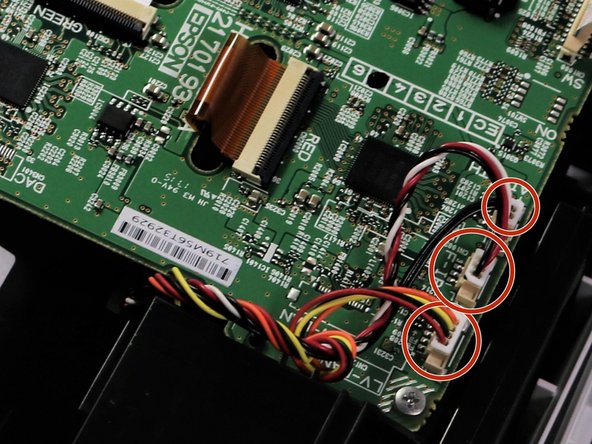
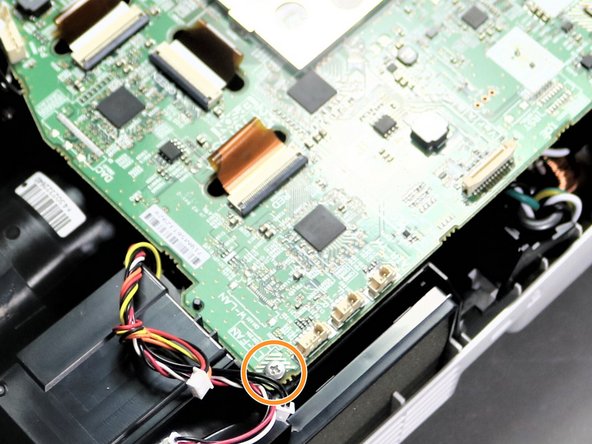
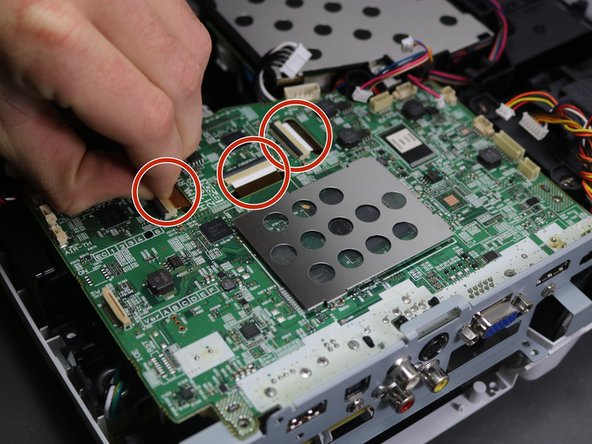
Using a spudger or a plastic opening tool, disconnect all of the wires connected to the motherboard.
-


To reassemble your device, follow these instructions in reverse order.
To reassemble your device, follow these instructions in reverse order.
Équipe

Clemson, Team 5-3, Hunter Fall 2021 Membre de l'équipe Clemson, Team 5-3, Hunter Fall 2021
CLEM-HUNTER-F21S5G3
5 membres
6 tutoriels rédigés