Introduction
Use this guide to replace the main control board on your GE refrigerator.
The main control board coordinates and controls all of the functions of the refrigerator.
If the main control board fails, virtually all of the functions of the refrigerator may be affected, depending on the severity of the failure. You may find that the refrigerator will not cool properly, the compressor may not run, and the water dispensing functions may be affected.
This guide was created using a GE model GSH25KGMB BB side-by-side refrigerator. Other GE refrigerators should be similar.
Ce dont vous avez besoin
-
-
Unplug your refrigerator before you begin your repair.
-
Condenser fan motor
-
Compressor motor and thermal overload device
-
Water supply valve assembly
-
-
-
Use a 1/4" nut driver to remove the screws securing the main control board cover.
-
Remove the main control board cover.
-
-
-
-
With your fingers, grasp each connector, squeeze any locking tabs, and pull all the connectors off the board.
-
-
-
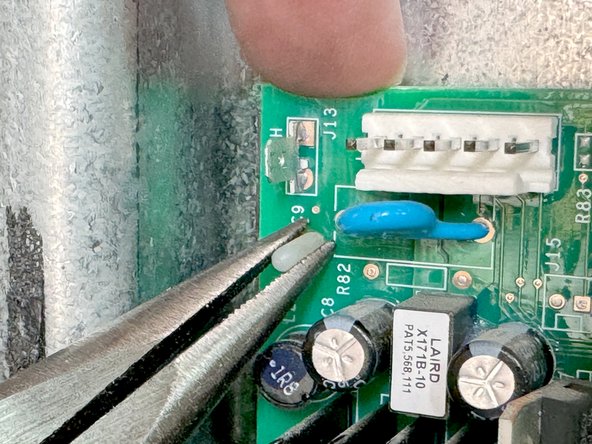
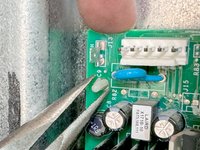
Using long nose pliers, squeeze the locking tabs on the mounting studs. While you do this, with your other hand pull the board gently outward so that the board won't slip back over a stud that has been released.
-
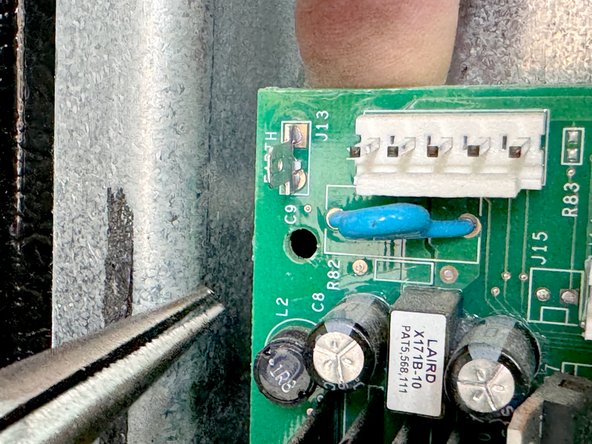
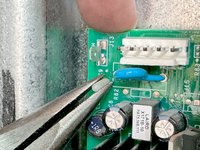
Lift the area of the board closest to the stud to free it from the mounting studs
-
Repeat this process of each mounting stud. until the board is free of each stud. Remove the board.
-


To reassemble your device, follow these instructions in reverse order.
Take your e-waste to an R2 or e-Stewards certified recycler.
Repair didn’t go as planned? Try some basic troubleshooting, or ask our Answers community for help.
Annulation : je n'ai pas terminé ce tutoriel.
Une autre personne a terminé cette réparation.


1 commentaire de tutoriel
Control board 245D1888G002 R57 light blink all the time