Introduction
Voilà mon démontage de la Game Boy Color.
Ce dont vous avez besoin
-
-
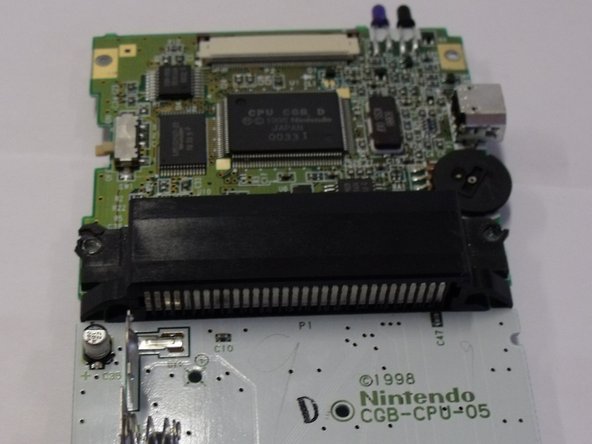
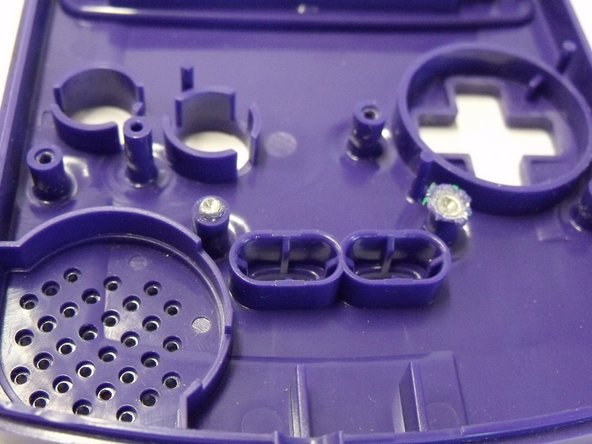
Remarquez comme la Game Boy est composée de deux parties moulées par injection. La première chose à faire est de séparer ces deux parties.
-
-
-
Les autres petites vis à l'arrière de l'appareil sont très difficiles d'accès. Il vous faudra usiner la tête de vis avec une perçeuse tout en faisant bien attention de ne pas endommager la Game Boy. Cette opération pourrait casser la partie arrière.
-
Il est également possible d'utiliser un tournevis à tête tri-wing (triangle à encoche).
-
-


Merci à ces traducteurs :
100%

Ces traducteurs nous aident réparer le monde ! Vous voulez contribuer ?
Commencez à traduire ›
9 commentaires
That feel when everything turns out perfectly. ^.^ Thanks a lot for the guide! I was able to switch out a few broken/worn out bits, and now it's working like new! Super hyped! Thank you so much!
(Also, the screws that are mentioned needing a drill are regular phillips screws and, are indeed incredibly tough to get out without a drill. Though, the ones in my Gameboy were somehow already stripped pretty badly.)
DEFINITELY do NOT need to use a drill to open a Gameboy Color!
Exactly! I've watched plenty of repair and restoration videos regarding Gameboy Color systems and NONE of them use a drill
The 6 screws to open the case ARE NOT PHILLIPS! They are Tri-Wing, a Y shaped driver, not + shaped. If you use a phillips head screwdriver, you will strip them quickly, and then you actually will have to drill them out. Use the right tool every time!
I had to open it up once because I forgot to connect the ribbon, but thanks for the guide! It was quite helpful.