Aller au contenu principal

Google Pixel 5 Screen Adhesive Installation

Ce dont vous avez besoin

  1. Google Pixel 5 Screen Adhesive Installation, Remove adhesive residue from the frame: étape 1, image 1 de 3 Google Pixel 5 Screen Adhesive Installation, Remove adhesive residue from the frame: étape 1, image 2 de 3 Google Pixel 5 Screen Adhesive Installation, Remove adhesive residue from the frame: étape 1, image 3 de 3
    • Peel off as much adhesive as you can with a pair of tweezers.

    • Use a spudger to scrape away any lingering adhesive.

    • Don't use metal tools to scrape away adhesive as this will damage the frame.

    • For best results, clean the area underneath the removed adhesive with 90% or greater isopropyl alcohol to prep the surface for the new adhesive.

  2. Google Pixel 5 Screen Adhesive Installation, Remove adhesive residue from the screen: étape 2, image 1 de 3 Google Pixel 5 Screen Adhesive Installation, Remove adhesive residue from the screen: étape 2, image 2 de 3 Google Pixel 5 Screen Adhesive Installation, Remove adhesive residue from the screen: étape 2, image 3 de 3
    • Repeat the previous step for the screen adhesive.

    • Don't use metal tools to scrape away adhesive as this will damage the screen.

    • Don't use isopropyl alcohol near the front camera bracket as it will loosen its adhesive.

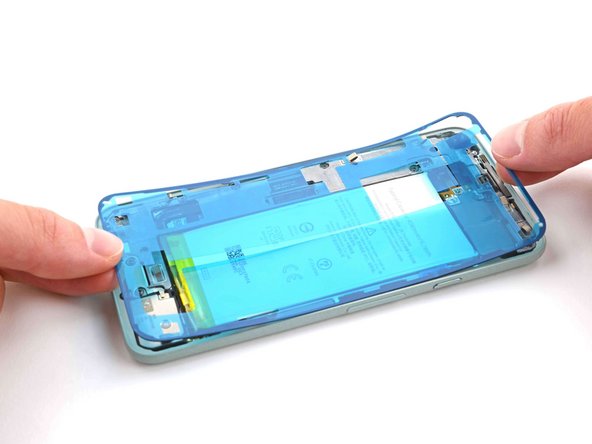
  3. Google Pixel 5 Screen Adhesive Installation, Align the adhesive: étape 3, image 1 de 2 Google Pixel 5 Screen Adhesive Installation, Align the adhesive: étape 3, image 2 de 2
    • Use the holes in the top right and bottom left corners of the frame to correctly align the adhesive:

    • The top right hole is circular

    • The bottom left hole is oblong

  4. Google Pixel 5 Screen Adhesive Installation, Prepare the adhesive: étape 4, image 1 de 1
    • Peel away the clear plastic lining to expose the frame side of the adhesive.

  5. Google Pixel 5 Screen Adhesive Installation, Apply the adhesive: étape 5, image 1 de 2 Google Pixel 5 Screen Adhesive Installation, Apply the adhesive: étape 5, image 2 de 2
    • Be very careful during this step! The adhesive is very sticky and can't be repositioned once it sticks. Misaligned adhesive can lead to an improper seal.

    • Lower the adhesive onto the frame.

    • Use the holes in the top right and bottom left corners to properly align the adhesive during installation.

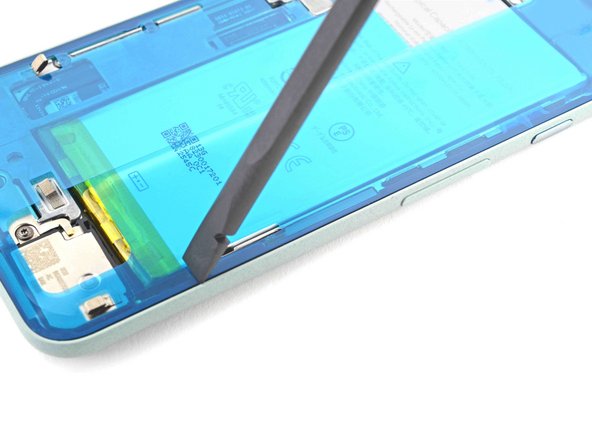
  6. Google Pixel 5 Screen Adhesive Installation, Secure the adhesive to the frame: étape 6, image 1 de 2 Google Pixel 5 Screen Adhesive Installation, Secure the adhesive to the frame: étape 6, image 2 de 2
    • Use the flat end of a spudger or your fingernail to press down on the adhesive.

    • Slide along the perimeter to secure the adhesive to the frame.

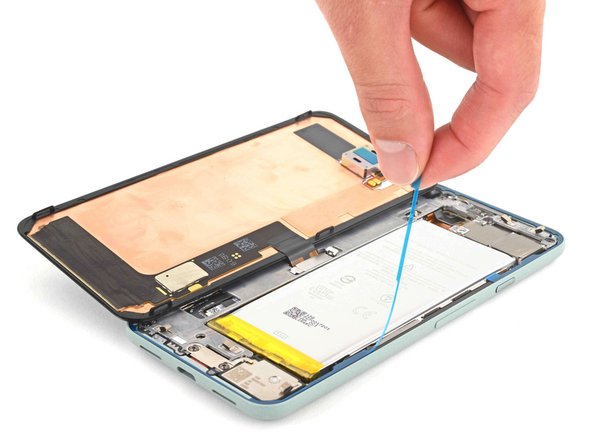
  7. Google Pixel 5 Screen Adhesive Installation, Peel away the outer plastic lining: étape 7, image 1 de 2 Google Pixel 5 Screen Adhesive Installation, Peel away the outer plastic lining: étape 7, image 2 de 2
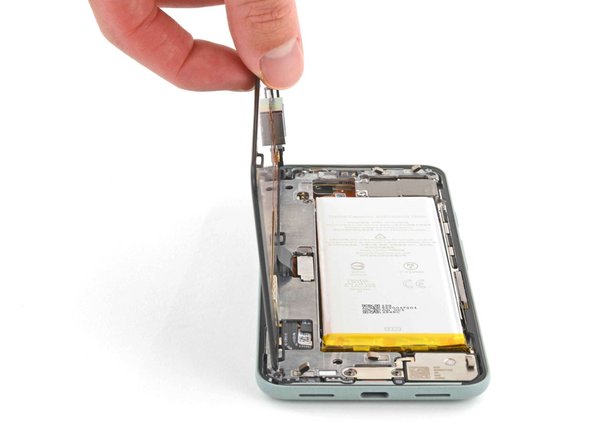
    • Use your fingers to grasp the blue plastic lining near the center and peel it away from the phone.

    • This should leave a thin perimeter of adhesive still covered by blue plastic lining.

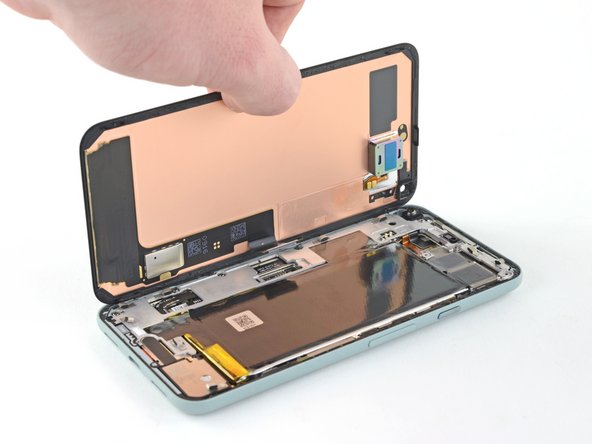
  8. Google Pixel 5 Screen Adhesive Installation, Connect the screen: étape 8, image 1 de 2 Google Pixel 5 Screen Adhesive Installation, Connect the screen: étape 8, image 2 de 2
  9. Google Pixel 5 Screen Adhesive Installation, Peel away the remaining plastic lining: étape 9, image 1 de 2 Google Pixel 5 Screen Adhesive Installation, Peel away the remaining plastic lining: étape 9, image 2 de 2
    • Peel away the blue plastic lining to expose the perimeter adhesive.

  10. Google Pixel 5 Screen Adhesive Installation, Position the screen: étape 10, image 1 de 3 Google Pixel 5 Screen Adhesive Installation, Position the screen: étape 10, image 2 de 3 Google Pixel 5 Screen Adhesive Installation, Position the screen: étape 10, image 3 de 3
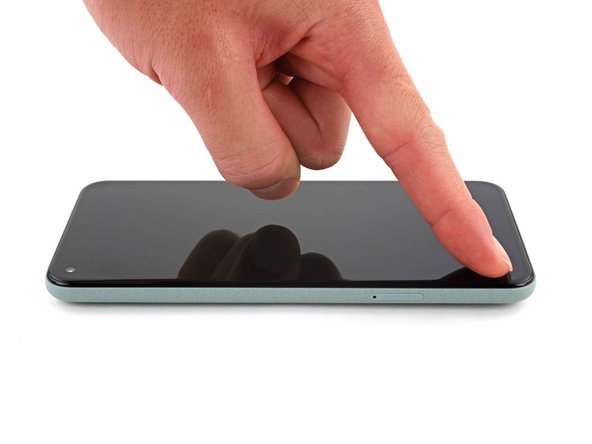
    • Position the screen so it lays on the frame.

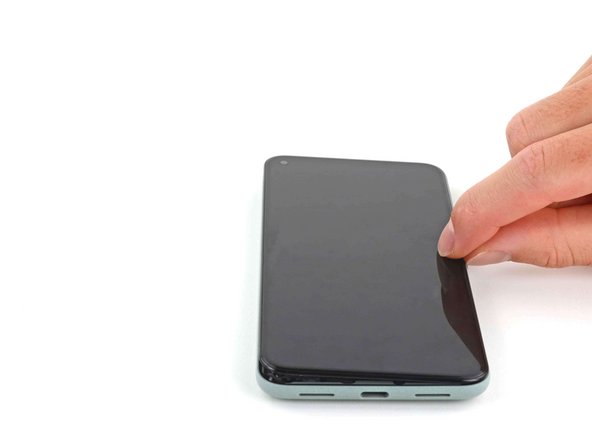
  11. Google Pixel 5 Screen Adhesive Installation, Press down the screen corners: étape 11, image 1 de 2 Google Pixel 5 Screen Adhesive Installation, Press down the screen corners: étape 11, image 2 de 2
    • Press down the corners of the screen to secure them to the frame.

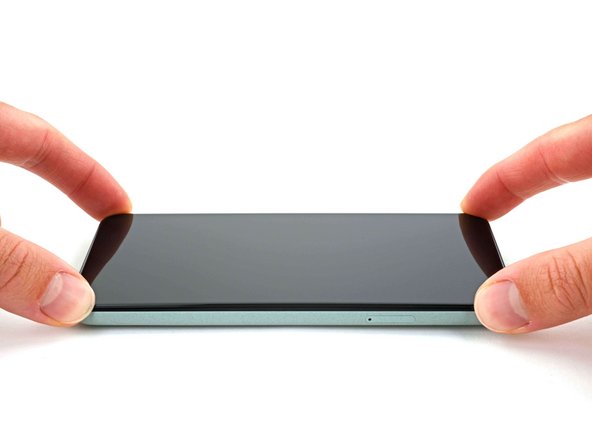
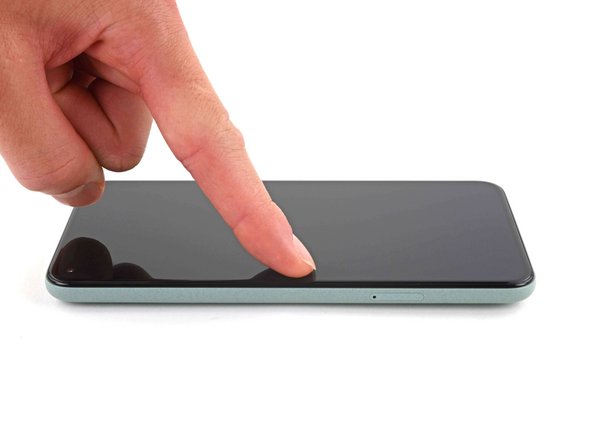
  12. Google Pixel 5 Screen Adhesive Installation, Secure the screen to the frame: étape 12, image 1 de 3 Google Pixel 5 Screen Adhesive Installation, Secure the screen to the frame: étape 12, image 2 de 3 Google Pixel 5 Screen Adhesive Installation, Secure the screen to the frame: étape 12, image 3 de 3
    • Press down on the edges of the screen.

    • Slide along the perimeter to secure it to the frame.

    • You can heat the perimeter of the screen to soften the adhesive and help it bond more securely.

Conclusion

Repair didn’t go as planned? Try some basic troubleshooting, or ask our Pixel 5 Answers community for help.

19 autres ont terminé cette réparation.

Chayton Ritter

Membre depuis le 08/21/20

18 004 Réputation

99 tutoriels rédigés

Équipe

Guide Team Membre de l'équipe Guide Team

Staff

6 membres

7 252 tutoriels rédigés

0 commentaires

Ajouter un commentaire

Nombre de vues :

Dernières 24 heures : 11

7 derniers jours : 72

30 derniers jours : 300

Total : 6,604