Introduction
Use this guide to replace a touchpad in your HP Chromebook 14 G4.
A touchpad is a functional part of utilizing the Chromebook, If the touchpad on your HP Chromebook 14 G4 is not responding to your fingers, it may need to be replaced. Use this guide to remove and replace your touchpad.
The touchpad is one of the main components of your laptop that you use to give it commands and complete tasks. If the touchpad is not working, even basic tasks cannot be properly completed.
Before beginning this repair, turn off your device and unplug from the charger.
Ce dont vous avez besoin
-
-
Remove the thirteen 2.5 mm Phillips #0 screws on the underside of the laptop that secure the keyboard assembly.
-
Flip the laptop over and open the lid.
-
Insert a nylon spudger in the gap between the keyboard assembly and lower case.
-
Gently pry around the entire perimeter until the keyboard assembly fully releases.
-
-
-
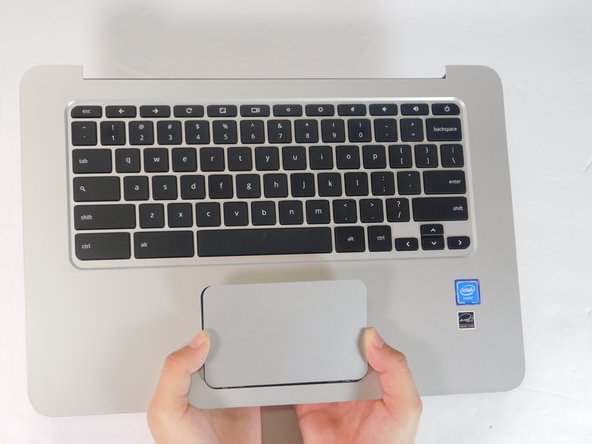
Slightly lift the keyboard assembly with care not to strain the attached ribbon cables.
-
Flip up the two black ZIF locking flaps that secure the keyboard and touchpad ribbon cables to their motherboard sockets.
-
Gently pull the keyboard and touchpad ribbon cables out of their motherboard sockets.
-
-
-
-
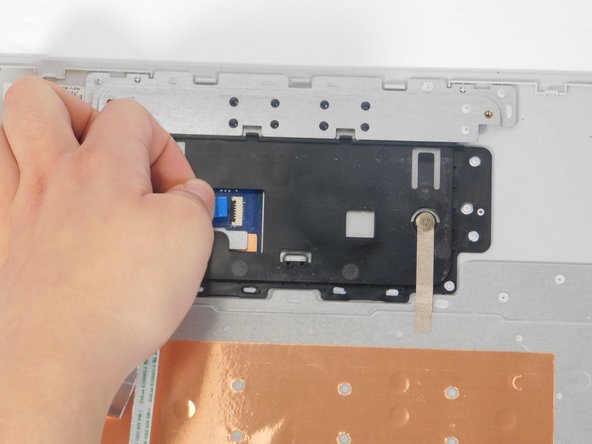
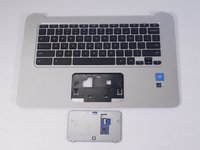
Lay the keyboard face down.
-
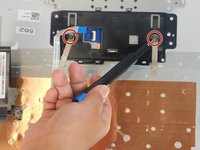
Use tweezers to lift the tape on the bottom of the touchpad to expose the connector.
-
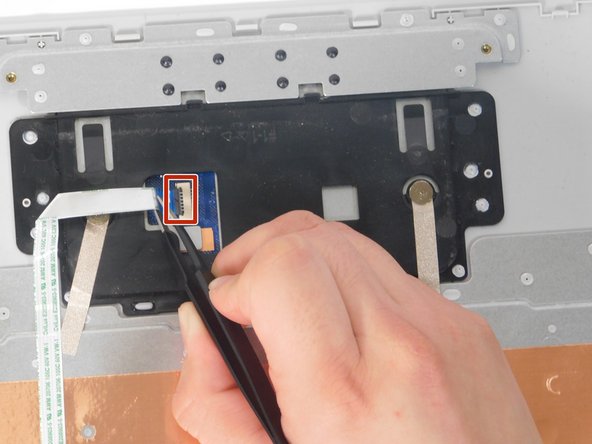
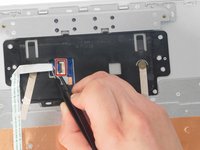
Flip up the black ZIF locking flap that secures the touchpad ribbon cable.
-
Disconnect the touchpad ribbon cable.
-


To reassemble your device, follow the above steps in reverse order.
Take your e-waste to an R2 or e-Stewards certified recycler.
To reassemble your device, follow the above steps in reverse order.
Take your e-waste to an R2 or e-Stewards certified recycler.
Équipe

Gateway, Team 8-3, Gonzalez Fall 2024 Membre de l'équipe Gateway, Team 8-3, Gonzalez Fall 2024
GCC-GONZALEZ-F24S8G3
5 membres
3 tutoriels rédigés