Introduction
If your ElitePad is failing to turn on follow this troubleshooting guide before considering replacing the motherboard.
If your ElitePad’s touch screen is unresponsive follow this troubleshooting guide before considering replacing the motherboard.
Ce dont vous avez besoin
-
-
Using a Phillips #00 screwdriver, remove the two Phillips PM 1.4×3.2mm screws located next to the charging port.
-
-
-
Place the suction cup on the lower right corner of the tablet display glass, making sure to place the suction cup inside the edges of the border of the display glass.
-
Insert a plastic pick in between the display and the tablet case. Then use a plastic removal tool to separate the display further.
-
Pull on the suction cup while using the prying tool to separate the display from the tablet.
-
-
-
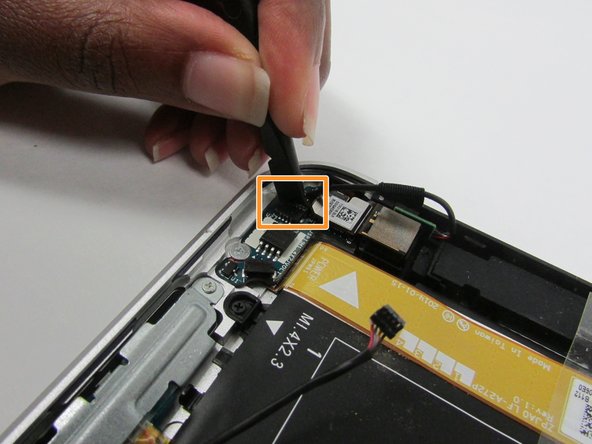
Locate the NFC antenna.
-
Release the ZIF connector to which the NFC antenna cable is attached.
-
-
-
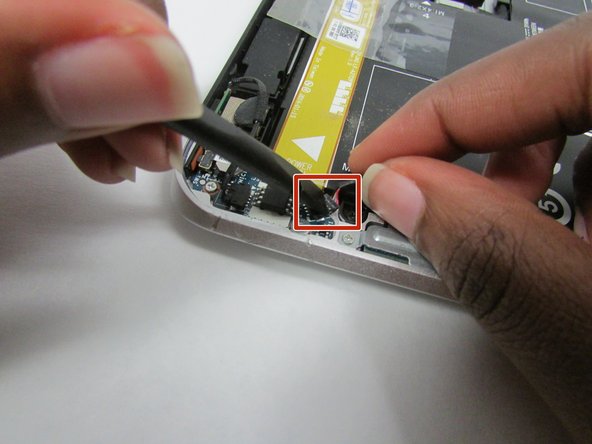
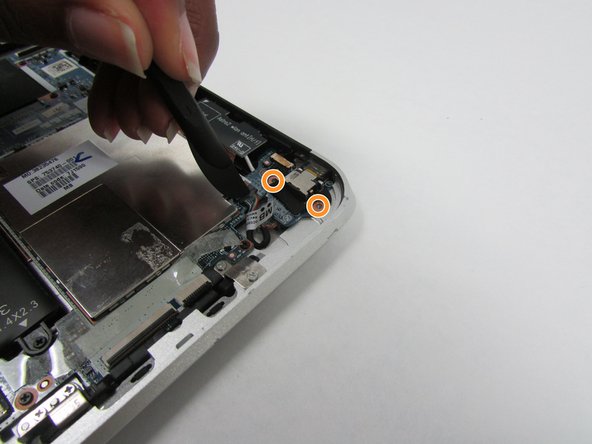
Locate the power button board and attached ribbon cable.
-
Locate the volume button board.
-
-
-
-
Locate the power button board ribbon cable.
-
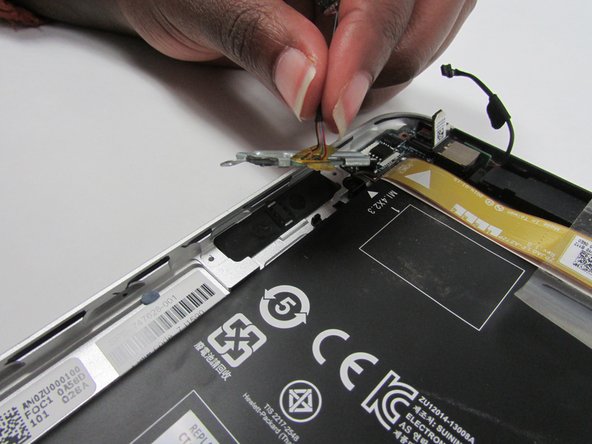
Locate the battery to motherboard connector.
-
-
-
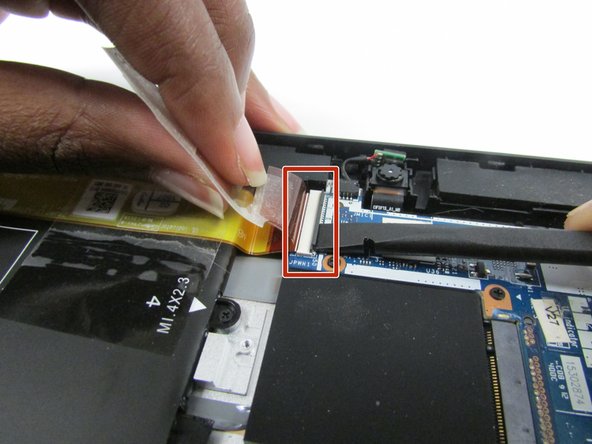
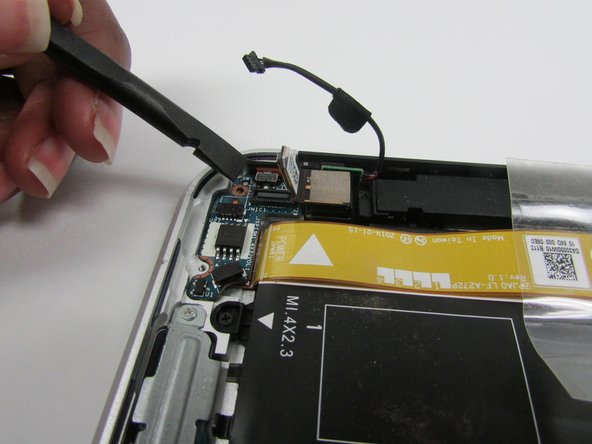
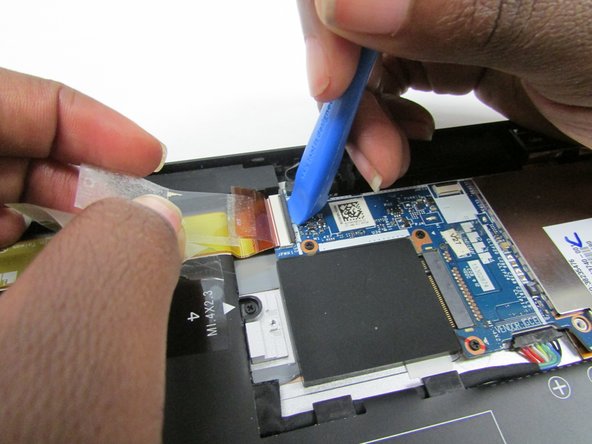
Lift the clear tape attached to the power button board ribbon cable.
-
Disconnect the ZIF connector by using a plastic removal tool to gently pull up on the black tab.
-
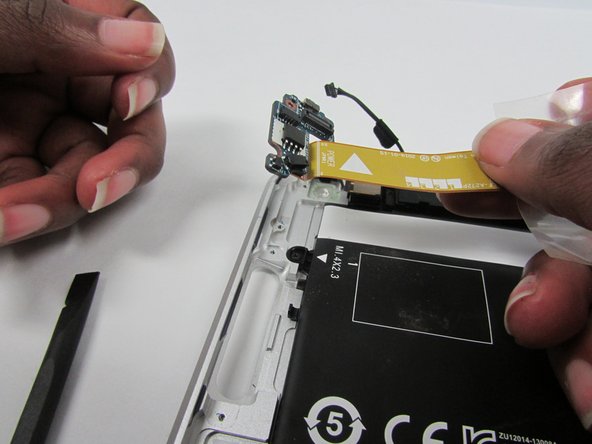
Lift the power button board ribbon cable up and away so that it doesn't get in the way of the battery during removal.
-
-
-
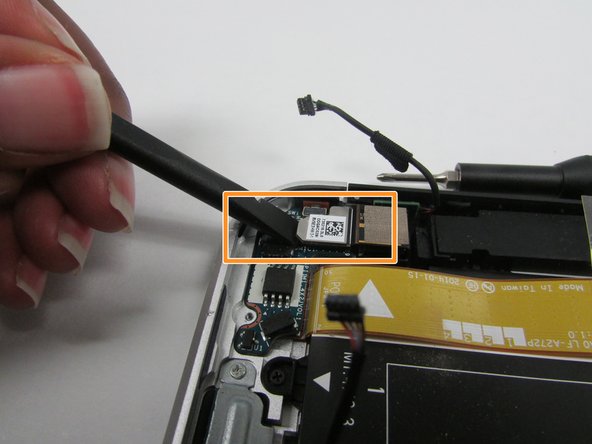
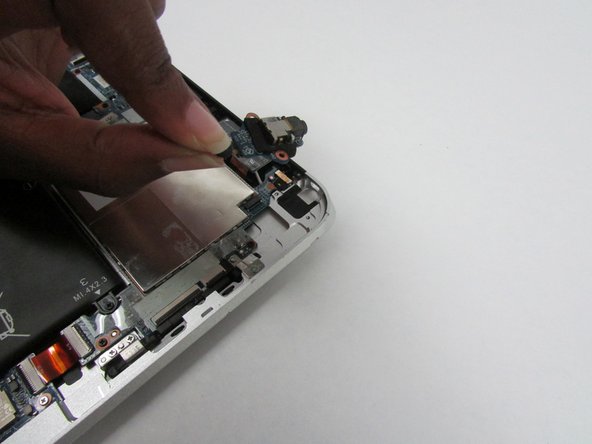
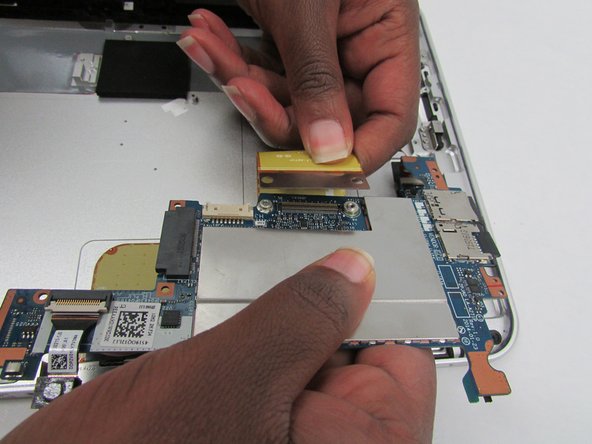
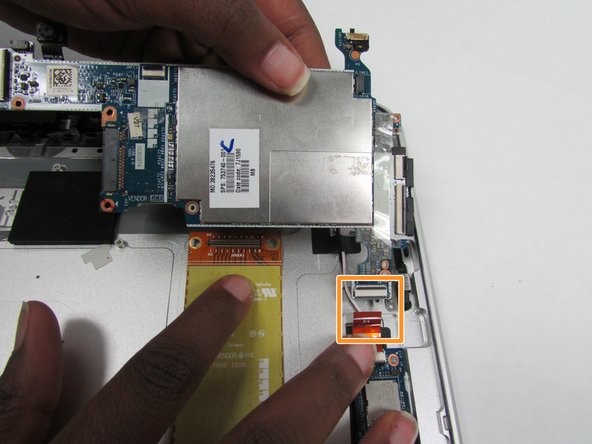
Release the webcam from the housing.
-
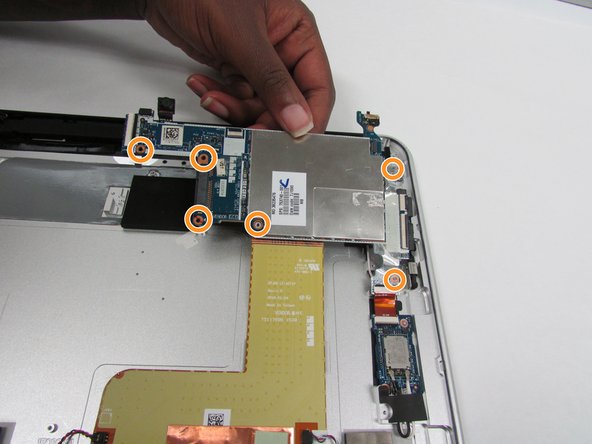
Remove the six Phillips PM 1.3 x 2.0mm screws that secure the board to the bottom cover.
-


To reassemble your device, follow these instructions in reverse order.
To reassemble your device, follow these instructions in reverse order.
Équipe

Embry-Riddle Aeronautical University, Team S3-G2, Watkins Summer 2019 Membre de l'équipe Embry-Riddle Aeronautical University, Team S3-G2, Watkins Summer 2019
ERAU-WATKINS-SU19S3G2
4 membres
6 tutoriels rédigés