Introduction
This guide is for replacing the printhead carriage on your HP Officejet Pro 6835 or 6830. Be sure to remove ink cartridges before attempting replacement. Check out the Troubleshooting Page to ensure replacement is the right option.
Ce dont vous avez besoin
-
-
Open the main lid as far as it will go.
-
Use a plastic opening tool to gently pry off the hinge on the right side by pushing it to the left and off the hook.
-
Open the lid further.
-
-
-
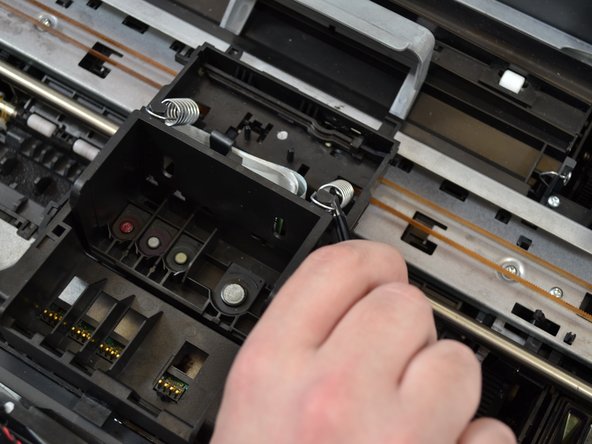
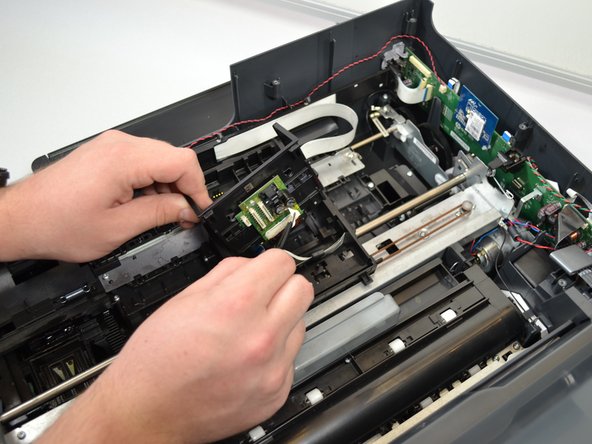
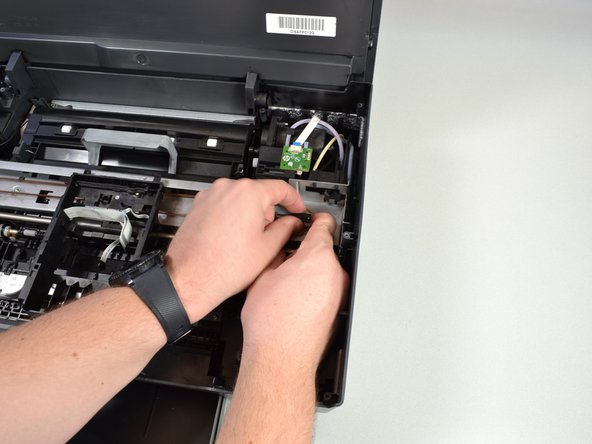
Using tweezers, pinch the top of the spring located on the right side of the printhead.
-
Pull the spring up and around the hook of the carriage to remove the spring from the printhead.
-
Use the same procedure to remove the left spring.
-
-
-
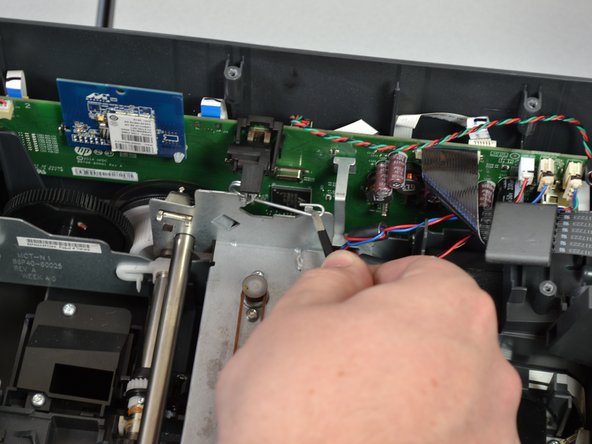
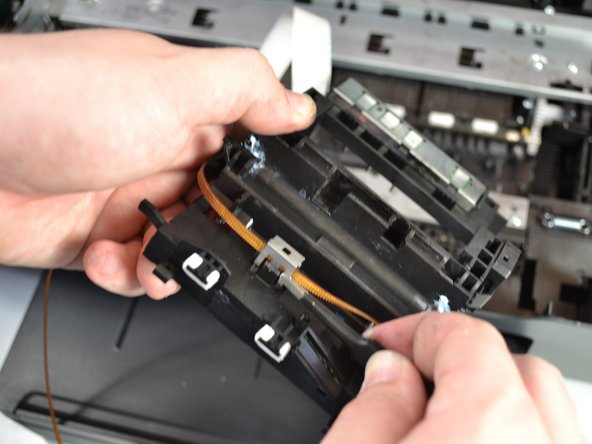
Using the tweezers, remove the right side of the metal clamp that is holding the metal frame in place by pulling up.
-
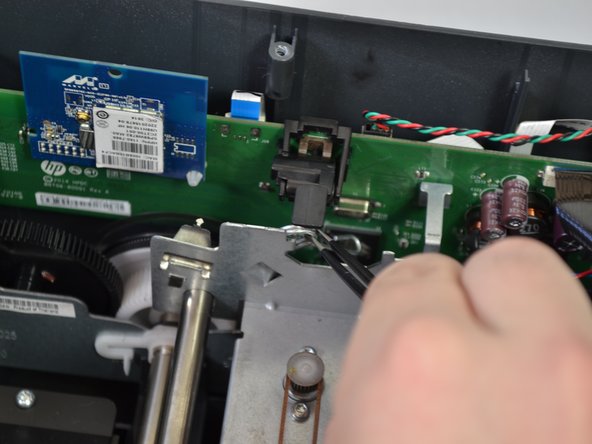
With the tweezers, unhook the metal coil side of the clamp and pull up to remove it completely.
-
Repeat these steps on the other side of the printer.
-
-
-
-
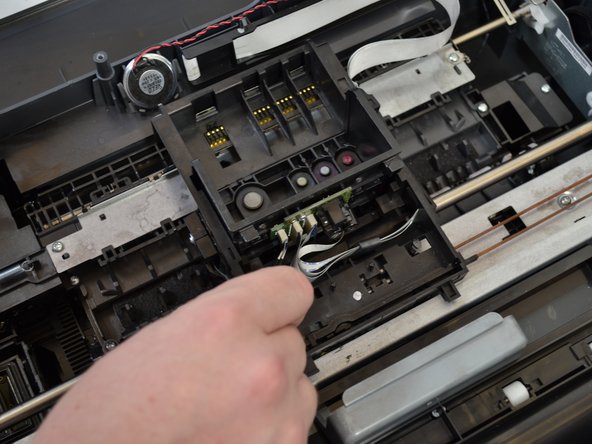
Use the tweezers to push the three latches out of the back of the carriage one at a time.
-
-
-
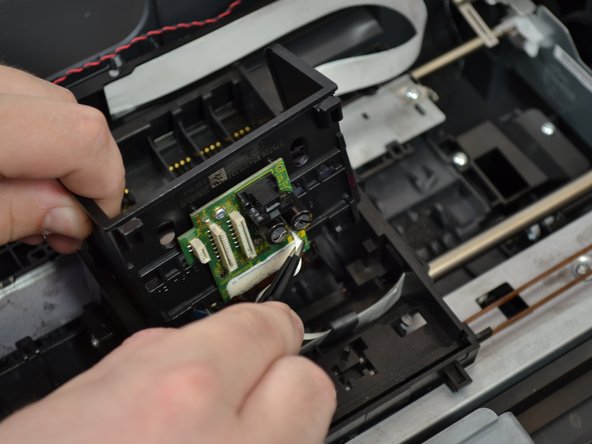
Flip the carrier on the side.
-
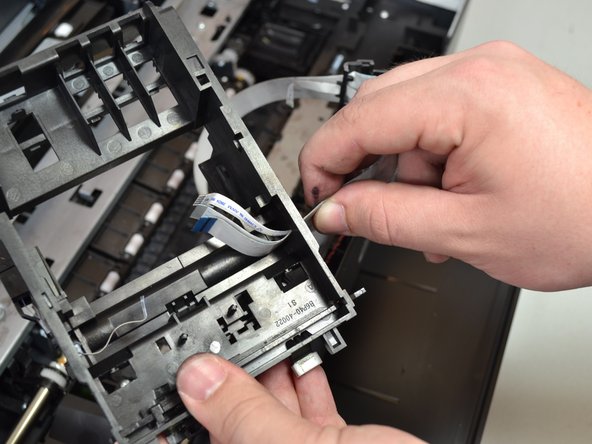
Remove the screw (T6 6mm) on the side of the carrier by turning the screwdriver counterclockwise.
-
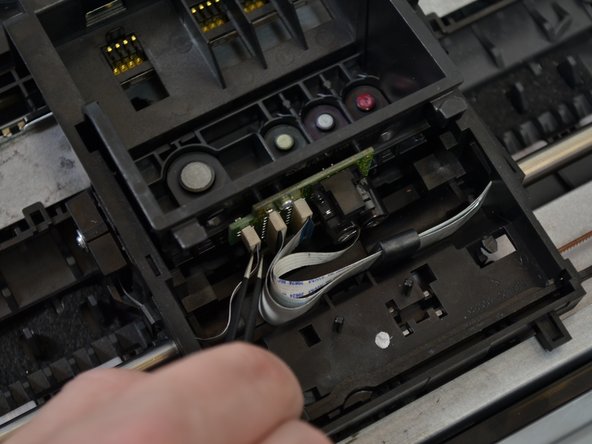
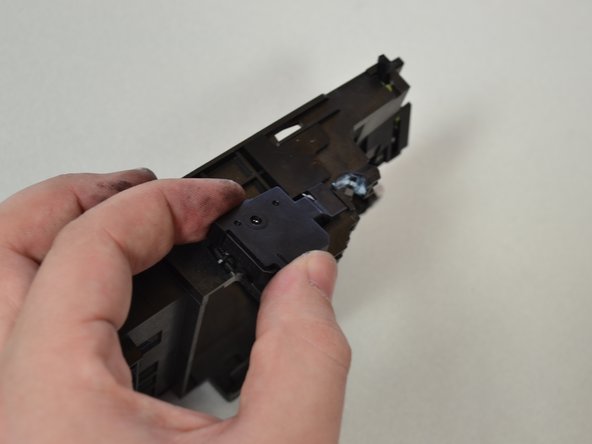
Lift off the plastic cover by pulling it up off the carrier.
-
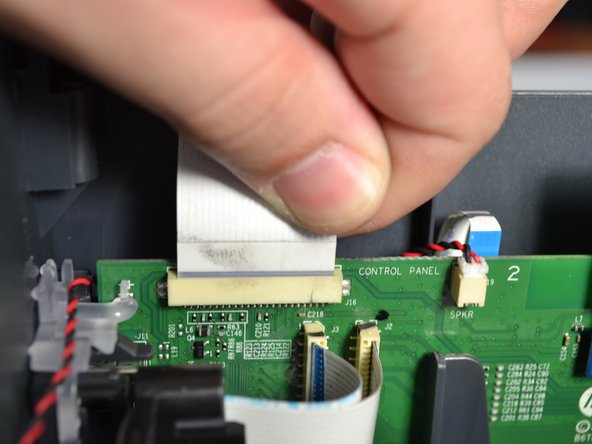
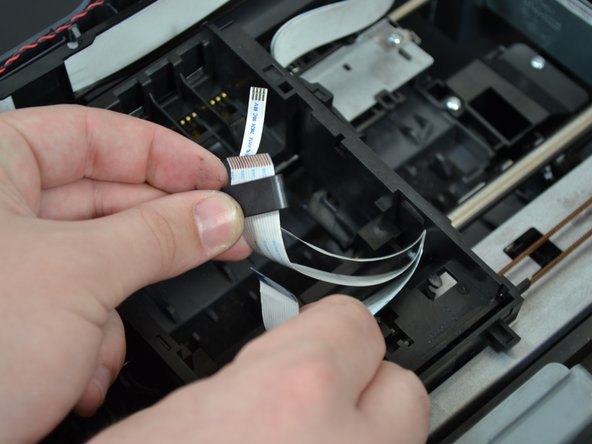
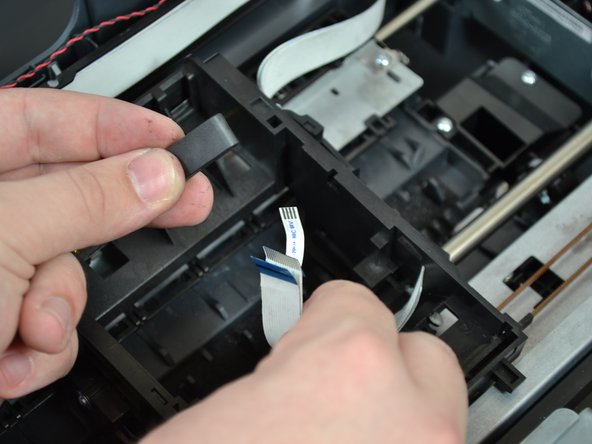
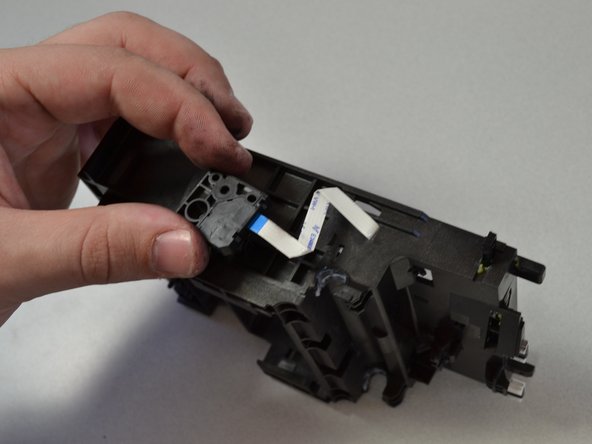
Remove the black latch by pulling the ribbon cable out of the carrier by pulling straight up.
-


To reassemble your device, follow these instructions in reverse order.
To reassemble your device, follow these instructions in reverse order.
Annulation : je n'ai pas terminé ce tutoriel.
Une autre personne a terminé cette réparation.
Équipe

Cal Poly, Team S2-G4, Livingston Winter 2018 Membre de l'équipe Cal Poly, Team S2-G4, Livingston Winter 2018
CPSU-LIVINGSTON-W18S2G4
4 membres
16 tutoriels rédigés