Aller au contenu principal

HP Spectre x360 13t-4000 Heatsink and Fan Assembly Replacement

Ce dont vous avez besoin

  1. HP Spectre x360 13t-4000 Heatsink and Fan Assembly Replacement, Bottom Cover: étape 1, image 1 de 2 HP Spectre x360 13t-4000 Heatsink and Fan Assembly Replacement, Bottom Cover: étape 1, image 2 de 2
    • Turn off and unplug the laptop.

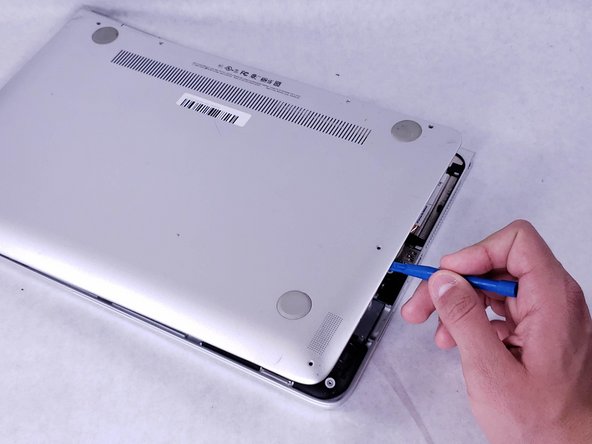
    • Flip over the laptop so that the bottom backplate is exposed.

  2. HP Spectre x360 13t-4000 Heatsink and Fan Assembly Replacement: étape 2, image 1 de 2 HP Spectre x360 13t-4000 Heatsink and Fan Assembly Replacement: étape 2, image 2 de 2
    • Use a T5 screwdriver to remove the six 3 mm screws that secure the backplate.

    • Use the same screwdriver to remove the two 7 mm screws.

  3. HP Spectre x360 13t-4000 Heatsink and Fan Assembly Replacement: étape 3, image 1 de 3 HP Spectre x360 13t-4000 Heatsink and Fan Assembly Replacement: étape 3, image 2 de 3 HP Spectre x360 13t-4000 Heatsink and Fan Assembly Replacement: étape 3, image 3 de 3
    • Insert an opening tool under the bottom cover at the screen hinges, and gently pry the cover free.

    • Carefully work your way around the cover's edges to pop it off completely.

  4. HP Spectre x360 13t-4000 Heatsink and Fan Assembly Replacement, Heatsink and Fan Assembly: étape 4, image 1 de 3 HP Spectre x360 13t-4000 Heatsink and Fan Assembly Replacement, Heatsink and Fan Assembly: étape 4, image 2 de 3 HP Spectre x360 13t-4000 Heatsink and Fan Assembly Replacement, Heatsink and Fan Assembly: étape 4, image 3 de 3
    • Use a Phillips #0 Screwdriver to remove the four circled 3 mm screws.

    • Use the same screwdriver to remove the circled 4 mm screw.

  5. HP Spectre x360 13t-4000 Heatsink and Fan Assembly Replacement: étape 5, image 1 de 2 HP Spectre x360 13t-4000 Heatsink and Fan Assembly Replacement: étape 5, image 2 de 2
    • Remove black adhesive tape and metal shielding.

  6. HP Spectre x360 13t-4000 Heatsink and Fan Assembly Replacement: étape 6, image 1 de 2 HP Spectre x360 13t-4000 Heatsink and Fan Assembly Replacement: étape 6, image 2 de 2
    • Use a Phillips #0 screwdriver to remove the last 4 mm screw under the black tape.

    • Unplug the cable next to the fan.

  7. HP Spectre x360 13t-4000 Heatsink and Fan Assembly Replacement: étape 7, image 1 de 2 HP Spectre x360 13t-4000 Heatsink and Fan Assembly Replacement: étape 7, image 2 de 2
    • Remove heatsink and fan assembly.

    • Reapply fresh thermal paste to the CPU before placing a heatsink back in the device.

Conclusion

To reassemble your device, follow these instructions in reverse order.

Justin Dages

Membre depuis le 03/28/23

361 Réputation

3 tutoriels rédigés

Équipe

IUPUI, Team 2-5, Harley Spring 2023 Membre de l'équipe IUPUI, Team 2-5, Harley Spring 2023

IUPUI-HARLEY-S23S2G5

3 membres

3 tutoriels rédigés

0 commentaires

Ajouter un commentaire

Nombre de vues :

Dernières 24 heures : 0

7 derniers jours : 1

30 derniers jours : 7

Total : 159