Aller au contenu principal

Hisense Sero 8 Front and Back Camera Set Replacement

Ce dont vous avez besoin

  1. Hisense Sero 8 Front and Back Camera Set Replacement, Front and Back Camera Set: étape 1, image 1 de 3 Hisense Sero 8 Front and Back Camera Set Replacement, Front and Back Camera Set: étape 1, image 2 de 3 Hisense Sero 8 Front and Back Camera Set Replacement, Front and Back Camera Set: étape 1, image 3 de 3
    • Use an opening tool to pry open a corner of the device, then slide the tool down the side of the device to completely open it.

  2. Hisense Sero 8 Front and Back Camera Set Replacement: étape 2, image 1 de 1
    • Use your fingers to pull the latch upwards to unlock the ribbon cable.

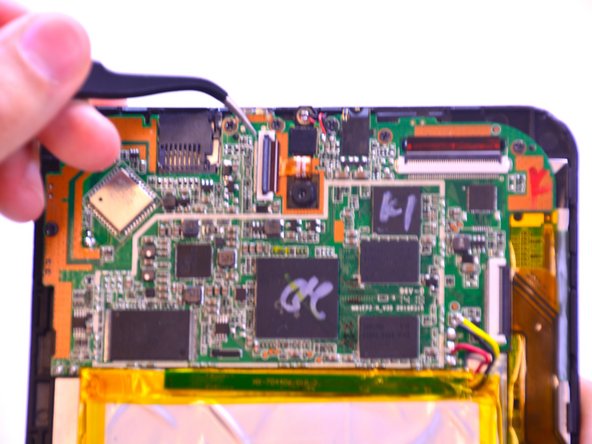
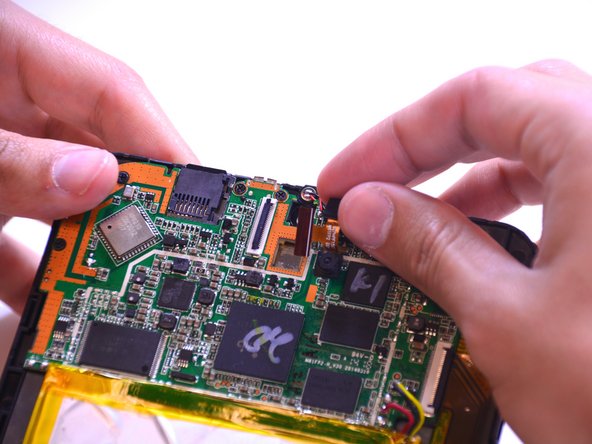
  3. Hisense Sero 8 Front and Back Camera Set Replacement: étape 3, image 1 de 3 Hisense Sero 8 Front and Back Camera Set Replacement: étape 3, image 2 de 3 Hisense Sero 8 Front and Back Camera Set Replacement: étape 3, image 3 de 3
    • Use the pointed end of the spudger to lift the camera from the motherboard.

    • Use tweezers to carefully pull out the camera set.

Conclusion

To reassemble your device, follow these instructions in reverse order.

Une autre personne a terminé cette réparation.

Katherine

Membre depuis le 02/23/15

316 Réputation

1 tutoriel rédigé

Équipe

USF Tampa, Team 1-2, Leahy Winter 2015 Membre de l'équipe USF Tampa, Team 1-2, Leahy Winter 2015

USFT-LEAHY-W15S1G2

3 membres

10 tutoriels rédigés

0 commentaires

Ajouter un commentaire

Nombre de vues :

Dernières 24 heures : 0

7 derniers jours : 0

30 derniers jours : 1

Total : 646