Aller au contenu principal

Insignia NS-SPBTBRICK-CM Auxiliary Port Replacement

Ce dont vous avez besoin

  1. Attention : les étapes 1 à 4 sont issues d'un tutoriel marqué comme en cours.

    Insignia NS-SPBTBRICK-CM Auxiliary Port Replacement, Battery: étape 1, image 1 de 1
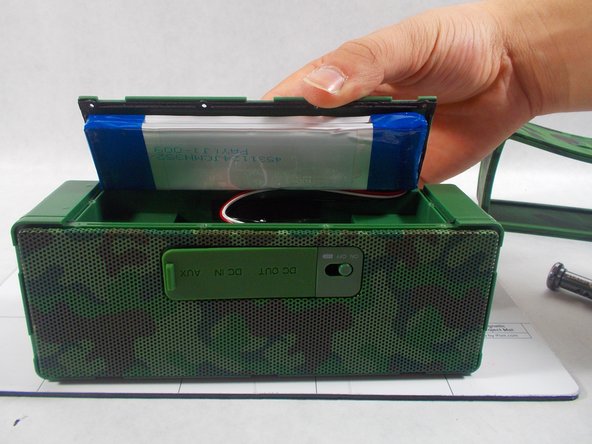
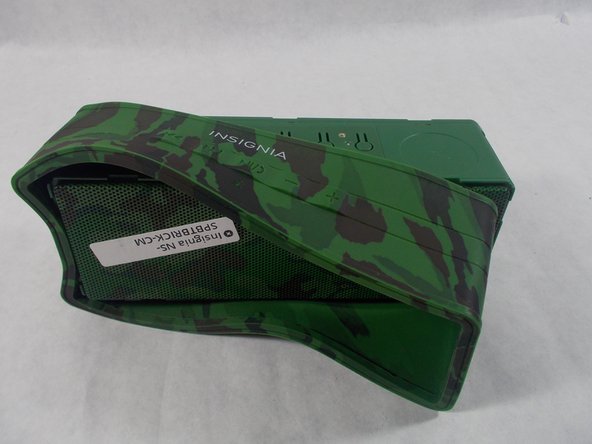
    • Remove the rubber sleeve.

  2. Insignia NS-SPBTBRICK-CM Auxiliary Port Replacement: étape 2, image 1 de 1
    • Use the specified screwdriver to unscrew the ten screws on the back cover.

  3. Insignia NS-SPBTBRICK-CM Auxiliary Port Replacement: étape 3, image 1 de 2 Insignia NS-SPBTBRICK-CM Auxiliary Port Replacement: étape 3, image 2 de 2
    • Remove the back cover. Be careful to not lose any of the screws because they are extremely small and can be easily lost.

  4. Insignia NS-SPBTBRICK-CM Auxiliary Port Replacement: étape 4, image 1 de 3 Insignia NS-SPBTBRICK-CM Auxiliary Port Replacement: étape 4, image 2 de 3 Insignia NS-SPBTBRICK-CM Auxiliary Port Replacement: étape 4, image 3 de 3
    • The battery will be attached to the back cover with sticky tape. Unplug the wires connecting the battery to the speaker.

  5. Insignia NS-SPBTBRICK-CM Auxiliary Port Replacement, Auxiliary Port: étape 5, image 1 de 1
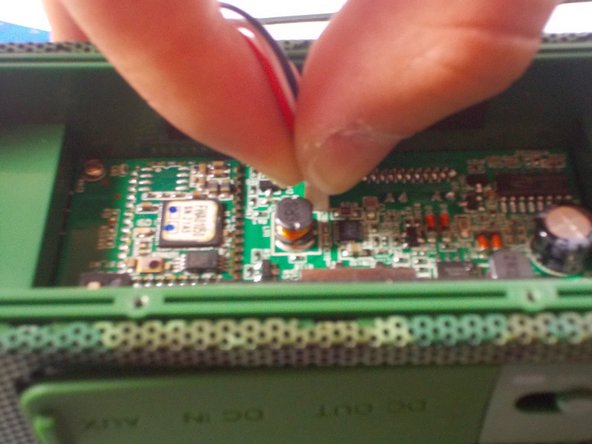
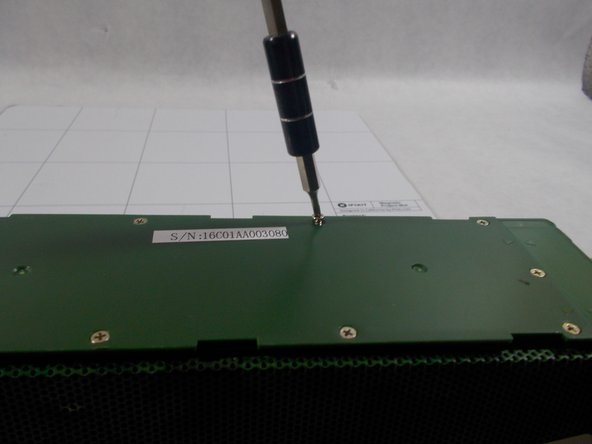
    • Once the battery and back cover have been successfully removed, use the sauter by placing the soldering iron on one side of the auxiliary port button.

  6. Outil utilisé dans cette étape :
    Tweezers
    $4.99
    J'achète
    • Once the metal is heated, use a pair of tweezers to grab the part and pull it off of the circuit board. Be careful not to alter the circuit board in any way with the heat. Also, be careful when removing the part because the metal will be very hot.

  7. Insignia NS-SPBTBRICK-CM Auxiliary Port Replacement: étape 7, image 1 de 1
    • Once the switch has been removed from the circuit board, place the new switch in the same spot as the old one.

  8. Insignia NS-SPBTBRICK-CM Auxiliary Port Replacement: étape 8, image 1 de 1
    • Use the sauter to melt the new switch onto where the old switch was located.

  9. Insignia NS-SPBTBRICK-CM Auxiliary Port Replacement: étape 9, image 1 de 3 Insignia NS-SPBTBRICK-CM Auxiliary Port Replacement: étape 9, image 2 de 3 Insignia NS-SPBTBRICK-CM Auxiliary Port Replacement: étape 9, image 3 de 3
    • After the new piece is properly melted into place, put the battery and back cover onto the device and screw the cover back on using the specified screwdriver and the ten screws.

  10. Insignia NS-SPBTBRICK-CM Auxiliary Port Replacement: étape 10, image 1 de 2 Insignia NS-SPBTBRICK-CM Auxiliary Port Replacement: étape 10, image 2 de 2
    • Place the rubber sleeve back on the device. Be sure to line up the sleeve with the proper functions for a correct fit.

Conclusion

To reassemble your device, follow these instructions in reverse order.

Erin Steele

Membre depuis le 03/08/17

649 Réputation

5 tutoriels rédigés

Équipe

UMass Dartmouth, Team S5-G2, Botvin Spring 2017 Membre de l'équipe UMass Dartmouth, Team S5-G2, Botvin Spring 2017

UMASSD-BOTVIN-S17S5G2

2 membres

6 tutoriels rédigés

0 commentaires

Ajouter un commentaire

Nombre de vues :

Dernières 24 heures : 0

7 derniers jours : 0

30 derniers jours : 3

Total : 165