Introduction
Welcome to our guide for replacing the charging port assembly on your JBL Charge 5 speaker. If you're experiencing charging issues, like loose connections or damaged ports, this guide will help you restore your speaker's charging functionality. This guide is for the TT version.
For additional troubleshooting information, check out the JBL Charge 5 Troubleshooting page.
Note: This repair requires intermediate technical skills.
If uncertain, seek professional help or contact JBL's customer support.
Guide Highlights:
- Detailed step-by-step instructions with illustrations.
- Read the guide entirely before starting.
- Power off your JBL Charge 5 before attempting repairs.
Check Warranty:
- If under warranty, consider professional repair to avoid voiding it.
Pre-Repair Tips:
- Handle electronic components with care.
- Note connectors, ribbons, or screws for removal/reattachment.
- Work in a clean, well-illuminated space to prevent damage or misplacement.
Post-Repair:
- Conduct a functionality test.
- Connect the speaker to power and ensure proper charging without issues.
- Test different charging cables for compatibility.
Before you begin the repair, power off your device and unplug the charger.
Ce dont vous avez besoin
-
-
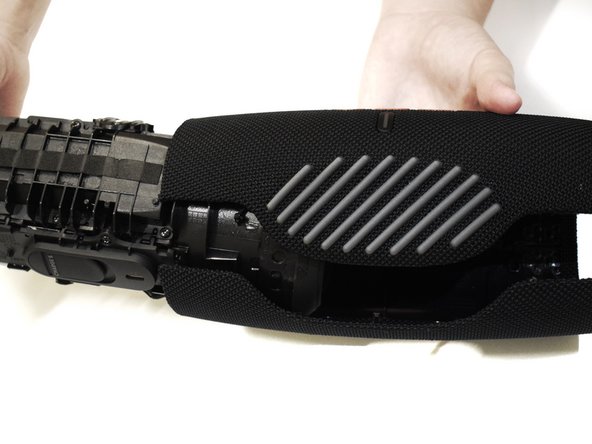
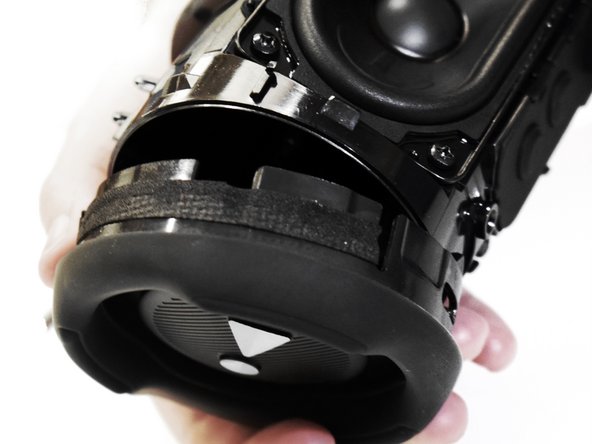
Insert the flat end of the Jimmy into the seam located between the fabric cover on the right side of the seam.
-
Pry upward on the fabric cover to release plastic clips on the right side of the seam.
-
-
-
-
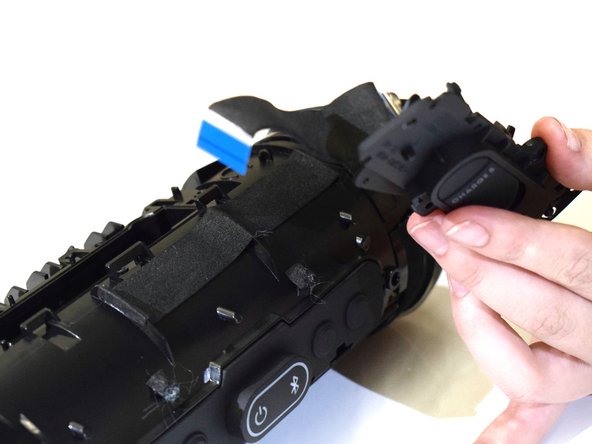
Use a Phillips #0 screwdriver to remove the four 10.6 mm screws on the charging port cover.
-


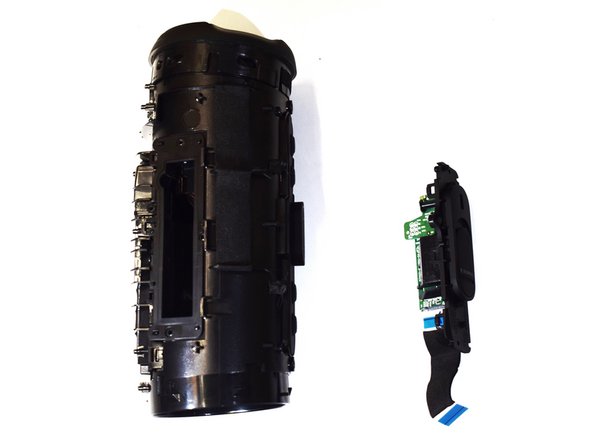
To reassemble your device, follow these instructions in reverse order.
To reassemble your device, follow these instructions in reverse order.
Annulation : je n'ai pas terminé ce tutoriel.
Une autre personne a terminé cette réparation.

Équipe

Western Carolina University, Team 1-2, Virtue Fall 2023 Membre de l'équipe Western Carolina University, Team 1-2, Virtue Fall 2023
WCU-VIRTUE-F23S1G2
5 membres
6 tutoriels rédigés