Introduction
Mouse light not working? The light in your mouse is responsible for detecting movement and translating it to your cursor on screen. But not to worry! This guide will show you how to replace the LED light on your JUKSTG computer mouse without having to buy a whole new one. Every day across the world there are repairable electronics being thrown out that end up in our landfills. The heavy metals like mercury and arsenic that come from these discarded electronics are highly toxic. They can leach into our soil and water, eventually affecting the plants and animals we consume, which is why it’s important to reduce electronic waste through repairs. For this guide you’ll need a new replacement LED, a screwdriver, soldering iron and desoldering vacuum
If you're unfamiliar with soldering, review the How To Solder and Desolder Connections guide before beginning. Always take proper safety precautions when soldering.
Ce dont vous avez besoin
-
-
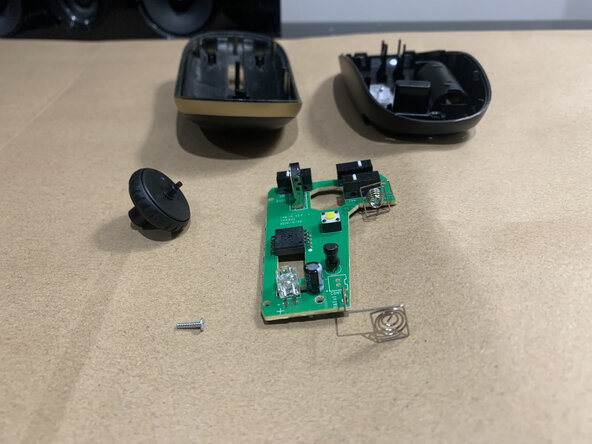
Use a Phillips screwdriver to remove the 5x10mm screw that secures the upper and lower case.
-
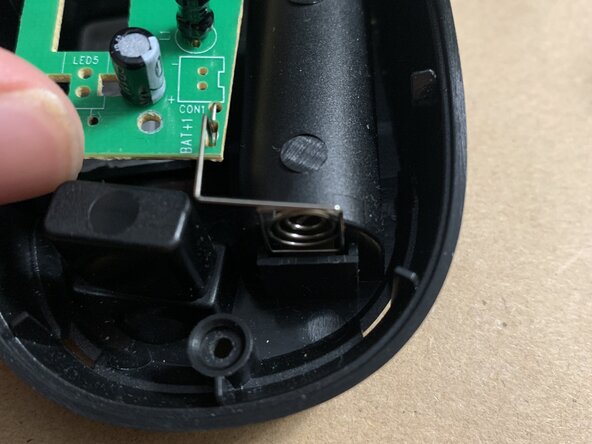
Remove the top cover.
-
-
-
-
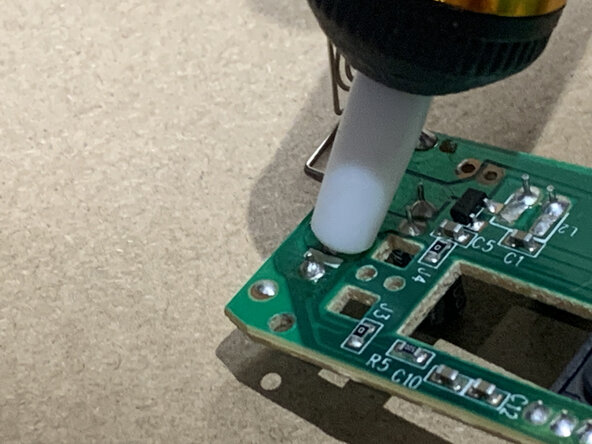
Pre-heat a soldering iron and leave it on standby until it reaches at least 350 C (662 F). Prepare a desoldering pump by pushing down on the plunger.
-
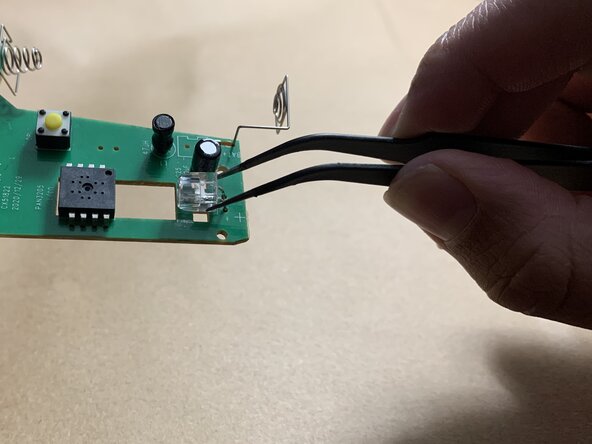
Once the soldering iron reaches 350 C, press the tip gently on each side of the old solder and wait for it to melt, one connection at a time.
-
Once the solder is melted, quickly cover the melted solder with the tip of the desoldering vacuum and press the button to suck up the molten solder.
-
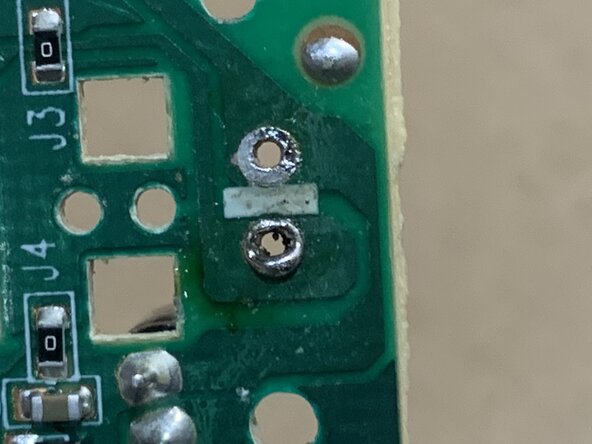
The removal process should end when there are visible holes where the solder used to be. The old LED light should fall off during this process.
-
-
-
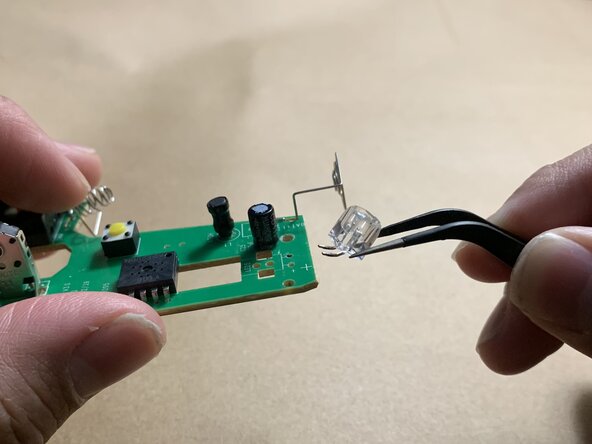
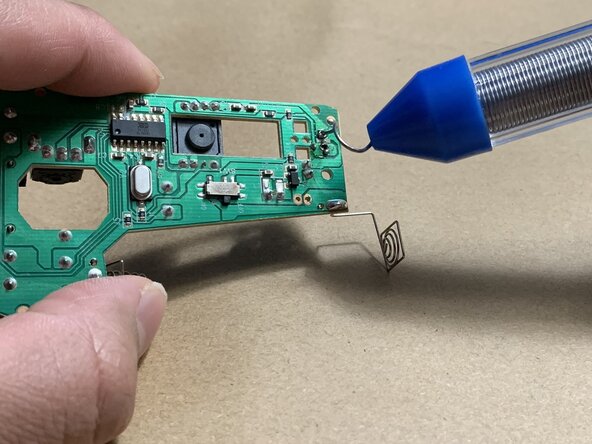
Press the iron tip against the right pad and LED lead for 2-3 seconds, then feed enough solder into the joint to encapsulate the lead.
-
Remove the solder, then remove the iron.
-
Tin the tip of your iron, then power it down and wait for it to fully cool prior storage.
-


To reassemble your device, follow these instructions in reverse order.
Équipe

York University, Team 2-2, Morris Winter 2025 Membre de l'équipe York University, Team 2-2, Morris Winter 2025
YORK-MORRIS-W25S2G2
4 membres
1 tutoriel rédigé