Introduction
Please power off your device before the replacement.
Failure to do this may result in harm to yourself or the device.
By continuing with this replacement, you assume any loss of data, files, and other info on your device that may lost during the replacement. You are solely responsible.
There is no reason you may 'need' this replacement unless your device is dealing with some sort of corruption. Any other reasons may be personal reasons such as data transfer.
Ce dont vous avez besoin
-
-
Flip the device upside down. Remove the bottom panel. Unscrew all 9 screws.
-
-
-
-
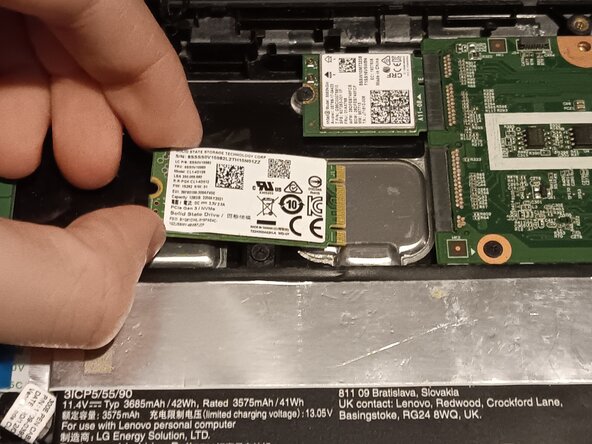
Carefully wiggle the storage card out of the port.
-
Insert your replacement storage card and put the screw back in.
-
Put on the back panel by putting the screws in their original places and tightening them.
-


To reassemble your device, follow these instructions in reverse order.
To reassemble your device, follow these instructions in reverse order.
Annulation : je n'ai pas terminé ce tutoriel.
Une autre personne a terminé cette réparation.

Équipe
