Introduction
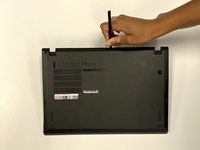
This replacement guide will inform users on how to remove the speakers on the Lenovo ThinkPad X280.
The speakers are used to project sound from the device by converting electrical signals to vibrations that create sound waves.
It is important to note that speakers can come in various sizes and shapes and produce various levels of sound depending on your device’s adjusted volume level. Make sure your device’s volume is at a sufficient amount when testing the audio.
If there is no audio produced from your device, static noise from cooling fans, and/or a corrupted sound driver, your speaker can fail to play audio or clear sound.
For an additional guide to troubleshooting your audio issues, you can review this troubleshooting guide and/or this document.
Ce dont vous avez besoin
-
-
-
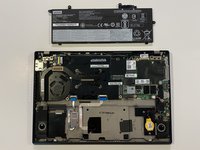
Using the Phillips #1 screwdriver, remove the four 5 mm screws that are holding the battery down.
-
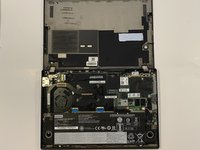
Remove the battery.
-
-
-
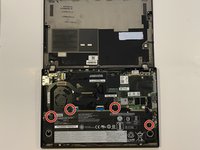
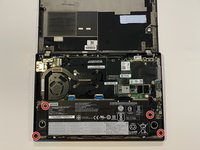
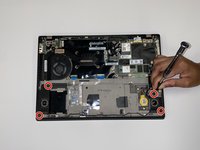
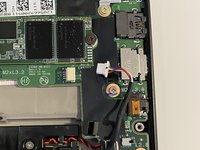
Using a Phillips #1 screwdriver, remove two 5 mm screws from each speaker.
-


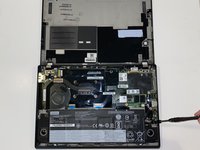


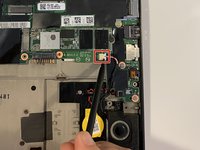

To reassemble your device, follow these instructions in reverse order.
To reassemble your device, follow these instructions in reverse order.

Équipe

University of Alabama, Team 1-3, Bedsole Fall 2021 Membre de l'équipe University of Alabama, Team 1-3, Bedsole Fall 2021
UA-BEDSOLE-F21S1G3
4 membres
6 tutoriels rédigés