Introduction
Use this guide to replace a faulty logic board in your MacBook Air 13" 2017 Model.
Be sure to apply a new layer of thermal paste before reinstalling your heat sink on your new logic board.
Ce dont vous avez besoin
-
Outil utilisé dans cette étape :P5 Pentalobe Screwdriver Retina MacBook Pro and Air$5.99
-
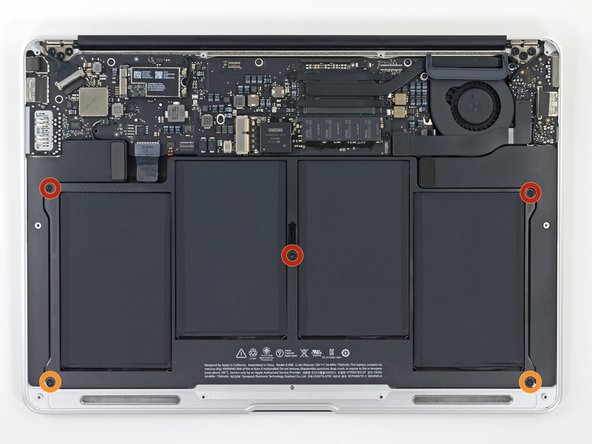
Use a P5 Pentalobe driver to remove ten screws securing the lower case, of the following lengths:
-
Two 9 mm screws
-
Eight 2.6 mm screws
-
-
-
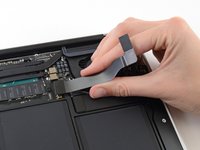
Grab the clear plastic pull tab attached to the battery connector and pull it parallel to the board toward the front edge of the Air.
-
-
-
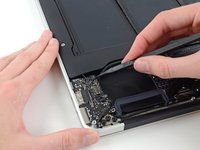
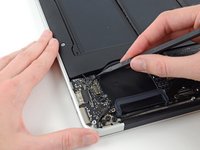
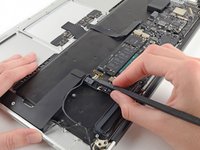
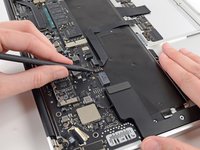
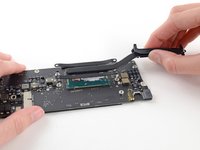
Use the flat end of a spudger to pry the I/O board cable connector up out of its socket on the I/O board.
-
-
-
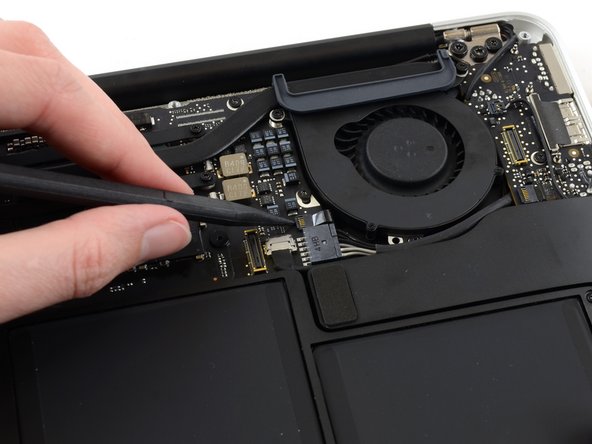
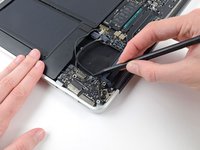
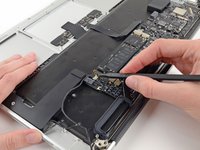
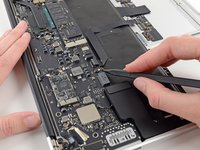
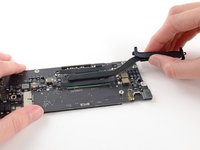
Use the tip of a spudger to carefully flip up the retaining flap on the fan cable ZIF socket.
-
-
-
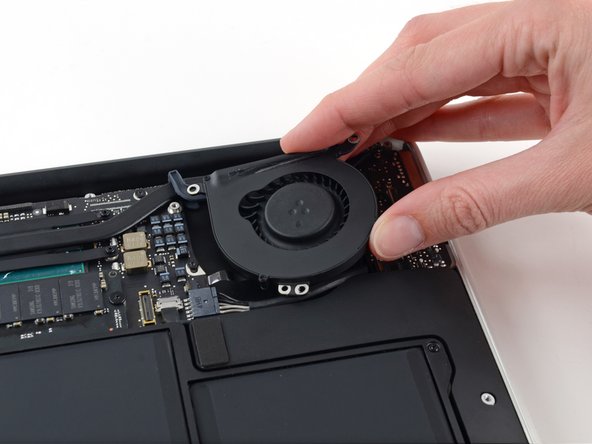
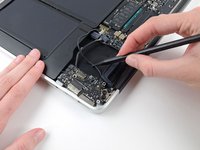
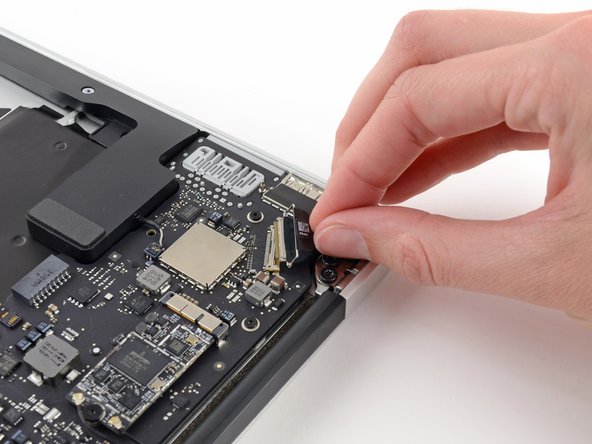
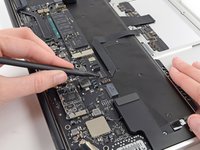
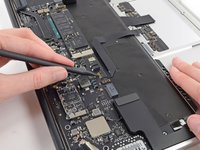
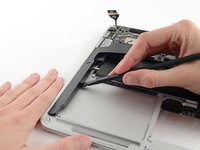
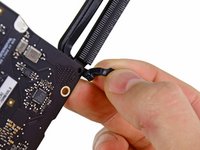
Disconnect the I/O board by pulling its power cable away from its socket on the logic board.
-
-
-
-
Remove the following five screws securing the battery to the upper case:
-
Three 6.9 mm T5 Torx screws
-
Two 3.0 mm T5 Torx screws
-
-
-
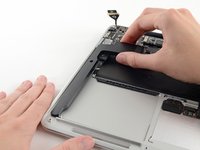
Lift the battery from its edge nearest the logic board and remove it from the upper case.
-
Charge it to 100%, and then keep charging it for at least 2 more hours. Then, unplug and use it normally to drain the battery. When you see the low battery warning, save your work, and keep your laptop on until it goes to sleep due to low battery. Wait at least 5 hours, then charge your laptop uninterrupted to 100%.
-
If you notice any unusual behavior or problems after installing your new battery, you may need to reset your MacBook's SMC.
-
-
-
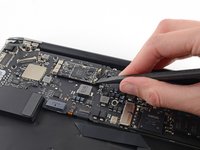
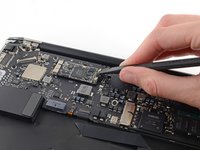
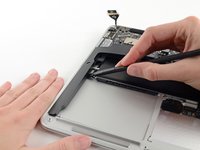
Grab the plastic pull tab secured to the display data cable lock and rotate it towards the top side of the computer.
-
-
-
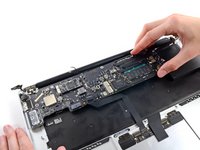
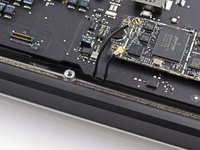
Carefully remove the logic board assembly from the upper case, minding any cables that may get caught.
-
Keep loose cables clear of the board so they aren't caught under it.
-
Make sure the antenna cables are inserted into their respective notches, as highlighted in the second picture.
-
-
-
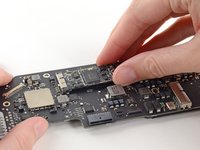
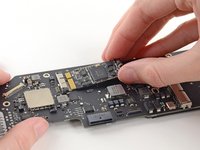
Remove the single 2.85 mm T5 Torx screw securing the SSD to the logic board.
-


To reassemble your device, follow these instructions in reverse order.
Annulation : je n'ai pas terminé ce tutoriel.
Une autre personne a terminé cette réparation.
