Introduction
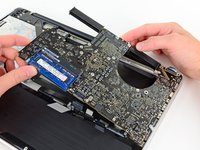
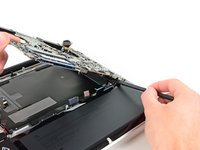
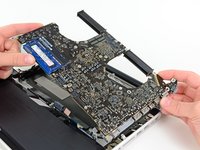
Use this guide to replace the heat sink. This repair requires removal of the logic board and application of new thermal paste.
Ce dont vous avez besoin
-
-
Remove the following ten screws securing the lower case to the upper case:
-
Three 13.5 mm (14.1 mm) Phillips screws.
-
Seven 3 mm Phillips screws.
-
-
-
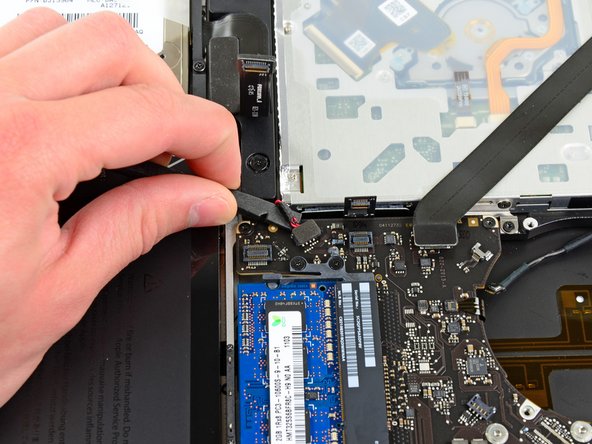
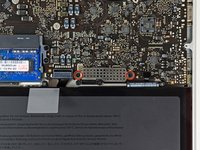
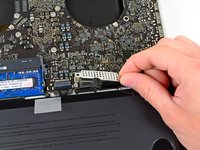
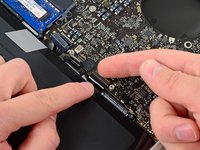
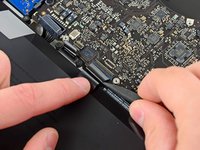
Use the edge of a spudger to pry the battery connector upwards from its socket on the logic board.
-
-
-
Remove the following three screws securing the left fan to the logic board:
-
Two 3.5 mm T6 Torx screws.
-
One 4.2 mm T6 Torx screw.
-
-
-
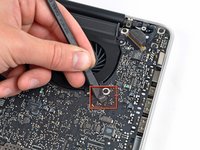
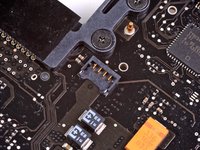
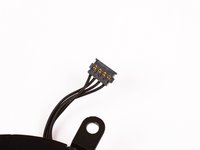
Use the flat end of a spudger to lift the right fan connector out of its socket on the logic board.
-
-
-
-
Carefully lift the logic board assembly from its left side and work it out of the upper case, minding the optical drive cable and the I/O ports that may get caught during removal.
-
If necessary, use the flat end of a spudger to separate the microphone from the upper case.
-
Pull the I/O port side of the logic board away from the side of the upper case and remove the logic board assembly.
-
-
-
Remove the six #1 Phillips screws securing the heat sink to the logic board.
-
To reassemble your device, follow these instructions in reverse order.
To reassemble your device, follow these instructions in reverse order.
Annulation : je n'ai pas terminé ce tutoriel.
44 autres ont terminé cette réparation.
3Commentaires sur le guide
There is a wire under the logicboard that seems impossible due too short to reconnect to the logicboard. This wire comes from the keyboard side case. Is anyone with my sane problem? How dis you resolve it? Tks in advance for your help! https://s29.postimg.org/qakuiofxj/IMG_16...
I have upgraded Mac Pros a few times doing the CPU upgrade on 2009 5,1 and 2010 dual CPUs but this looks really tough. My mid 2012 macbook pro runs hot like 98c when under full load. I would like to replace the thermal paste but this looks like its just too risky. NIce job though on the Fixit post.
Why do you think it’s too risky to change the thermal paste? You actually don’t need to do all those steps to just change the paste, and it’s as easy as wiping the old clean with an alcohol wipe and applying a pee-size amount on the side of the heatsink covering your CPU and voilà. It’s actually much easier to do than removing the entirety of the heatsink, as shown here, which you only need to do to replace the heatsink itself (which difficulty is such that I highly doubt it’s worthing it; just changing the paste will make a big difference). This video will shot you how to only replace the paste without having to remove the entire heatsink, nor remove the motherboard from the aluminium casing itself : https://www.youtube.com/watch?v=sOkmmpba...


