Ce dont vous avez besoin
-
-
In order to proceed with the removal of your engine shocks you will need to remove the large lower bolts that hold the engine to the motor mounts, and then jack up the engine enough to allow for the removal of the shocks.
-
Since you will be removing one half of the bolts that hold your motor mounts in place consider replacing the mounts while you're replacing the shocks if you feel they are worn. These jobs are best done together.
-
-
-
-
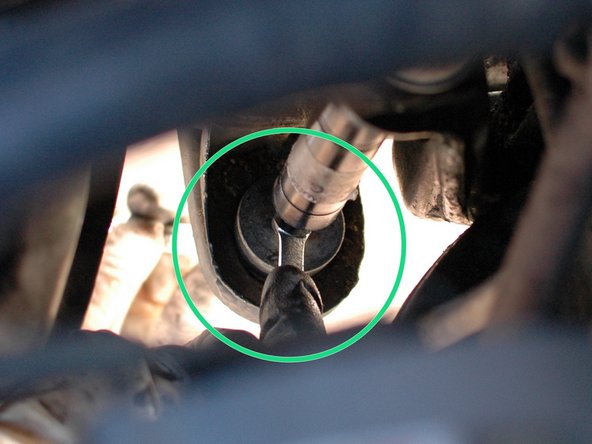
Remove the 10mm nut on the bottom of the shock.
-
Note that if you try to remove this nut you cannot at first as the shaft on the shock turns along with it.
-
There is a flat area on the shaft, just above the large metal washer on the bottom portion of the shock. Place a 7mm crescent wrench on this to prevent the shaft from spinning. Pictured from above.
-
-
-
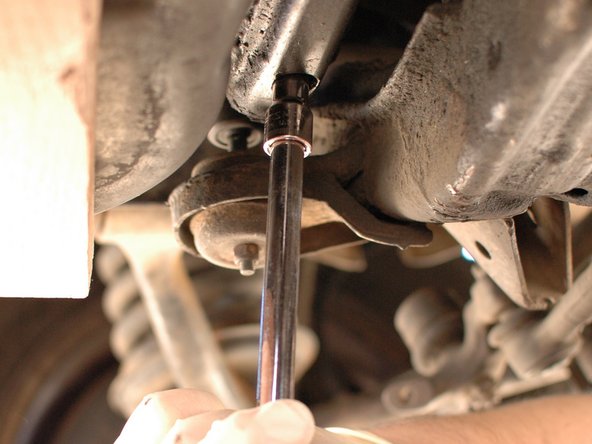
Remove the 10mm nut from the top of the shock. Pictured from above.
-
Hold the shock body with your hand while removing the nut to prevent the body of the shock from turning as you turn the nut.
-
Once this nut is removed the shock can be removed from the car by tilting the top away from the engine, out of the slot in the bracket that bolts to the engine, and then by pulling it up out of the hole in the mount on the cross-member.
-
-
-
Make note of the order of the bushings, washers and cups as you remove them.
-
Shown here is the order, from bottom on the right to top on the left. On the bottom the mount on the cross member goes between each rubber bushing. On the top, the bracket goes between the rubber bushings.
-
Consider replacing the rubber bushings while you are replacing the shock. With age they soften and compress becoming less effective. New bushings are shown in this picture.
-
-
-
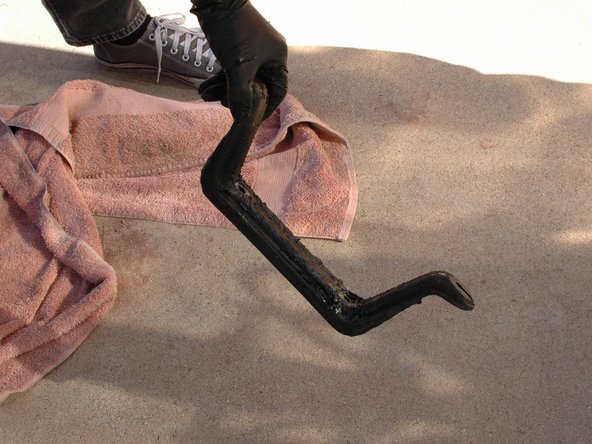
On the car being used in this guide the bracket that holds the top of the shocks was removed in order to fix a cross threaded attachment bolt. If you desire, this bracket can be removed for cleaning; many are very dirty on cars that had leaky oil pan gaskets.
-
Unbolt the two 6mm allen bolts from the bottom of the bracket; they are recessed in the holes in the bracket just inwards from the two shocks.
-
Remove the bracket from the car and clean, then re-install.
-
These two bolts seem to have a tendency to back out of their thread and fall out. Consider re-installing them with blue thread locker.
-




To reassemble your device, follow these instructions in reverse order.
To reassemble your device, follow these instructions in reverse order.
Annulation : je n'ai pas terminé ce tutoriel.
7 autres ont terminé cette réparation.


Équipe

3 commentaires
What a great resource I’ve just found, AND great tutorials!!! Great work!!!!
Thanks! I'm glad it's been helpful.
Thank you for this amazing diy guide
One other consideration is to use high quality anti-seize on the motor mount bolts before reinstalling them. This will keep those bolts from galling the aluminium arms that they attach to.
Stephen, Bay Shore NY
