Introduction
Use this guide to replace a defective home button in your Motorola Moto E4 (XT1762).
Before you begin, download the Rescue and Smart Assistant app to backup your device and diagnose whether your problem is software or hardware related.
You’ll need replacement adhesive to reattach components when reassembling the device.
Ce dont vous avez besoin
-
-
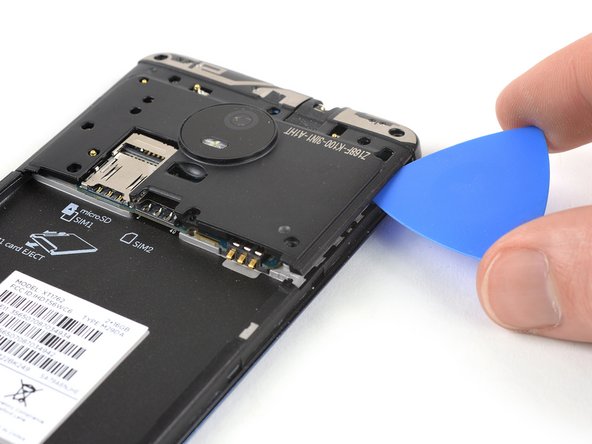
Insert a fingernail, or spudger, into the notch on the bottom right corner to start separating the phone unit from the back cover.
-
Move to the bottom left corner to pry the phone out of the back cover.
-
-
-
Use a fingernail or spudger to pry at the notch at the bottom end of the battery.
-
Lever the battery out of its recess and remove it.
-
-
-
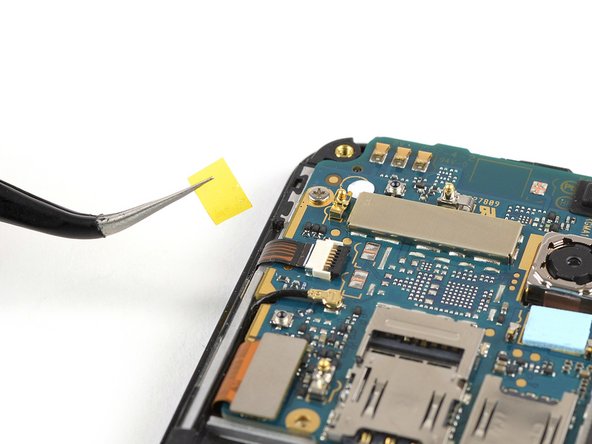
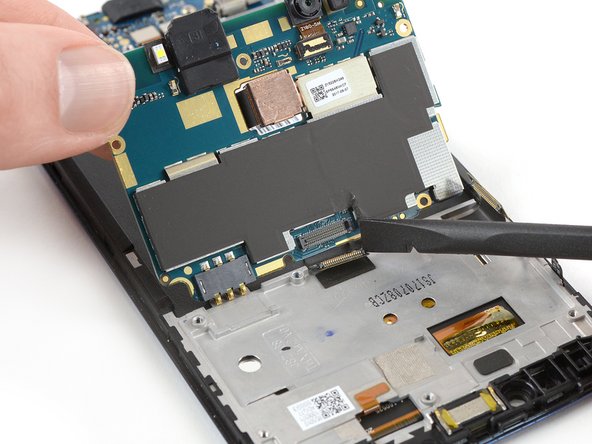
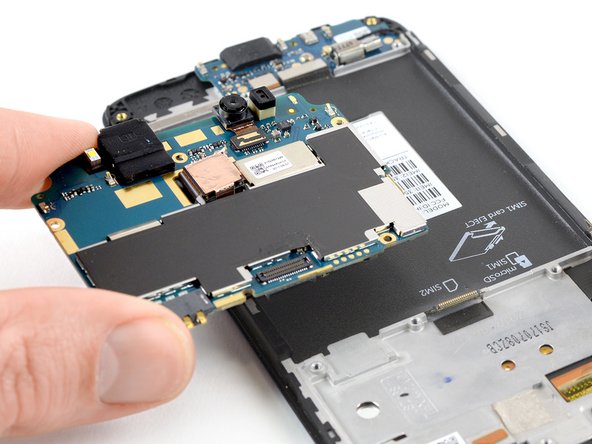
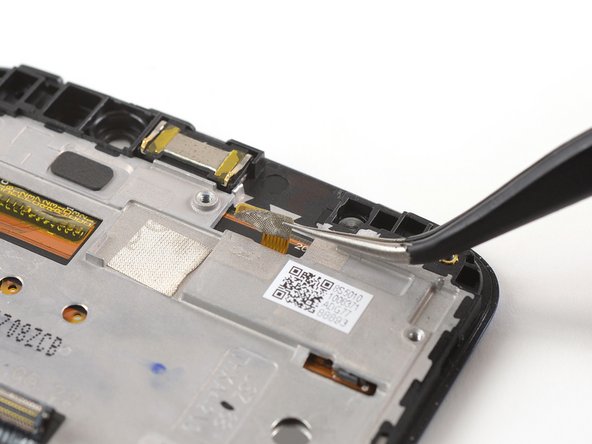
Use a pair of tweezers to peel off the yellow tape of the ZIF connector located on the left of the motherboard.
-
-
-
-
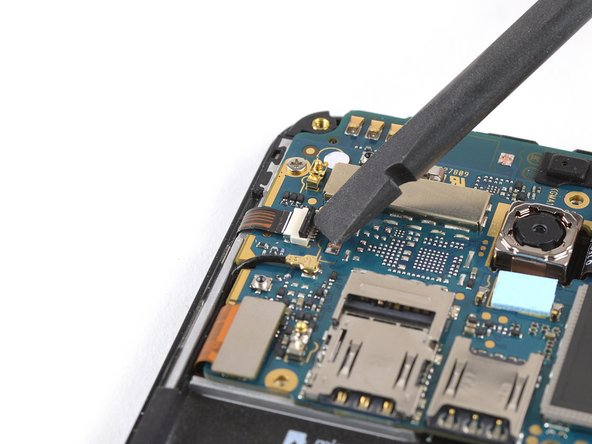
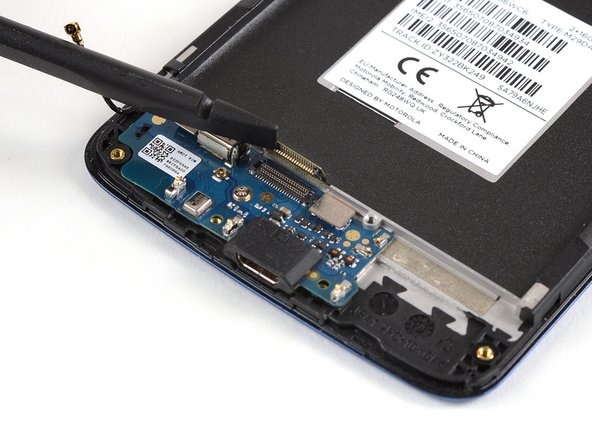
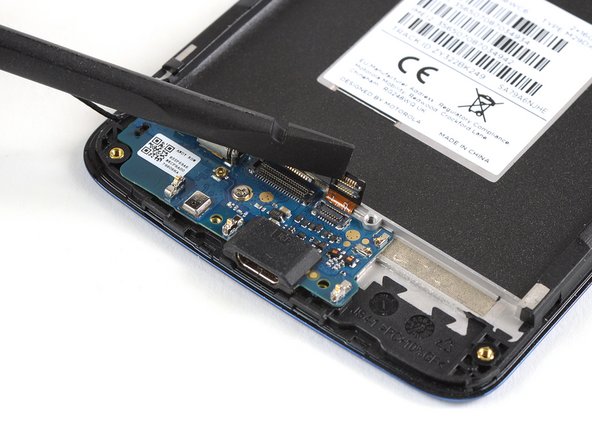
Use a pair of tweezers to pry up and disconnect the antenna cable.
-
-
-
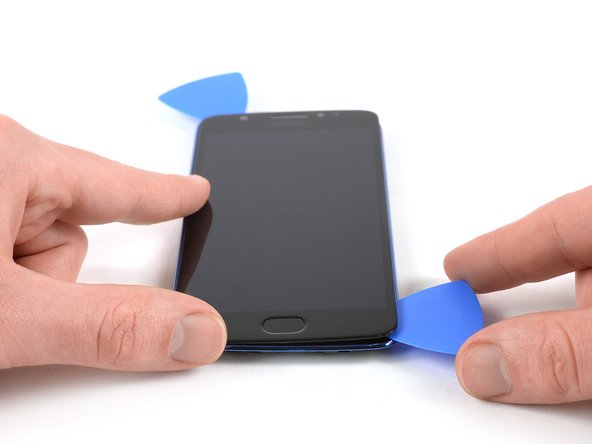
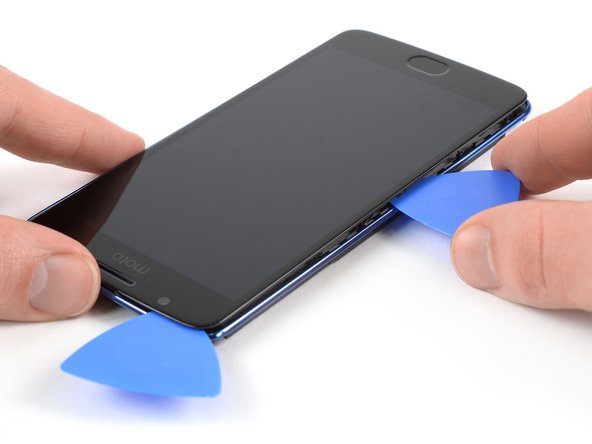
Prepare an iOpener and apply it to the edges of the display for at least two minutes to loosen the adhesive beneath.
-
-
-
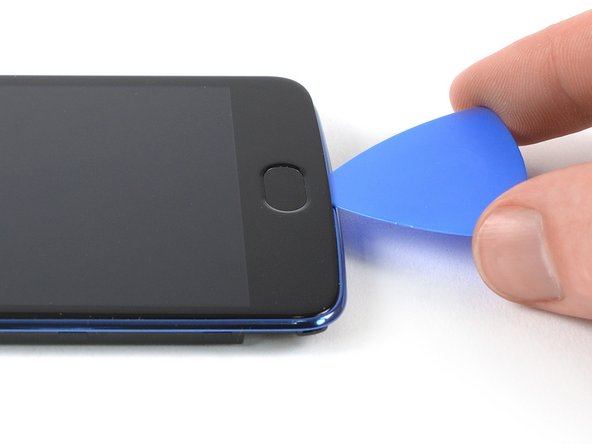
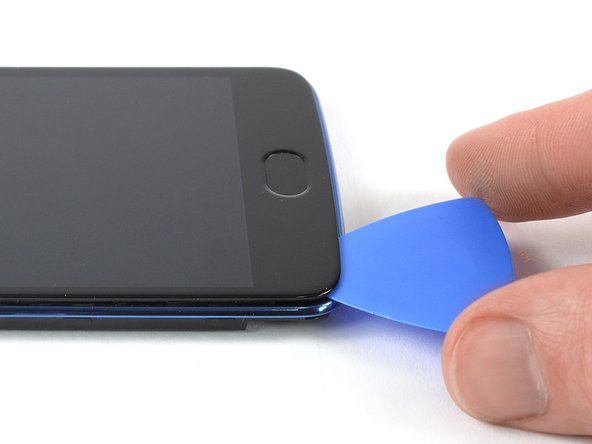
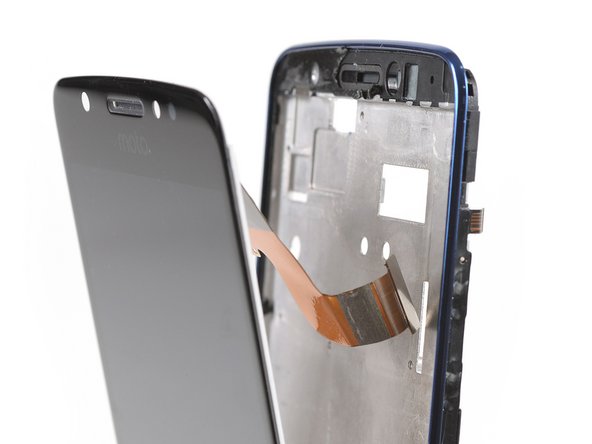
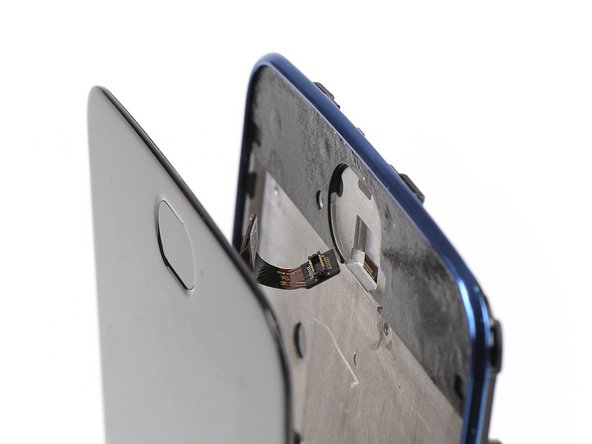
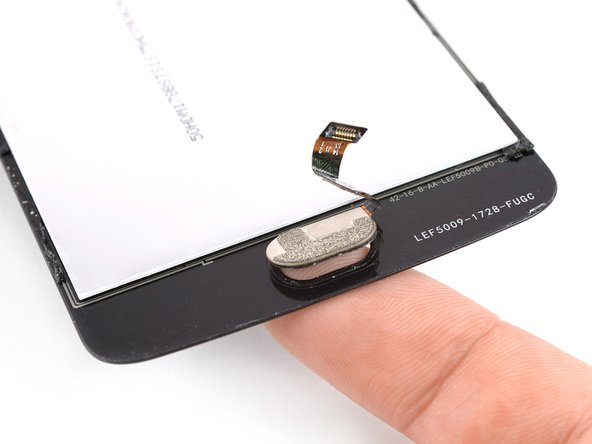
Apply an iOpener for about one minute to the bottom end of the display where the home button is located.
-
If possible, turn on your phone and test your repair before installing new adhesive and resealing the phone.
The best way to secure the new screen is with a sheet of custom-cut double-sided tape. Alternatively you can use double sided tape and apply it to the back of the screen, then carefully feed the display cable through the frame. Align the screen and press it into place.
To reassemble your device, follow these instructions in reverse order.
Take your e-waste to an R2 or e-Stewards certified recycler.
Repair didn’t go as planned? Check out our Answers community for troubleshooting help.
Annulation : je n'ai pas terminé ce tutoriel.
Une autre personne a terminé cette réparation.


