Introduction
This guide will walk you through with replacing the power and volume buttons on your device.
Before you begin, download the Rescue and Smart Assistant app to backup your device and diagnose whether your problem is software or hardware related.
Accessing the buttons requires you to remove both the motherboard and the heavily glued-in battery. Do not re-use the battery after it has been removed, as the prying process could have bent the battery and compromise the internal structure.
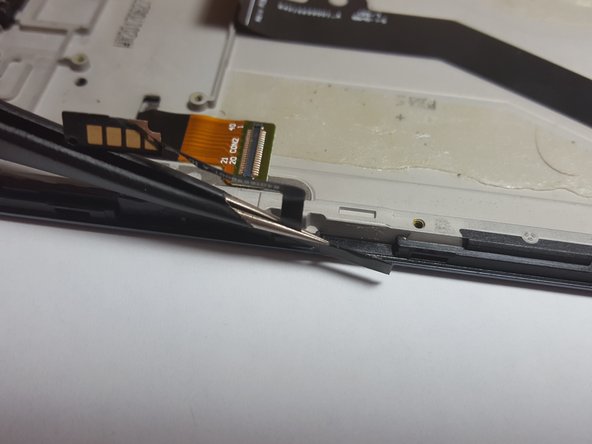
You'll want to be careful with your tweezers, as the ribbon cables connecting the power and volume buttons to the device can be fragile and easily torn.
Ce dont vous avez besoin
-
-
Insert the edge of the spudger into the notch on the bottom right corner of the phone.
-
Twist the spudger to start releasing the back cover from the phone.
-
Slide the spudger along the bottom edge to separate the back cover from the phone.
-
-
-
Remove the nineteen 3.2 mm long T3 screws securing the plastic midframe.
-
-
-
Insert the flat end of a spudger into the midframe seam at the bottom left corner of the phone (near the microphone hole).
-
Twist the spudger to release the plastic clip.
-
Repeat the process for the clip near the top right corner of the phone.
-
-
-
Lift the bottom edge of the plastic midframe upwards until the clips along the top edge release.
-
Remove the plastic midframe.
-
-
-
Use the point of a spudger to pry up and disconnect the battery connector from its motherboard socket.
-
-
-
Before you begin prying, note that the battery is held in place by two adhesive strips.
-
-
-
Insert an opening pick into the top right edge of the battery.
-
Push the opening pick in carefully until half of the pick is under the battery.
-
-
-
-
Insert another opening pick into the right edge, near the first opening pick.
-
Slide the opening pick down along the right edge to loosen the right adhesive strip.
-
If the slicing feels difficult, apply a few more drops of isopropyl alcohol into the edge, wait a minute for it to seep in, and try again.
-
-
-
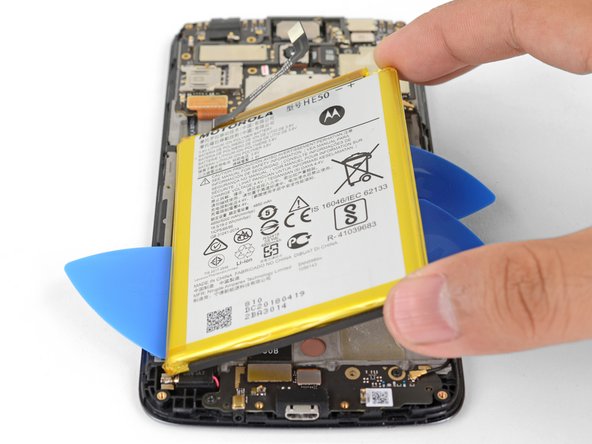
Remove the battery.
-
Remove the old adhesive from the phone frame.
-
Apply new adhesive in the same general area as the old adhesive.
-
Lay the battery lightly in place. Check that the battery connector is properly aligned with its motherboard socket.
-
Press the battery firmly into the phone for thirty seconds.
-
-
-
Use the point of a spudger to pry up and disconnect the display cable from its motherboard socket, near the bottom left corner of the motherboard.
-
-
-
Use the point of a spudger to pry up and disconnect the antenna cable from its motherboard socket.
-
-
-
Use the point of a spudger to pry up and disconnect the interconnect cable from its motherboard socket.
-
-
-
Remove the two black 3.2 mm long T3 screws securing the motherboard.
-
-
-
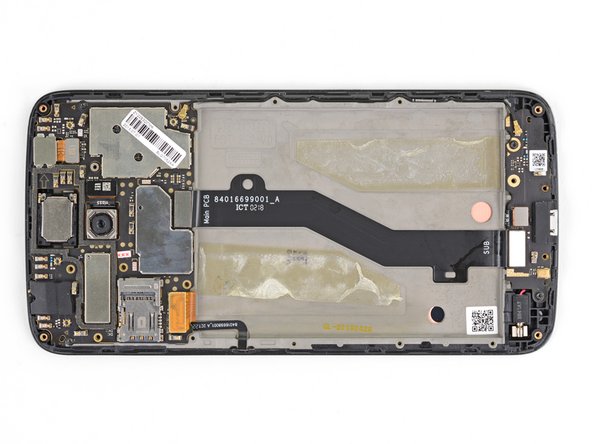
Grasp the motherboard by the top corners and lift it out of the phone.
-
Remove the motherboard.
-
-
-
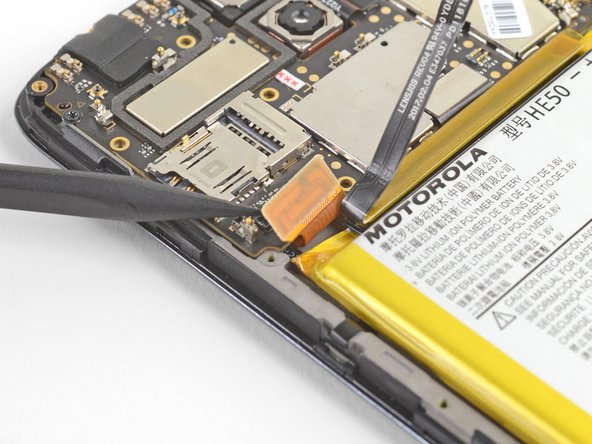
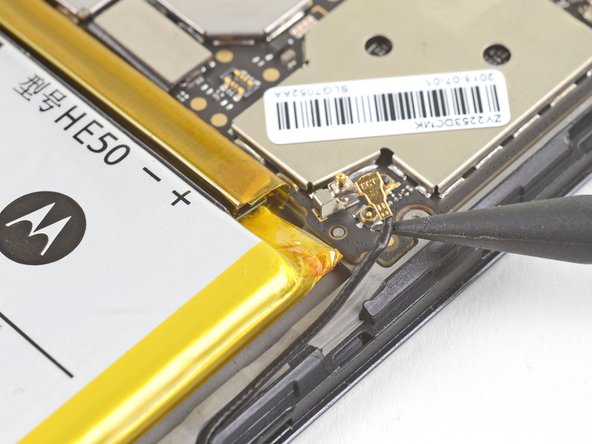
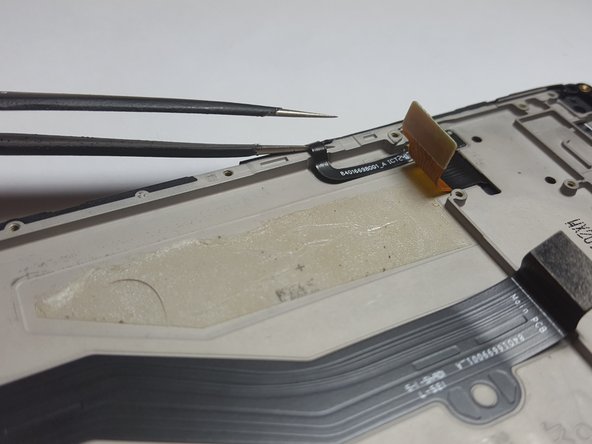
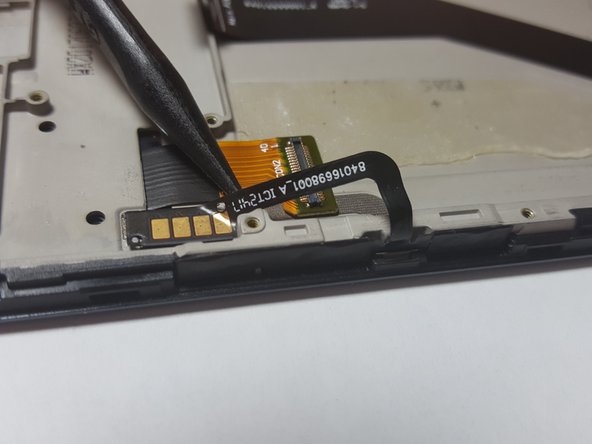
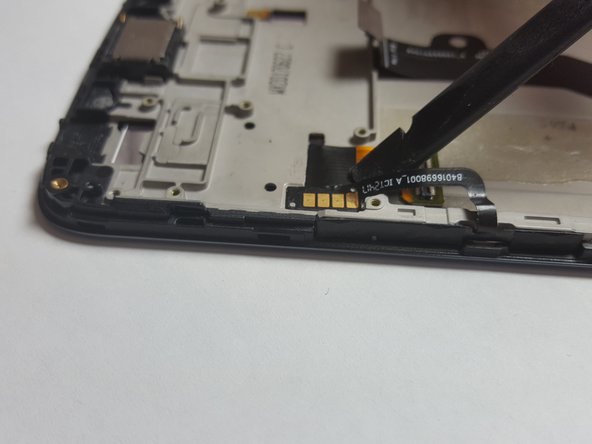
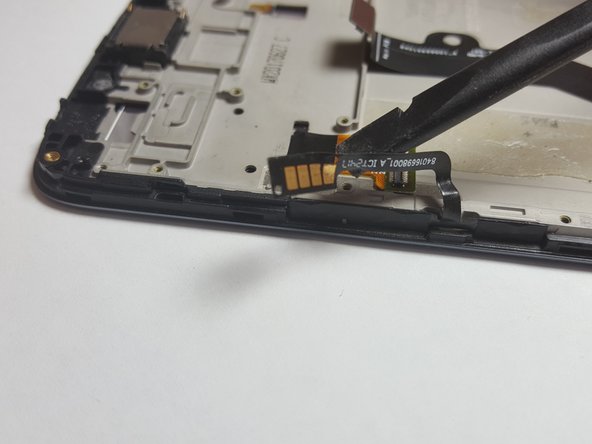
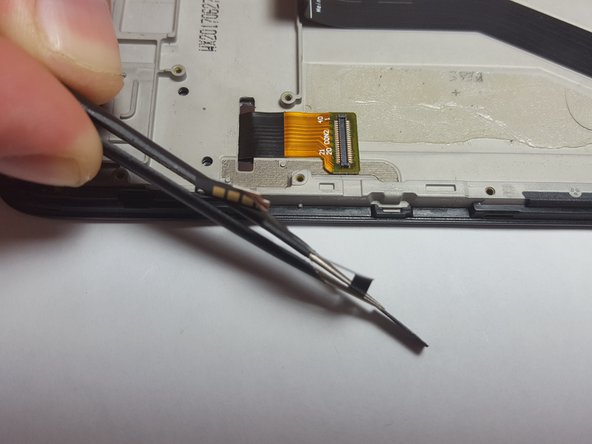
Use the Precision Tweezer to detach the Power and Volume Buttons Flex. Start at the lip of the phone, as seen in Image 2, and lift up. Slide the precision tweezers under the power and volume buttons flex until you reach the gold plated section, detaching it from the phone.
-


To reassemble your device, follow these instructions in reverse order.
To reassemble your device, follow these instructions in reverse order.
Annulation : je n'ai pas terminé ce tutoriel.
4 autres ont terminé cette réparation.
Équipe

Baylor, Team S3-G2, Williams Spring 2018 Membre de l'équipe Baylor, Team S3-G2, Williams Spring 2018
BU-WILLIAMS-S18S3G2
4 membres
13 tutoriels rédigés