Introduction
Use this guide to replace your Nexus 4 Display Assembly. This is especially useful if your device has a cracked screen or other display related problem
Ce dont vous avez besoin
-
Outil utilisé dans cette étape :SIM Card Eject Tool$2.99
-
Power off the phone, by long-pressing the power button and touching Power off.
-
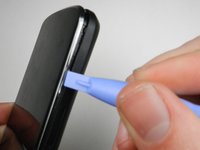
Remove the SIM tray using the SIM Card Eject Tool.
-
-
Outil utilisé dans cette étape :T5 Torx Screwdriver$5.49
-
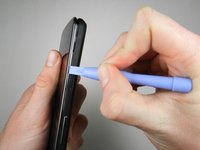
Remove the two screws from the bottom of the phone with a T5 Torx Screwdriver.
-
-
-
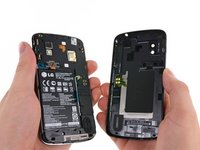
Remove the two 1.8 mm Phillips screws holding down the battery connector.
-
Using a plastic opening tool, disconnect the battery cable from its socket on the motherboard.
-
-
Outil utilisé dans cette étape :Plastic Cards$2.99
-
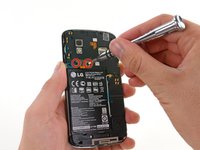
Remove the blue tape that secures the white antenna cable to the battery.
-
Using a spudger, carefully disconnect the white antenna cable.
-
Carefully pry the battery out with a Plastic Opening Tool, starting at the top left-hand corner and working down towards the bottom right-hand corner.
-
-
-
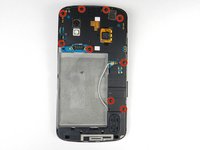
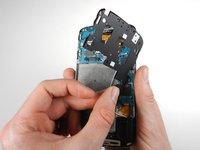
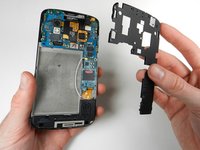
Remove the nine 4.6 mm Phillips #000 screws. Gently lift out the plastic cover.
-
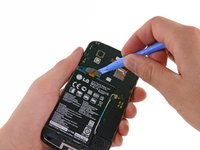
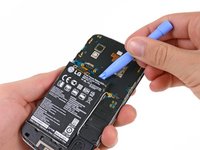
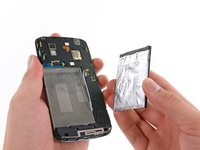
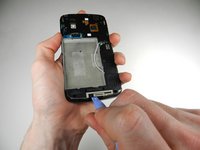
The midframe is held in with two clips, one at either side. Use a plastic spudger to release each side and gently lift up and away.
-
-
-
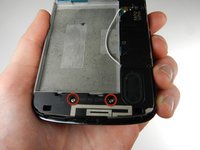
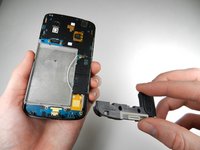
Remove the two 4.8 mm screws that hold the speaker enclosure together using the Phillips 00 screwdriver.
-
-
-
-
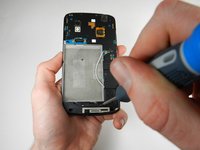
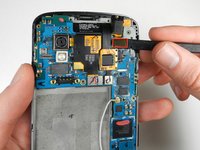
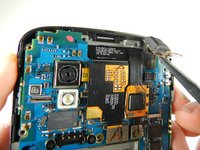
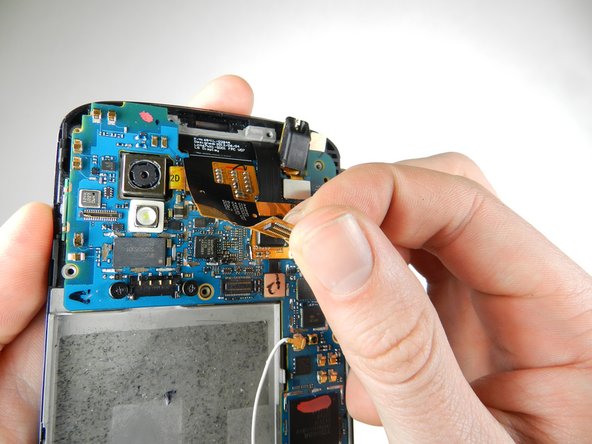
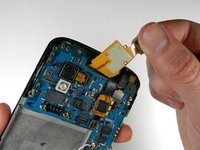
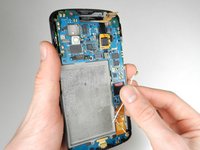
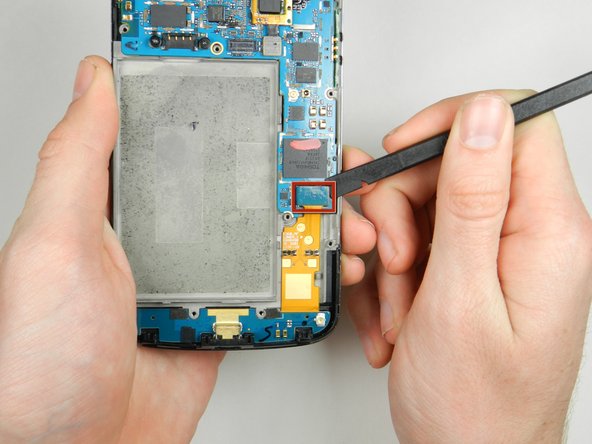
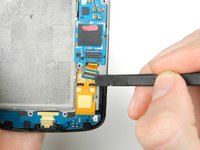
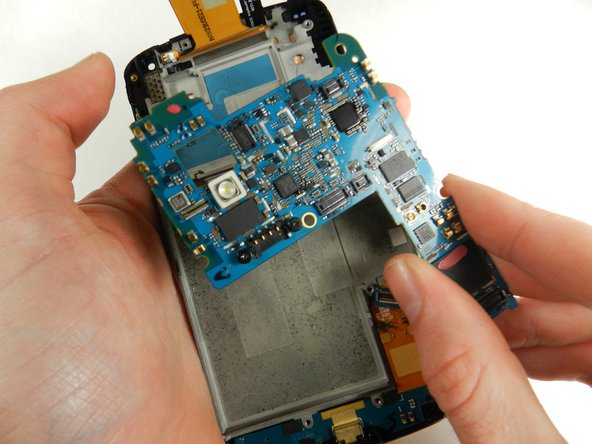
Using a spudger, pop off the gray connector on the top right of the motherboard.
-
-
-
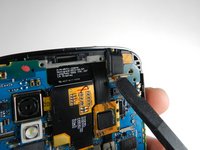
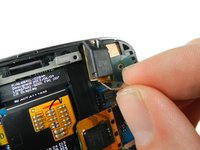
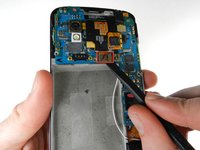
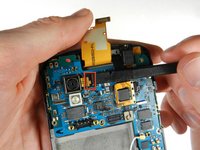
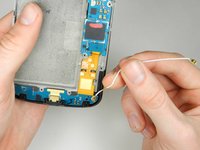
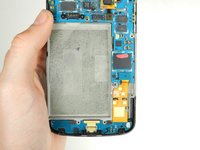
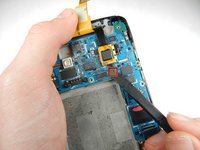
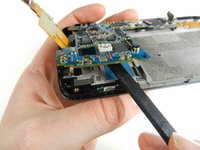
Gently pry the metal tab up using a spudger, and lift up the disconnected black flap.
-
-
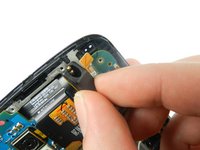
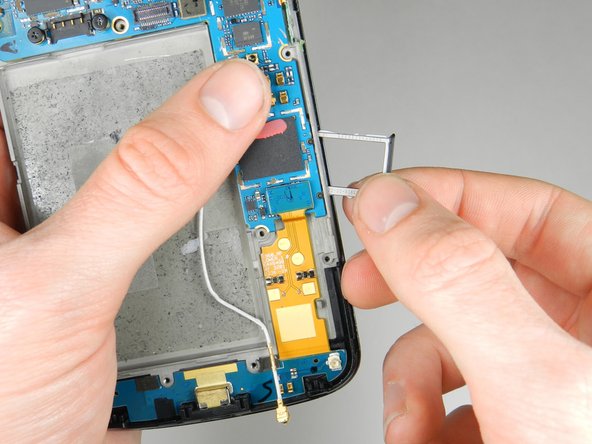
Outil utilisé dans cette étape :Tweezers$4.99
-
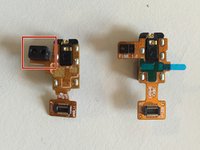
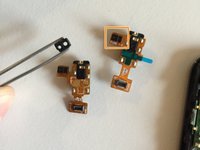
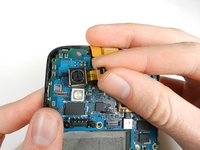
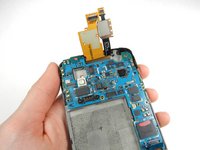
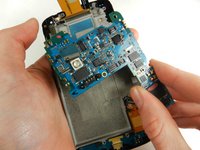
Grasp the daughterboard with tweezers.
-
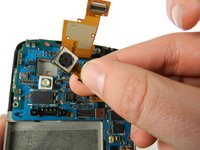
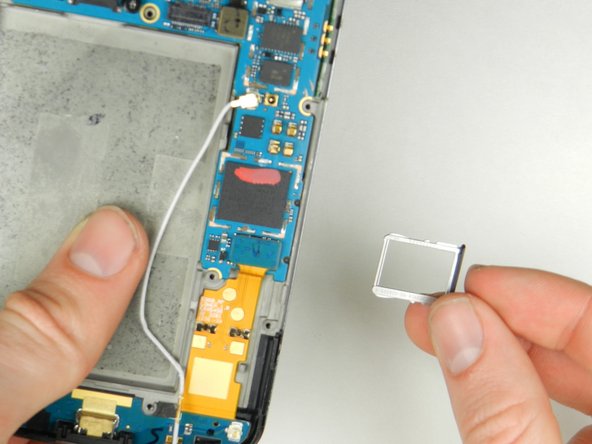
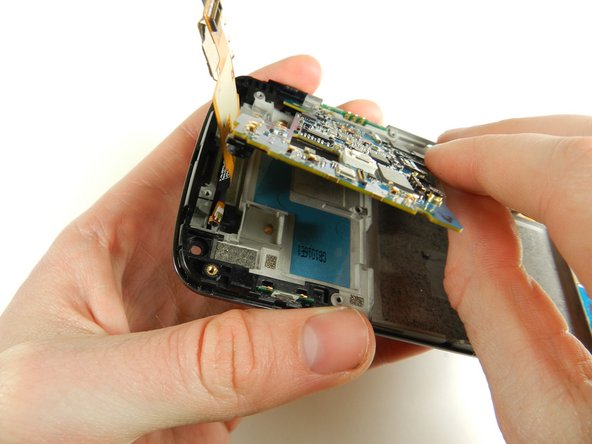
Gently pull upwards to slide the connector out of the charging port housing.
-
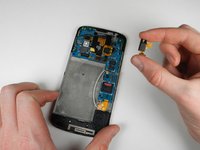
Remove the daughterboard from the display assembly.
-


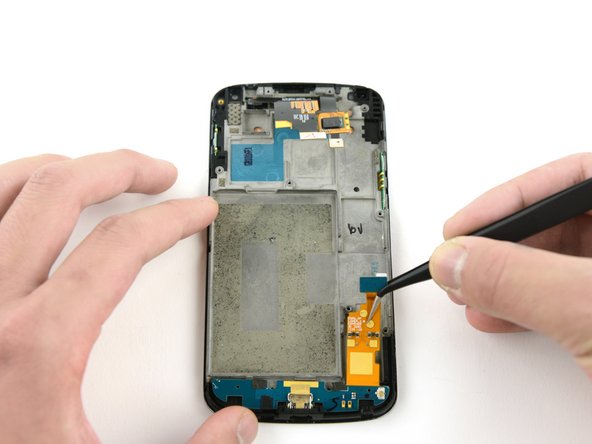


To reassemble your device, follow these instructions in reverse order.
Annulation : je n'ai pas terminé ce tutoriel.
20 autres ont terminé cette réparation.
