Introduction
The Nintendo WaveBird Wireless Controller uses radio frequency (RF) technology to connect to the Nintendo GameCube Console wirelessly.
Should your WaveBird Controller C-stick (the yellow “joystick” located on the righthand side of the controller with the letter C on top of the button) need replacement or repair from wear and tear or malfunction, this guide will show you the steps necessary for removing and reassembling a C-stick.
This repair will be helpful if the C-Stick isn't working properly.
Comfortability with the handling of a controller motherboard and skilled use of tweezers and a Tri-point Y1 screwdriver are necessary skills required.
There is potential for device damage to the motherboard and daughterboard of the controller during this repair, and this guide further explains the careful steps necessary to prevent damage below.
Ce dont vous avez besoin
-
-
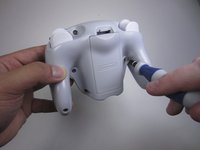
Pull down on the battery cover release lever and pull back to remove the cover.
-
-
-
-
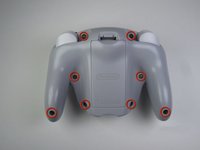
Remove the eight 9 mm screws from the back panel using the Tri-point Y1 screwdriver.
-
-
Outil utilisé dans cette étape :Tweezers$4.99
-
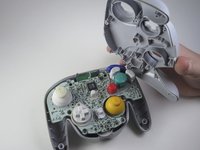
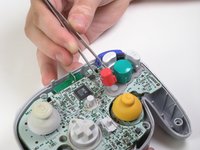
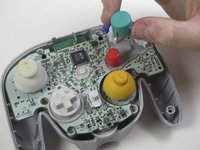
Use tweezers to remove the buttons.
-
-
-
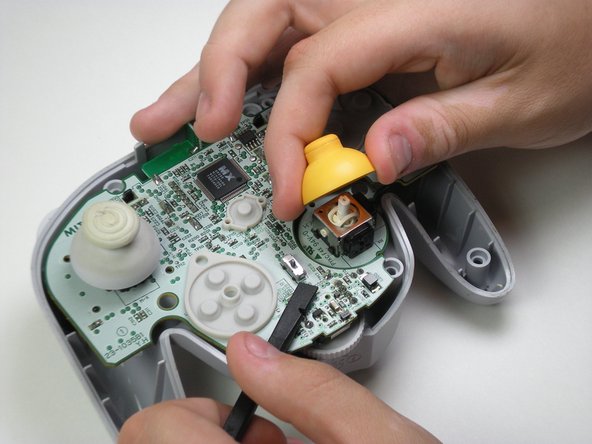
Grab the base of the yellow C-Stick cover with one hand and gently hold down the bottom piece of the motherboard with the spudger.
-
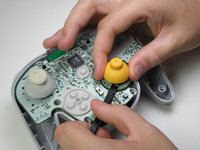
Pull off the yellow C-Stick cover.
-


To reassemble your device, follow these instructions in reverse order.
Annulation : je n'ai pas terminé ce tutoriel.
3 autres ont terminé cette réparation.

Équipe

Cal Poly, Team 10-40, Amido Spring 2013 Membre de l'équipe Cal Poly, Team 10-40, Amido Spring 2013
CPSU-AMIDO-S13S10G40
4 membres
37 tutoriels rédigés