Cette version peut contenir des modifications incorrectes. Passez au dernier aperçu vérifié.
Ce dont vous avez besoin
-
Cette étape n’est pas traduite. Aidez à la traduire
-
Insert the pick between the glass to separate the glass from the device. You can also use the suction cups to help lift the glass.
-
-
Cette étape n’est pas traduite. Aidez à la traduire
-
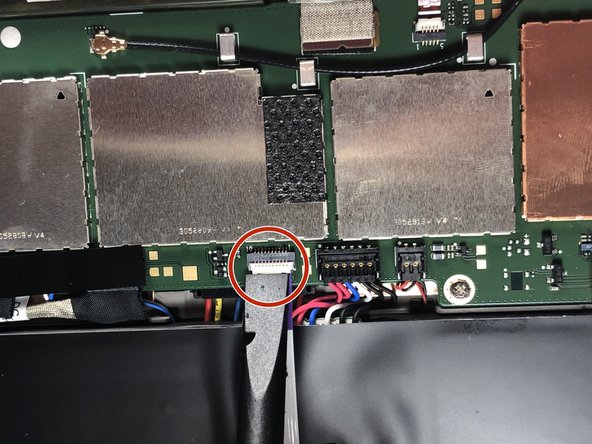
Pull the ribbon cable out from the connection port on the board.
-
Move on the step 4 to remove the ribbon connection from the screen.
-
-
Cette étape n’est pas traduite. Aidez à la traduire
-
Use the plastic pry tool to remove both of the connections.
-
-
-
Cette étape n’est pas traduite. Aidez à la traduire
-
Set aside the screen and the display assembly for repair.
-
-
-
Utilisez un outil en plastique pour retirer le connecteur de la batterie de la carte logique.
-
-
Cette étape n’est pas traduite. Aidez à la traduire
-
Take a PH0 Phillps head screw bit to take the screw out.
-
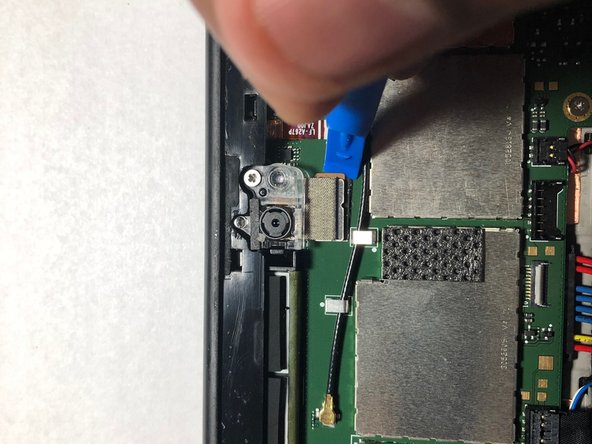
Take a pry tool and disconnect the ribbon cabe from the logic board
-
Then use a plastic pry tool and take out the front facing camera out of its housing.
-
-
Cette étape n’est pas traduite. Aidez à la traduire
-
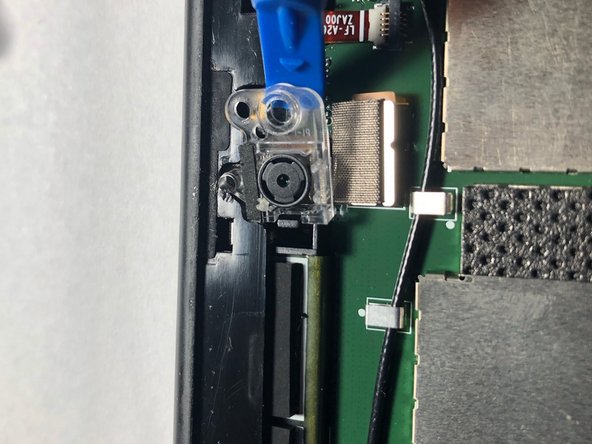
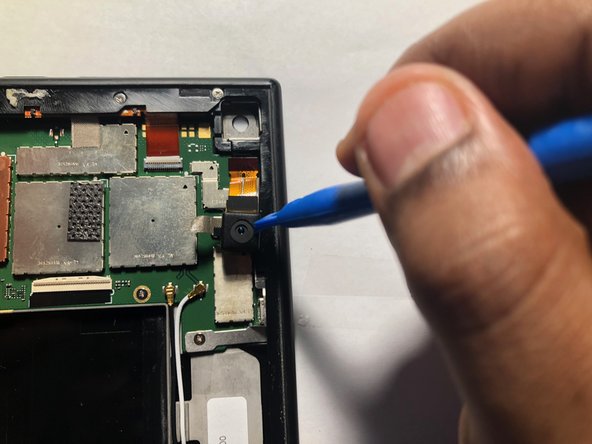
Locate the rear facing camera. which is located on the top right side of the case.
-
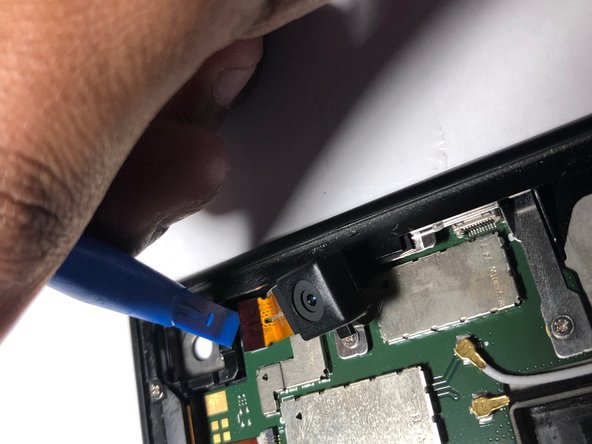
Take a plastic pry tool to pill the tape and camera from its housing.
-
-
Cette étape n’est pas traduite. Aidez à la traduire
-
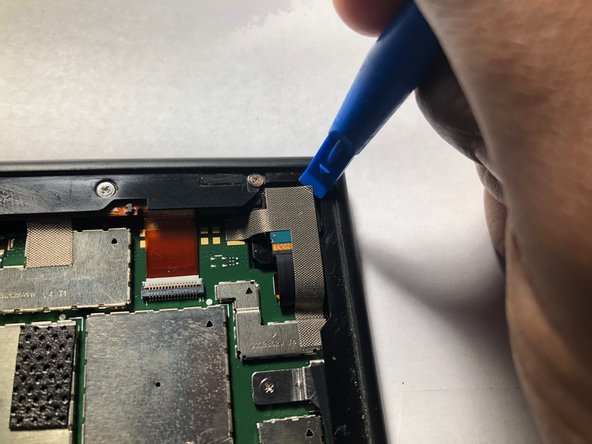
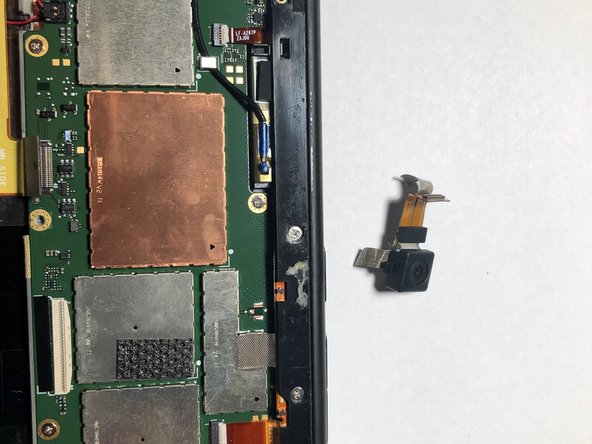
Take the pry tool and remove the ribbon cable from the logic board.
-


Équipe

Gateway, Team S1-G4, Luster Fall 2018 Membre de l'équipe Gateway, Team S1-G4, Luster Fall 2018
GCC-LUSTER-F18S1G4
5 membres
5 tutoriels rédigés