Cette version peut contenir des modifications incorrectes. Passez au dernier aperçu vérifié.
Ce dont vous avez besoin
-
Cette étape n’est pas traduite. Aidez à la traduire
-
On the back of the front cover, remove the white plastic using a metal spudger.
-
Remove the PCB using a spudger
-
-
-
Cette étape n’est pas traduite. Aidez à la traduire
-
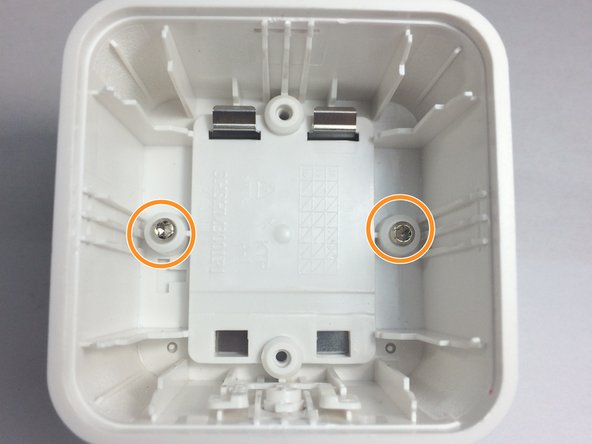
Once the PCB is removed, use a Torx T9 screwdriver to unscrew and remove the power supply.
-
Remove the screws holding on the back cover with a Torx T9 screwdriver and remove the back cover.
-
-
Cette étape n’est pas traduite. Aidez à la traduire
-
Remove the button by grabbing the tab over the button and pulling it out.
-
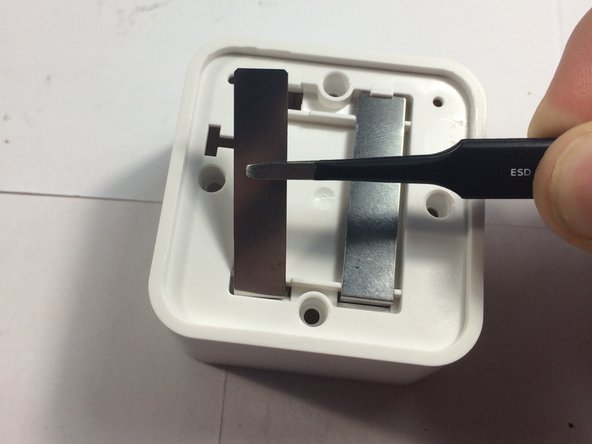
Remove both metal sheets. when its at an angle, push it in a little and then pull it up so that it is pointing straight up. then, you can push it through.
-


Annulation : je n'ai pas terminé ce tutoriel.
Une autre personne a terminé cette réparation.
