Cette version peut contenir des modifications incorrectes. Passez au dernier aperçu vérifié.
Ce dont vous avez besoin
-
Cette étape n’est pas traduite. Aidez à la traduire
-
With a Phillips #0 screwdriver, remove the eight 9.5mm screws attached to the left and right panels of the device.
-
-
Cette étape n’est pas traduite. Aidez à la traduire
-
With a Phillips #0 screwdriver, remove the five 11.5mm screws attached to the backside panel of the device.
-
-
Cette étape n’est pas traduite. Aidez à la traduire
-
Detach the right and left panels from the device.
-
-
Cette étape n’est pas traduite. Aidez à la traduire
-
Lift the top panel and gently place alongside the device.
-
Allow the top panel to rest on the back without reattaching it.
-
-
Cette étape n’est pas traduite. Aidez à la traduire
-
With the tweezers, detach the indicated tabs from the hooks by lifting upward.
-
-
-
Cette étape n’est pas traduite. Aidez à la traduire
-
Lift the top panel upward while firmly sliding it towards the back of the device.
-
-
Cette étape n’est pas traduite. Aidez à la traduire
-
Disconnect the black wire by gripping the wire at the base and pulling gently until released.
-
-
Cette étape n’est pas traduite. Aidez à la traduire
-
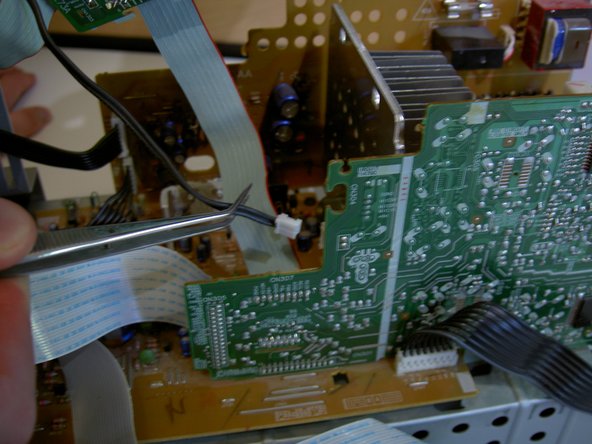
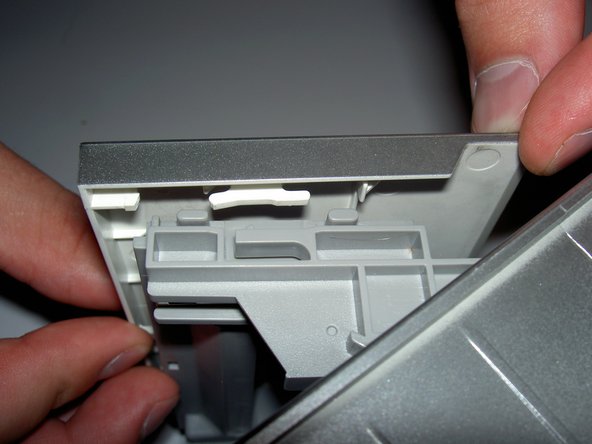
This step deals with the indicated area of the device.
-
Using the tweezers, detach the indicated tabs so that the cord may be released from the restraints.
-
Gently pull on the cord, near its base, until it comes free of the restraint.
-
-
Cette étape n’est pas traduite. Aidez à la traduire
-
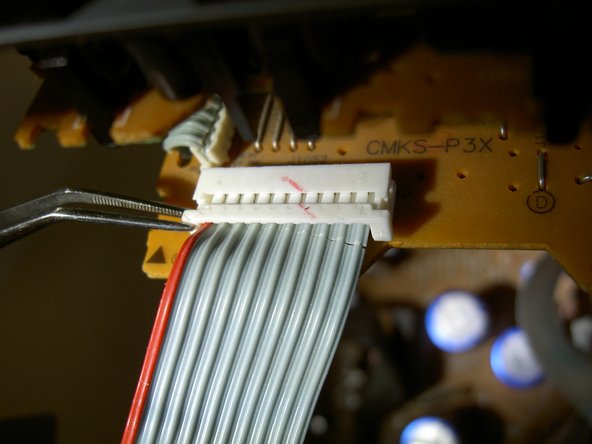
This step deals with the indicated area of the device.
-
Lift the indicated tabs out until the restraint looks like the final picture.
-
Gently pull on the cord until it is released from the attachment.
-
The top panel is now disconnected from the device.
-
-
Cette étape n’est pas traduite. Aidez à la traduire
-
Remove the four 12.1mm screws using a Phillips #0 screwdriver.
-
-
Cette étape n’est pas traduite. Aidez à la traduire
-
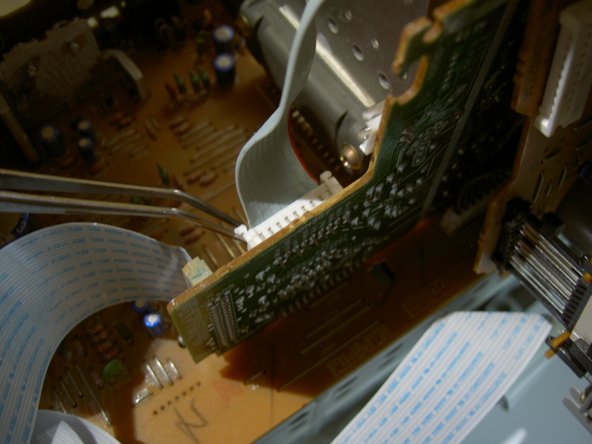
This step deals with the indicated area.
-
Using the tweezers, pull the indicated latch to the right to disconnect the tape player unit from the top of the device.
-
While holding the latch to the right, lift the unit up from the plastic.
-
-
Cette étape n’est pas traduite. Aidez à la traduire
-
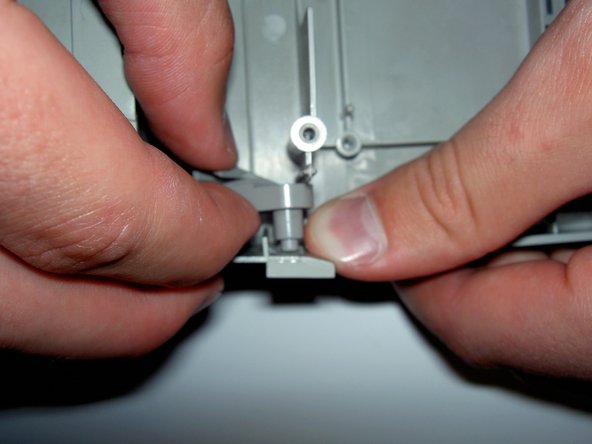
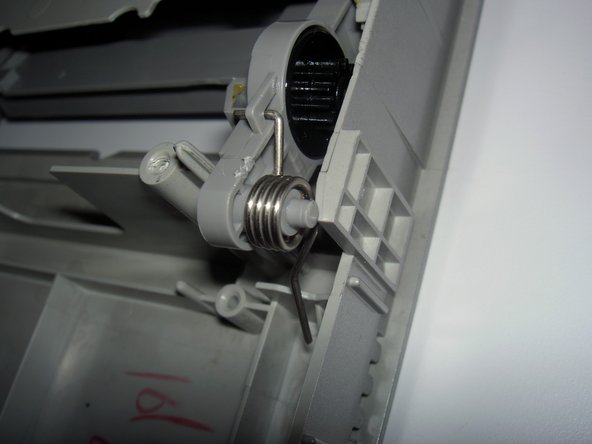
Pull back on the peg while pulling forward on the tab until the peg comes out of its hole.
-
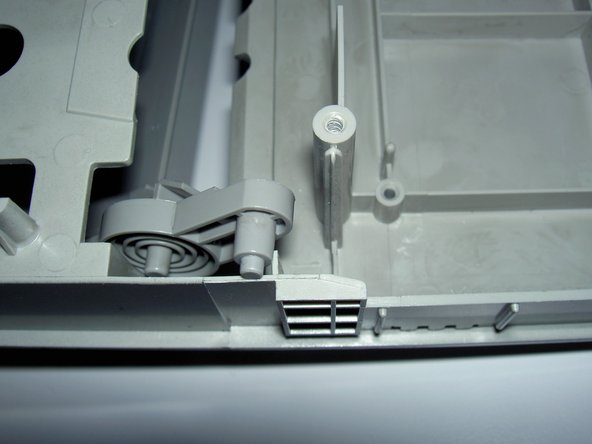
Lift the peg up and allow it to rest on top of the casing, as indicated.
-
-
Cette étape n’est pas traduite. Aidez à la traduire
-
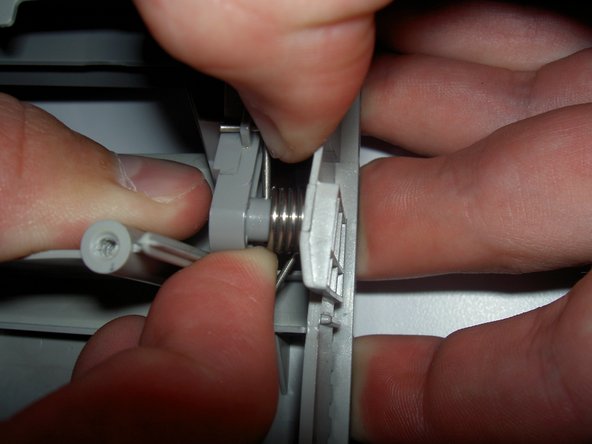
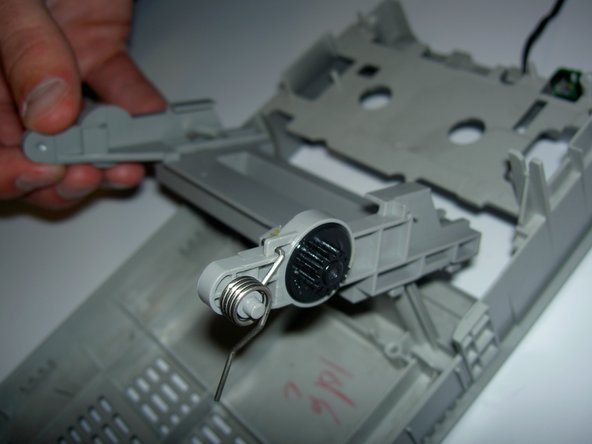
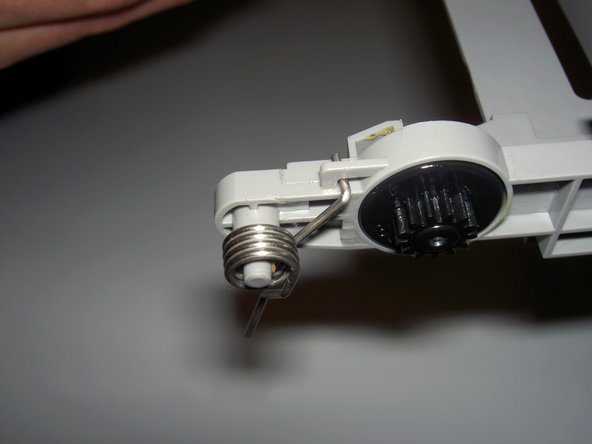
Pull back on the peg while pulling forward on the tab.
-
Once the peg is loose of its hole, lift upward until it is clear of the tab.
-
-
Cette étape n’est pas traduite. Aidez à la traduire
-
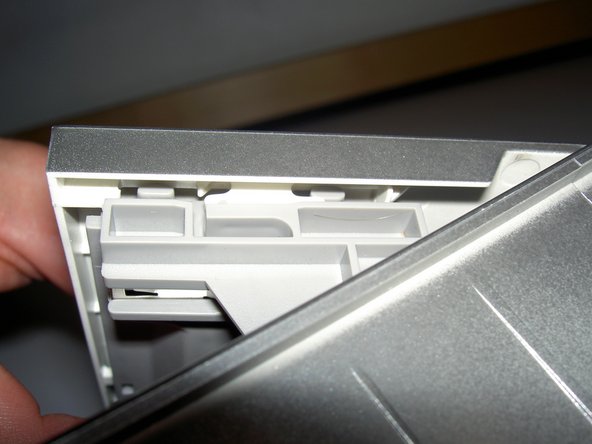
Lift the cover up and out from the inside of the top section.
-
If at first the cover does not come free, jiggle it around until it does. Do not force it out.
-


Équipe

Cal Poly, Team 4-1, Regan Spring 2011 Membre de l'équipe Cal Poly, Team 4-1, Regan Spring 2011
CPSU-REGAN-S11S4G1
3 membres
5 tutoriels rédigés