Il est possible que cette traduction ne reflète pas les dernières mises à jour du tutoriel source. Aidez à mettre à jour la traduction ou bien consultez le tutoriel source.
Introduction
Suivre ce guide implique d’ouvrir la Xbox 360 E et est un peu plus compliqué que de remplacer d’autres pièces de la Xbox.
Ce dont vous avez besoin
-
-
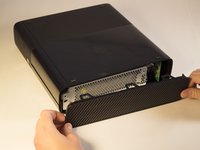
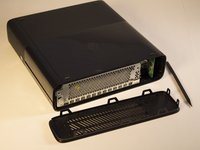
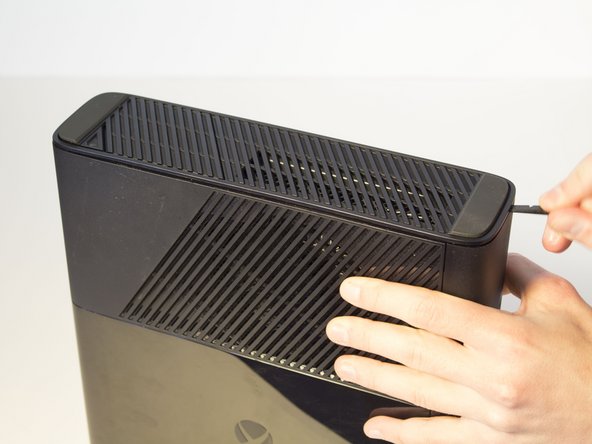
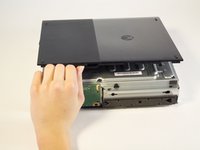
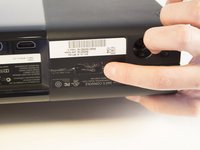
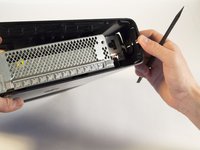
Poussez le Spudger dans la fente entre le panneau supérieur râpé de la Xbox et le bas du corps avec les pieds en caoutchouc.
-
Tirez sur le spudger comme un levier, en le maintenant fermement appuyé dans la crevasse.
-
-
-
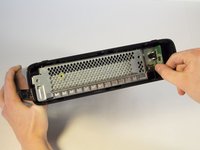
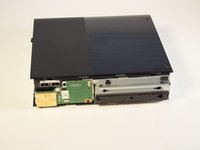
Retirez la vis de 11 mm à gauche de la carte wifi verte à l'aide du foret à vis Torx T9.
-
-
-
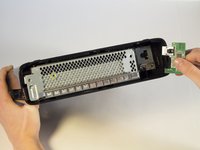
Saisissez fermement la carte verte Wi-Fi et retirez-la de la Xbox.
On that wifi card there is a little port that you can plug and old router antena into. Any idea what its called?
-
-
-
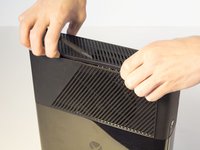
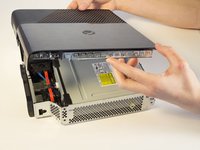
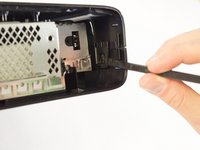
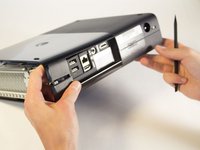
Poussez le spudger dans la fente entre la face râpée droite et le corps supérieur de la Xbox. Il est plus facile de commencer loin de l'évent.
-
Tirez sur le spudger comme un levier, en le maintenant fermement appuyé dans la crevasse.
-
-
-
-
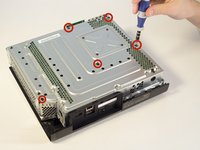
Retirez les cinq longues vis noires de 55 mm marquées C2-5 et C7 avec un tournevis T9 Torx.
-
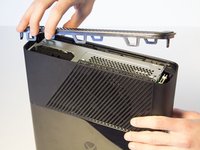
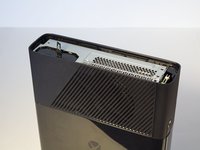
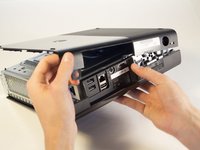
Retournez délicatement l'appareil et retirez le corps en le soulevant de la section métallique fixée à l'extérieur en plastique.
Missing some steps here…. Where are the clips holding the sides together? To go straight from “Remove bottom cover” to “Device is apart” is a bit… lacking.
Yes, Aksel Barnes is correct. There are missing pictures and steps showing the removal of the plastic exterior from the metal section.
another "manual" missing the hardest steps
-
-
-
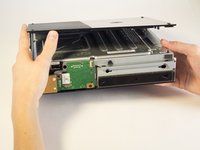
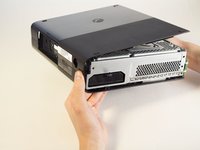
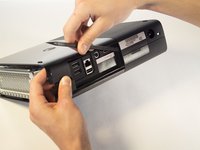
Orientez la Xbox de sorte que le bas du boîtier soit orienté vers le haut. Assurez-vous de bien voir les pieds en caoutchouc pour savoir que vous avez le bon côté de l'appareil.
-
Soulevez le bas du corps légèrement à l’écart du noyau à un angle de 45 degrés.
-
-
-
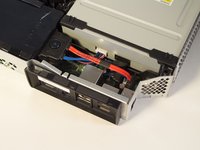
Utilisez vos doigts pour débrancher le câble ruban bleu du lecteur de CD.
Note: The ribbon cable connected to the CD drive can be in the color red (as it was on my board). Just make sure the other end is connected to the motherboard to be sure.
Como destrava a gaveta do cd
-
-
-
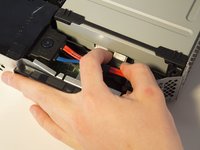
Soulevez l’avant du lecteur de CD et sortez-le.
Just note that you will have to swap the PCB inside the disc drive. If you do not go through with this the game will not start.
You do also require some soldering skills as the wires for the motor and sensor for the disc tray are soldered to the PSB.
-
Pour remonter votre appareil, suivez ces instructions dans l’ordre inverse.
Pour remonter votre appareil, suivez ces instructions dans l’ordre inverse.
Annulation : je n'ai pas terminé ce tutoriel.
25 autres ont terminé cette réparation.
Merci à ces traducteurs :
85%
[deleted] nous aide à réparer le monde ! Vous voulez contribuer ?
Commencez à traduire ›
11 Guide Comments
screws are actually C1- C5 one is incorrectly labelled - C7 = C1 also in step 8.5 there are 3 clips holding back edge of bottom cover to top one. one on each end and one just to right of I/O area. can get 2 of them with a spudger (ends) and the middle one with a isesamo.
Several steps missing between 8 and 9
Like remove wifi adaptor.
There is some consistency errors in this guide. Step 9 seems to blast ahead beyond where we should be at this point of the guide.
Yeah, most definitely it jumps from removing the side grills to have completely disassembled the entire console case...
All the videos I watch tell me to take the drive apart and use the old motherboard on the new drive, so it's the same old motherboard. But mine is broke so can I just use the same motherboard from the new drive?
No must change the board over or it will not work.Gregory Lansberry.
Did you not mention the fact that the drives won’t work unless programmed?
I have had the need to replace the cd assembly on a few 360 e-models. The problem I run into occasionally is the new cd assembly will sometimes only play music discs. I'm not sure if there is a software lock on the assembly or not as installing a 2nd new drive fixes the problem. Are some 360 drive assemblies not compatible with certain mobo revisions? Also, once you get the sides off, a very long screwdriver does the trick on the clips to get it open.


