Introduction
Before replacing the antenna, make sure your current antenna is the reason for you phone's problems. Check out the device's troubleshooting page to make sure your antenna is faulty. You may want to replace the antenna if your phone can't make calls or does not receive reception.
Ce dont vous avez besoin
-
-
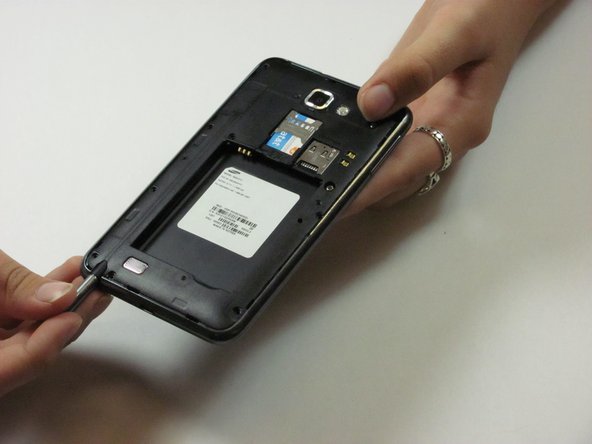
Make sure the screen is face-down and the camera is opposite you.
-
Insert the flat end of a spudger into the phone's top right rectangular slot.
-
Use the spudger as a lever to pry open the back of the phone.
 Demander à FixBot
-
-
-
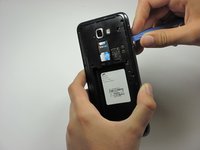
With the spudger still inserted, carefully slide the spudger down the side of the phone.
-
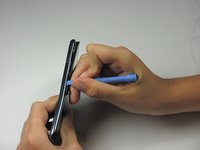
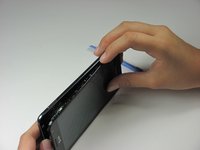
Gently peel off the back cover with your hand.
-
-
-
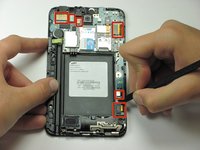
Place the spudger in the battery's bottom right slot.
-
Gently pry to remove the battery.
-
-
-
Remove the nine 3mm screws on the perimeter of the phone with a Phillips #00 screwdriver.
-
-
-
-
Pry all the way around the sides with a plastic pry tool and gently pop off the midframe.
-
If the cover does not come off easily, continue to pry along the phone's perimeter.
-
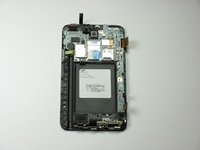
Separate the midframe from the phone. The midframe should now pull off easily.
-
-
-
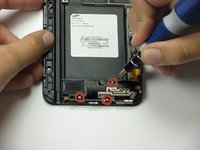
Remove the two 3mm screws surrounded by a gold border with a Phillips #00 screwdriver.
-
-
-
Use the spudger to pry up all six flex ribbons that hold the motherboard in place. They should pop off easily.
-
-
-
Use the spudger to pull off the white wire with the gold connector.
-
-
-
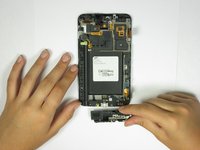
Lift the motherboard (PCB) directly up with your hands.
-
If the screws are all removed, the motherboard should come off easily.
-
-
-
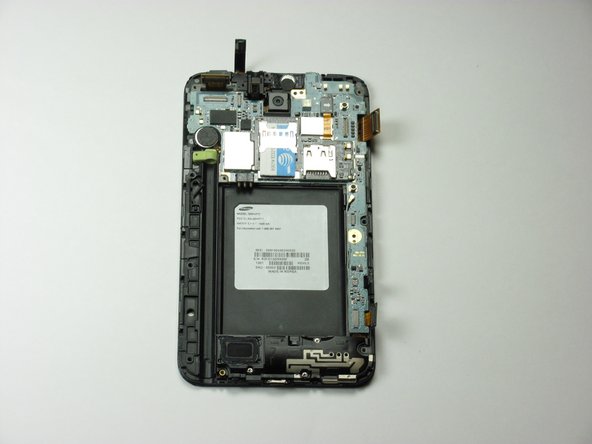
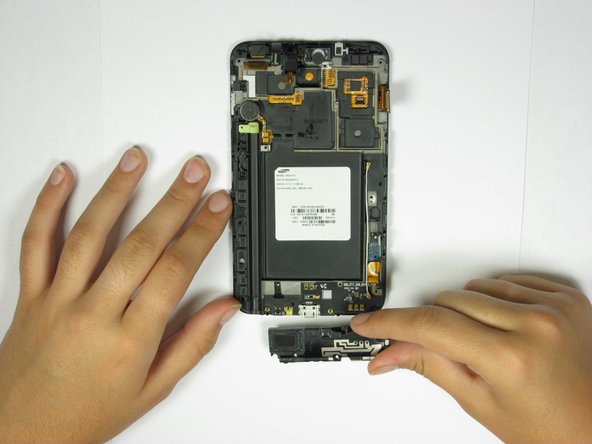
Use a Phillips #00 screwdriver to remove the three 3mm screws on the black rectangular bracket located towards the bottom of the phone.
-
-
-
Use the spudger's flat end to disconnect the other end of the antenna.
-


To reassemble your device, follow these instructions in reverse order.
Annulation : je n'ai pas terminé ce tutoriel.
13 autres ont terminé cette réparation.
Équipe

Cal Poly, Team 3-45, Amido Spring 2013 Membre de l'équipe Cal Poly, Team 3-45, Amido Spring 2013
CPSU-AMIDO-S13S3G45
4 membres
7 tutoriels rédigés