Aller au contenu principal
Pour réparer ensemble - Je crée un compte

Samsung Galaxy Prevail 2 Vibrator Replacement

Ce dont vous avez besoin

  1. Samsung Galaxy Prevail 2 Vibrator Replacement, Removing Back Casing: étape 1, image 1 de 3 Samsung Galaxy Prevail 2 Vibrator Replacement, Removing Back Casing: étape 1, image 2 de 3 Samsung Galaxy Prevail 2 Vibrator Replacement, Removing Back Casing: étape 1, image 3 de 3
    • Using your finger nails or the spudger; pry the plastic casing open, and pull away from the body of the phone.

    Demander à FixBot

    Ajouter un commentaire

  2. Samsung Galaxy Prevail 2 Vibrator Replacement, Remove Battery: étape 2, image 1 de 3 Samsung Galaxy Prevail 2 Vibrator Replacement, Remove Battery: étape 2, image 2 de 3 Samsung Galaxy Prevail 2 Vibrator Replacement, Remove Battery: étape 2, image 3 de 3
    • Gently pull the battery out of the phone.

    Demander à FixBot

    Ajouter un commentaire

  3. Samsung Galaxy Prevail 2 Vibrator Replacement, Remove Screws: étape 3, image 1 de 2 Samsung Galaxy Prevail 2 Vibrator Replacement, Remove Screws: étape 3, image 2 de 2
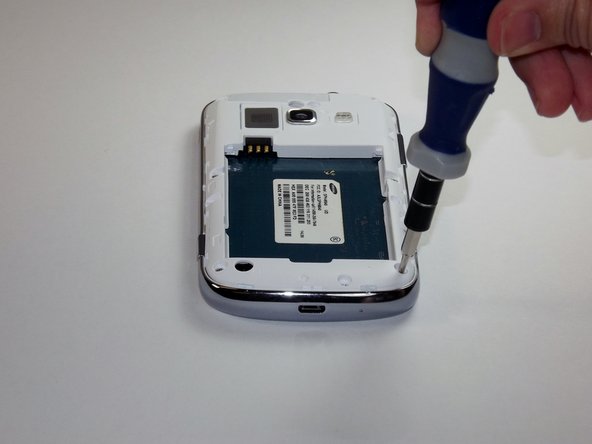
    • Unscrew all of the screws.

    • Be sure to set the screws aside in a safe place.

    Demander à FixBot

    Ajouter un commentaire

  4. Samsung Galaxy Prevail 2 Vibrator Replacement, Pry Off Back of Phone: étape 4, image 1 de 3 Samsung Galaxy Prevail 2 Vibrator Replacement, Pry Off Back of Phone: étape 4, image 2 de 3 Samsung Galaxy Prevail 2 Vibrator Replacement, Pry Off Back of Phone: étape 4, image 3 de 3
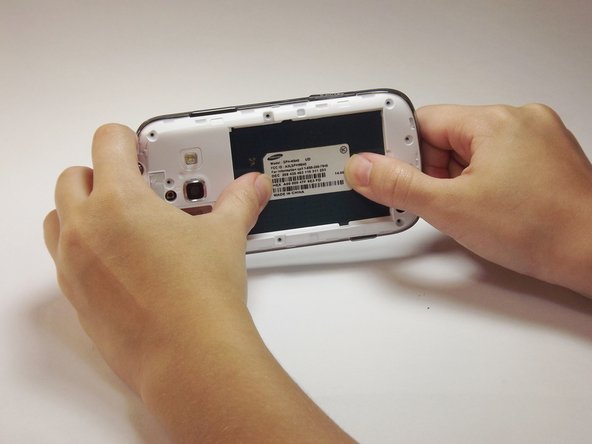
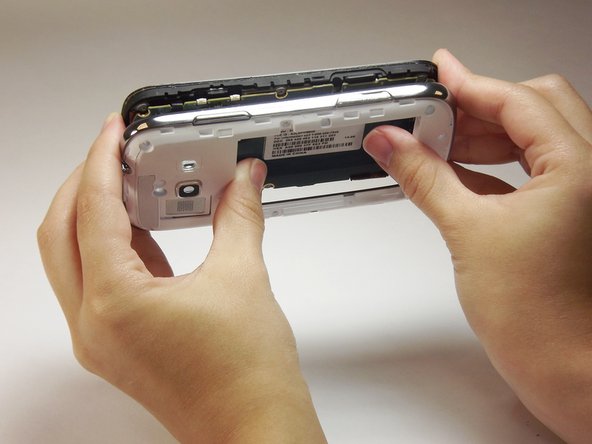
    • Insert the plastic prying tool between the silver frame and the white face of the phone. to pry off the front frame.

    • Make sure to pry around the entire frame to loosen it before proceeding.

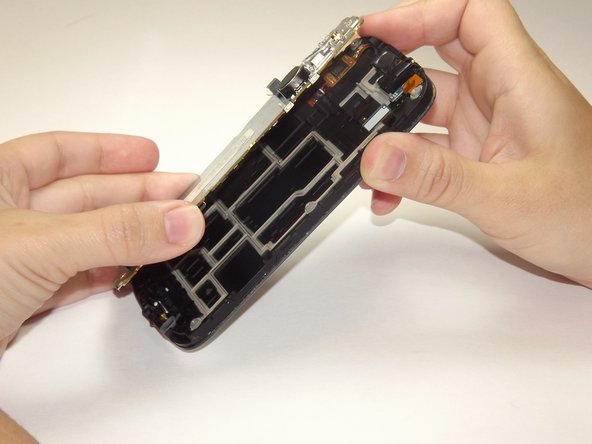
    • Use your thumbs to separate the motherboard from the back of the phone.

    Demander à FixBot

    Ajouter un commentaire

  5. Samsung Galaxy Prevail 2 Vibrator Replacement, Open the Motherboard: étape 5, image 1 de 3 Samsung Galaxy Prevail 2 Vibrator Replacement, Open the Motherboard: étape 5, image 2 de 3 Samsung Galaxy Prevail 2 Vibrator Replacement, Open the Motherboard: étape 5, image 3 de 3
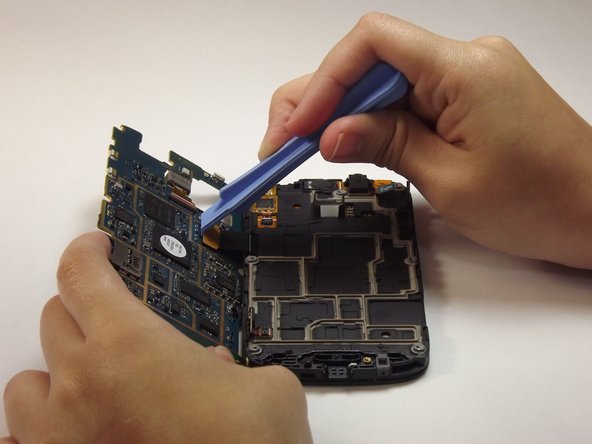
    • With the plastic prying tool, lift up the flap in order to fully open the motherboard.

    Demander à FixBot

    Ajouter un commentaire

  6. Samsung Galaxy Prevail 2 Vibrator Replacement, Detach Motherboard: étape 6, image 1 de 3 Samsung Galaxy Prevail 2 Vibrator Replacement, Detach Motherboard: étape 6, image 2 de 3 Samsung Galaxy Prevail 2 Vibrator Replacement, Detach Motherboard: étape 6, image 3 de 3
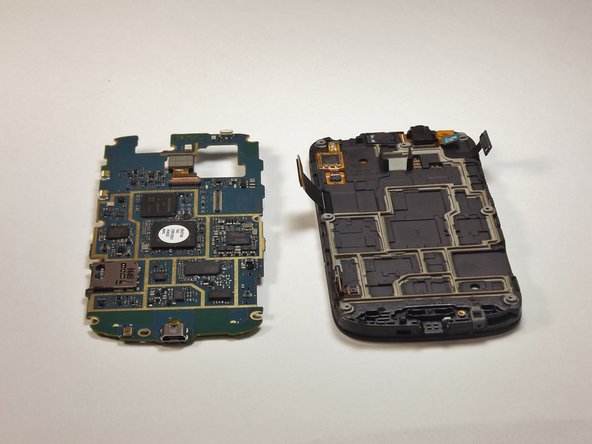
    • With plastic prying tool, lift the flap up to divide the motherboard.

    • This will make it easier to detach the internal battery.

    Demander à FixBot

    Ajouter un commentaire

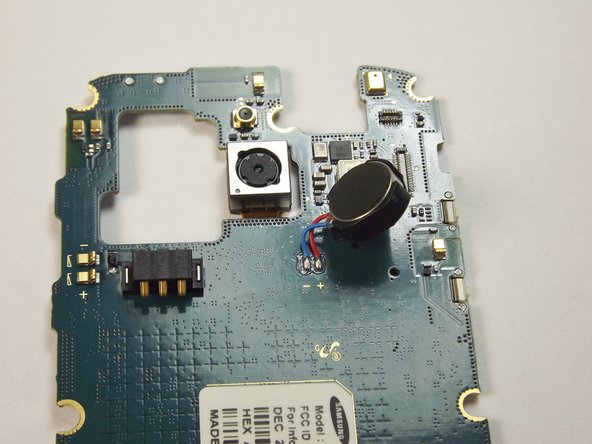
  7. Samsung Galaxy Prevail 2 Vibrator Replacement, Locate and Release Vibration Motor: étape 7, image 1 de 3 Samsung Galaxy Prevail 2 Vibrator Replacement, Locate and Release Vibration Motor: étape 7, image 2 de 3 Samsung Galaxy Prevail 2 Vibrator Replacement, Locate and Release Vibration Motor: étape 7, image 3 de 3
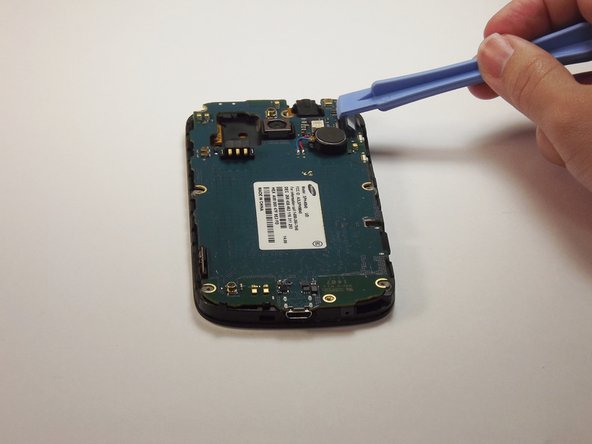
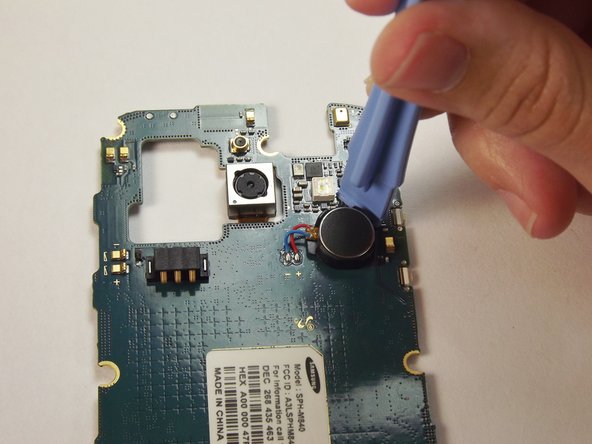
    • With plastic prying tool, lift up the vibration motor.

    Demander à FixBot

    Ajouter un commentaire

  8. Samsung Galaxy Prevail 2 Vibrator Replacement, Detach Vibration Motor: étape 8, image 1 de 1
    • With the soldering iron remove the solder attaching the vibration motor to the motherboard.

    Demander à FixBot

    Ajouter un commentaire

Conclusion

To reassemble your device, follow these instructions in reverse order.

Annulation : je n'ai pas terminé ce tutoriel.

5 autres ont terminé cette réparation.

Garrett Bowleg

Membre depuis le 10/08/14

487 Réputation

2 tutoriels rédigés

Équipe

USF Tampa, Team 14-4, Leahy Fall 2014 Membre de l'équipe USF Tampa, Team 14-4, Leahy Fall 2014

USFT-LEAHY-F14S14G4

4 membres

10 tutoriels rédigés

0 commentaires de tutoriel

Ajouter un commentaire

Nombre de vues :

Dernières 24 heures : 2

7 derniers jours : 8

30 derniers jours : 43

Total : 1,414