Introduction
Follow this guide to replace the display or screen adhesive for the Samsung Galaxy S7. This guide is used in conjunction with the Galaxy S7 screen replacement guide.
Ce dont vous avez besoin
-
-
Remove all traces of adhesive and debris from the phone's frame. Clean the adhesion surface with high concentration isopropyl alcohol (over 90%) and wipe it clean with a lint-free cloth.
-
Peel off the clear plastic backing from the pre-cut adhesive strip, exposing one side of adhesive.
-
-
-
Carefully line up an edge of the adhesive with the corresponding edge of the phone frame. Make sure the adhesive is properly oriented.
-
Set the adhesive down lightly on the frame.
-
Make sure that the adhesive cutouts match the phone, and that the camera and sensors are not covered by adhesive.
-
If it is not properly aligned, carefully peel the adhesive back up.
-
-
-
-
Continue reassembling your device until you are ready to attach the screen.
-
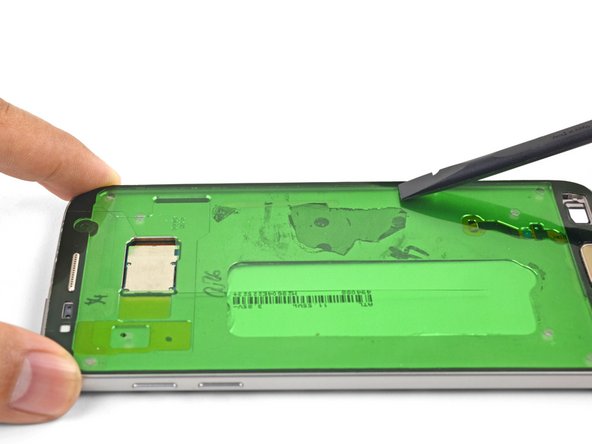
Peel and remove the green plastic liner from the adhesive strip to expose the screen-facing adhesive.
-
Align and set the phone screen on top of the adhesive.
-
Use your fingers to squeeze around the perimeter of the phone to set the adhesive.
-
Apply a few books worth of weight on top of the screen for an hour to help the adhesive bond.
-



Follow this link to return to the Galaxy S7 screen replacement guide.
Follow this link to return to the Galaxy S7 screen replacement guide.
Annulation : je n'ai pas terminé ce tutoriel.
13 autres ont terminé cette réparation.



