Introduction
This guide shows how to remove and replace the control board in your Samsung refrigerator.
The control board controls the refrigerator's functions. It also has a DC power board built into it. If your refrigerator turns on but doesn't function properly, check the components related to the function first. Replace the control board only after you've verified the other components.
This guide will work for most Samsung Refrigerators . This guide is based on a model RF28R7201SG Refrigerator. If you have a different model, you may encounter some minor disassembly differences, but the overall repair process will be the same.
Ce dont vous avez besoin
-
-
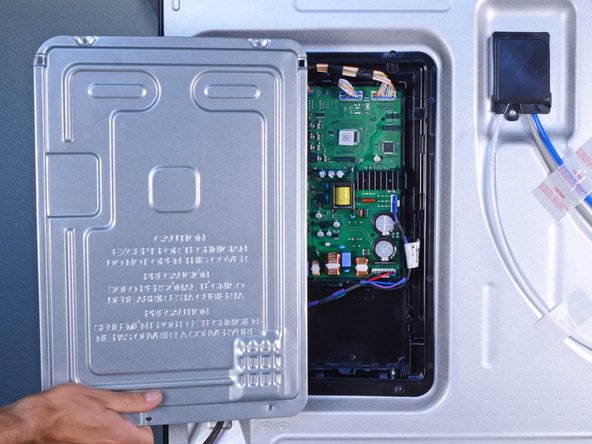
Remove the screws securing the board access panel to the back of the refrigerator.
-
-
-
-
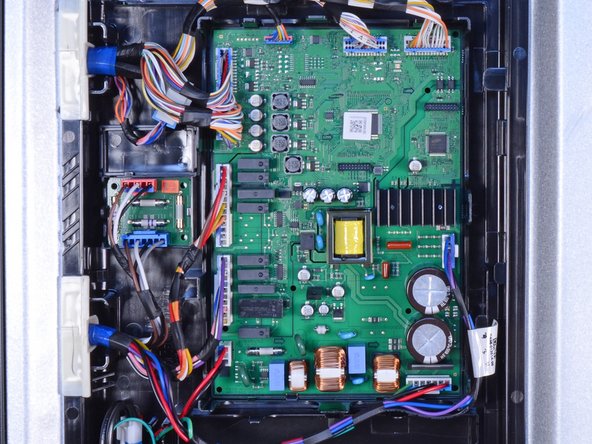
Three connectors along the top edge
-
One connector along the right edge
-
One connector along the bottom edge
-
Four connectors along the left edge
-
-
-
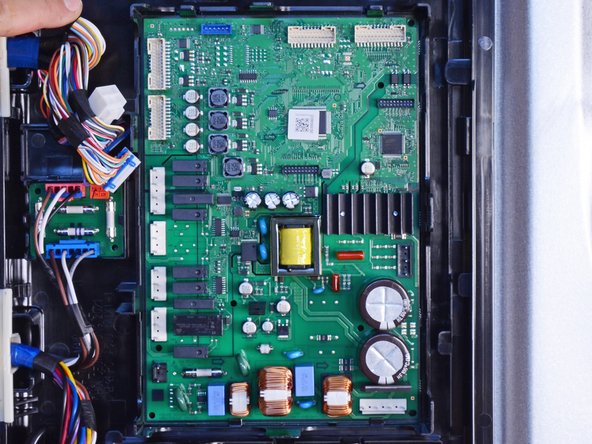
Pull and disconnect each of the connectors from the control board.
-
Move the wires away from the control board so it can swing out of its recess.
-


To reassemble your device, follow these instructions in reverse order.
Take your e-waste to an R2 or e-Stewards certified recycler.
Repair didn’t go as planned? Ask our Answers Community for help.
To reassemble your device, follow these instructions in reverse order.
Take your e-waste to an R2 or e-Stewards certified recycler.
Repair didn’t go as planned? Ask our Answers Community for help.


3 commentaires
My tempura in my new refrigerator isn’t working right , I bought earlier this year
Is this Samsung
Do you have a phone number