Aller au contenu principal

Sony Xperia XA1 Screen Replacement

Ce dont vous avez besoin

  1. Sony Xperia XA1 Screen Replacement, Phone Back Cover: étape 1, image 1 de 3 Sony Xperia XA1 Screen Replacement, Phone Back Cover: étape 1, image 2 de 3 Sony Xperia XA1 Screen Replacement, Phone Back Cover: étape 1, image 3 de 3
    • Using a hair dryer, apply heat evenly around the edges of the back of the phone. This will loosen the adhesive and allow you to remove the back panel.

    • As you're heating up the phone, begin to pry open the back starting from the middle, and going to the corners.

    • Do not apply heat in one area for too long.

  2. Sony Xperia XA1 Screen Replacement, Speaker: étape 2, image 1 de 3 Sony Xperia XA1 Screen Replacement, Speaker: étape 2, image 2 de 3 Sony Xperia XA1 Screen Replacement, Speaker: étape 2, image 3 de 3
    • Use a plastic opening tool to lift the battery connector.

    • Lift the flaps on both sides of the battery.

  3. Sony Xperia XA1 Screen Replacement: étape 3, image 1 de 3 Sony Xperia XA1 Screen Replacement: étape 3, image 2 de 3 Sony Xperia XA1 Screen Replacement: étape 3, image 3 de 3
    • Pinch the pull tab at the bottom of the battery.

    • Gently lift the battery out.

    • Handle the battery with caution. It is very fragile.

  4. Sony Xperia XA1 Screen Replacement: étape 4, image 1 de 2 Sony Xperia XA1 Screen Replacement: étape 4, image 2 de 2
    • Use a Phillips #000 screwdriver to remove the four 3 mm screws that secure the bottom component.

  5. Sony Xperia XA1 Screen Replacement: étape 5, image 1 de 3 Sony Xperia XA1 Screen Replacement: étape 5, image 2 de 3 Sony Xperia XA1 Screen Replacement: étape 5, image 3 de 3
    • Insert a spudger into the opening above the charging port, and apply gentle pressure to free the speaker piece.

    • Once the piece is loose, use your hand to remove the speaker from the phone.

  6. Sony Xperia XA1 Screen Replacement, USB-C Module: étape 6, image 1 de 3 Sony Xperia XA1 Screen Replacement, USB-C Module: étape 6, image 2 de 3 Sony Xperia XA1 Screen Replacement, USB-C Module: étape 6, image 3 de 3
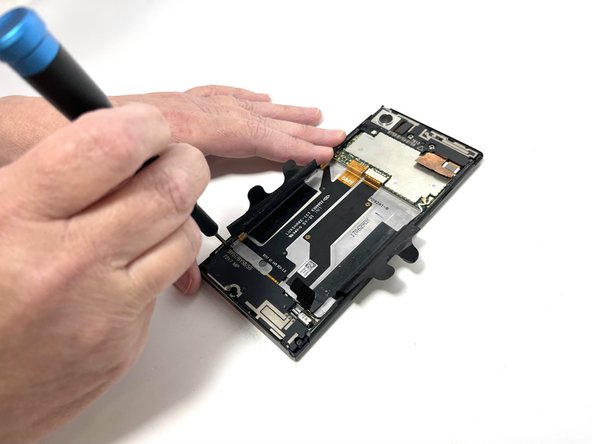
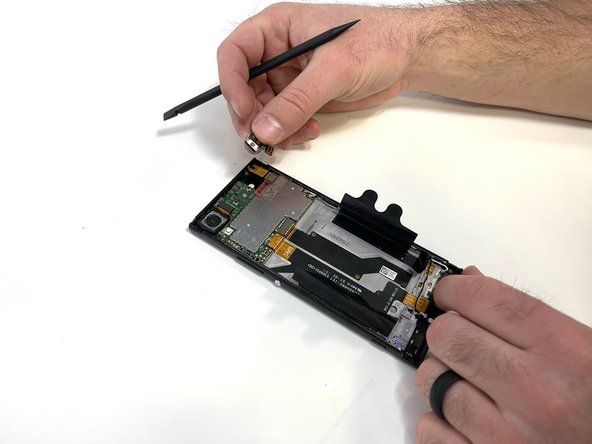
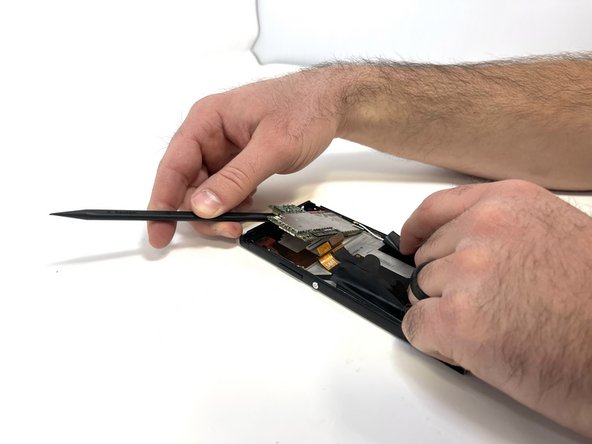
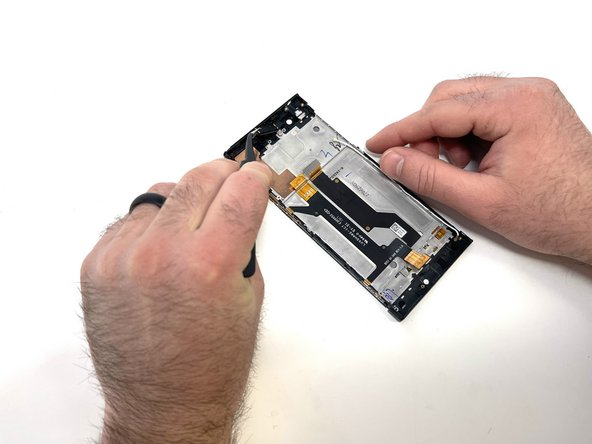
    • Locate the connecting cable and use a spudger or iFixit Opening Tool to remove the connector.

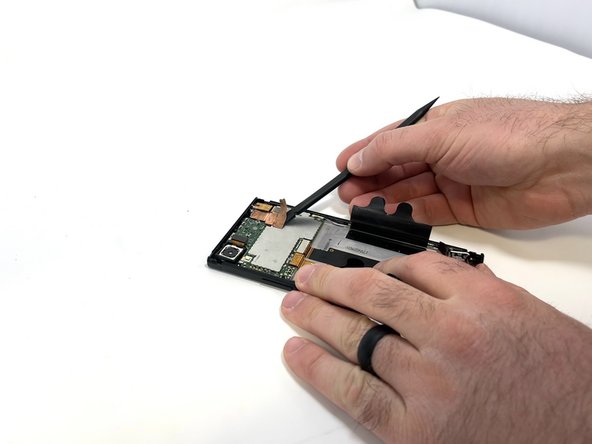
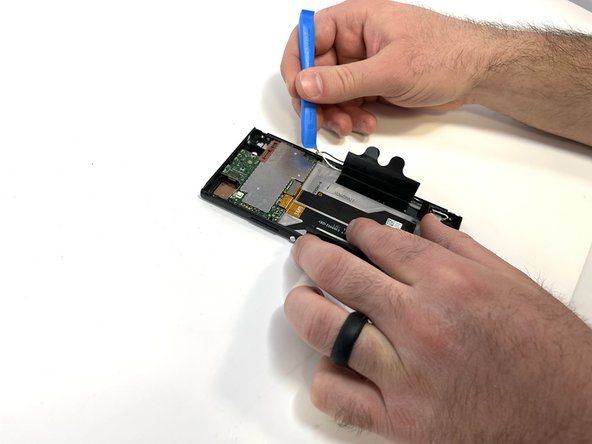
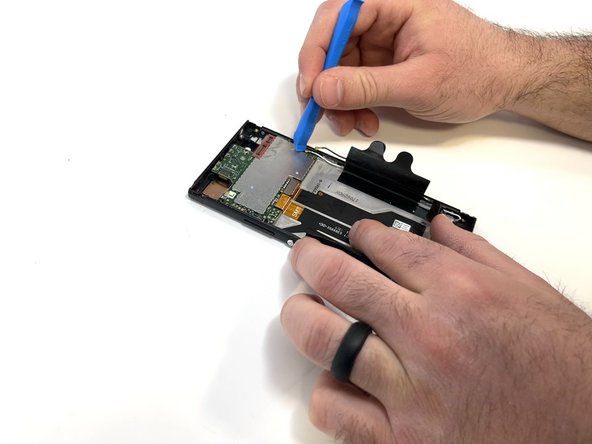
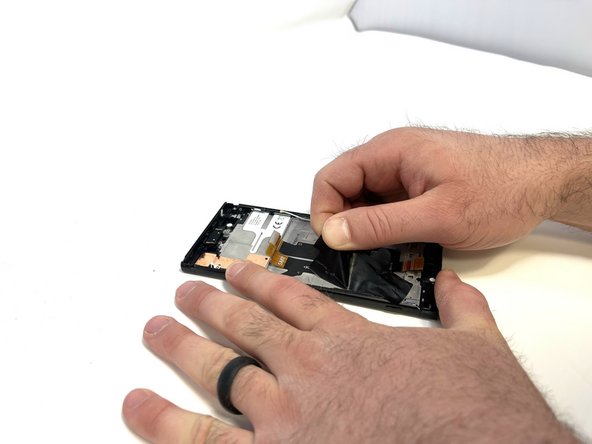
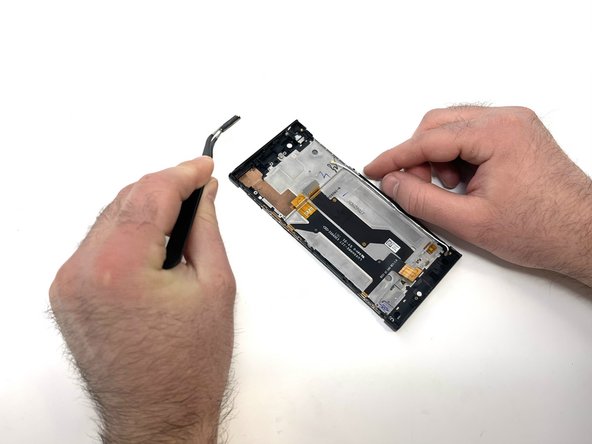
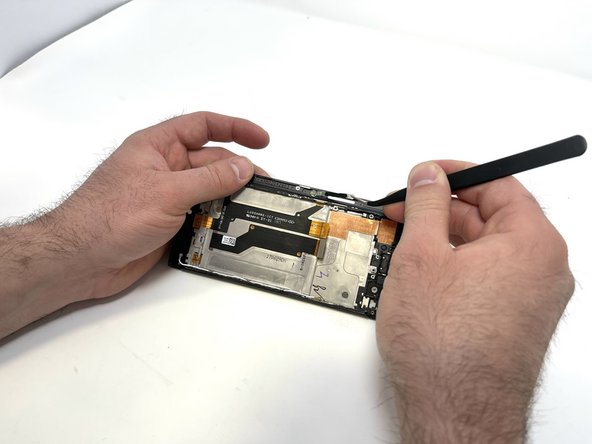
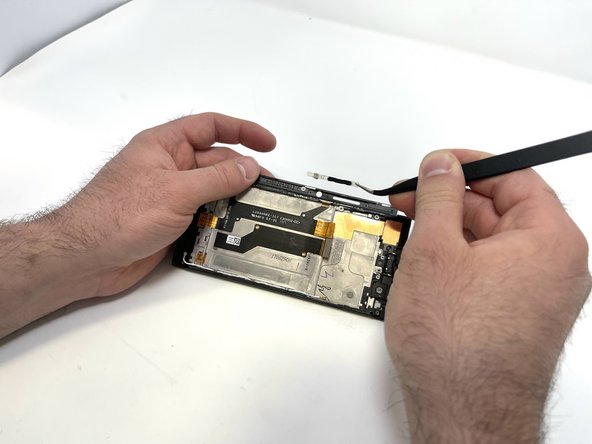
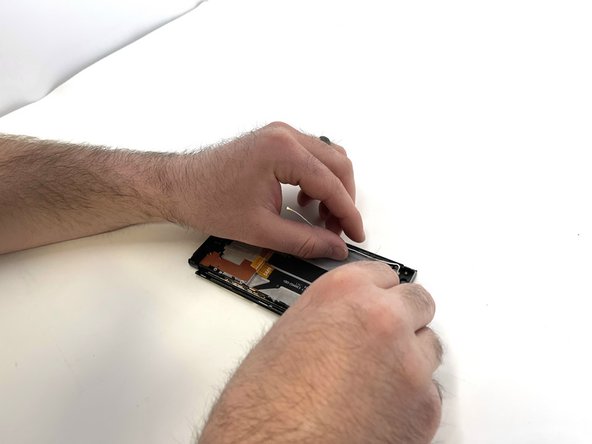
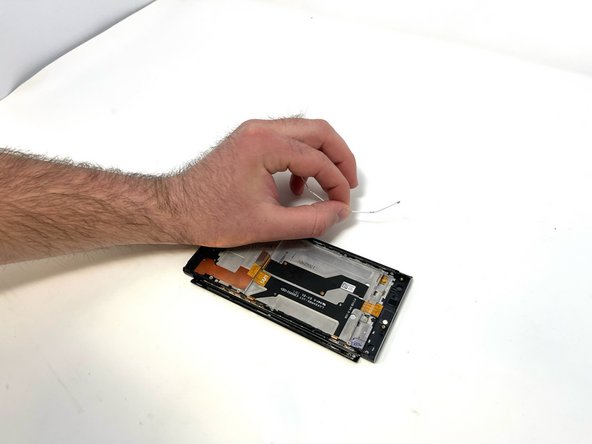
    • Disconnect the wifi/Bluetooth antenna wire, located at the top right of the USB-C charger board.

  7. Sony Xperia XA1 Screen Replacement: étape 7, image 1 de 3 Sony Xperia XA1 Screen Replacement: étape 7, image 2 de 3 Sony Xperia XA1 Screen Replacement: étape 7, image 3 de 3
    • After removing the connector and antennas, you are able to pry the USB-C board using a plastic spudger.

    • Be cautious, little effort is required to lift up the board, if too much force is applied this could damage the board.

  8. Sony Xperia XA1 Screen Replacement, Screen: étape 8, image 1 de 3 Sony Xperia XA1 Screen Replacement, Screen: étape 8, image 2 de 3 Sony Xperia XA1 Screen Replacement, Screen: étape 8, image 3 de 3
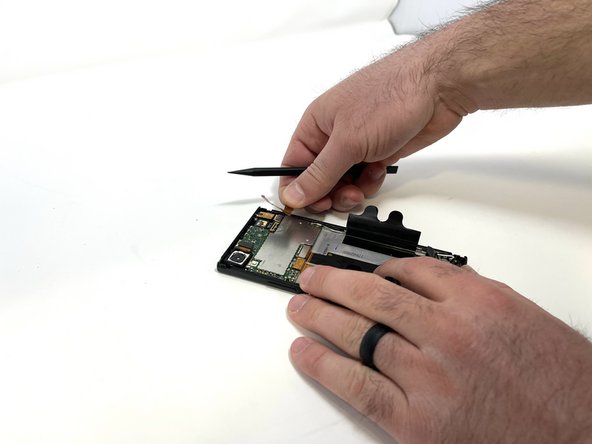
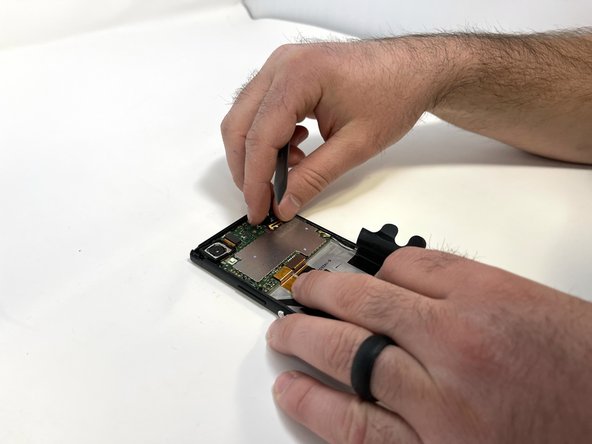
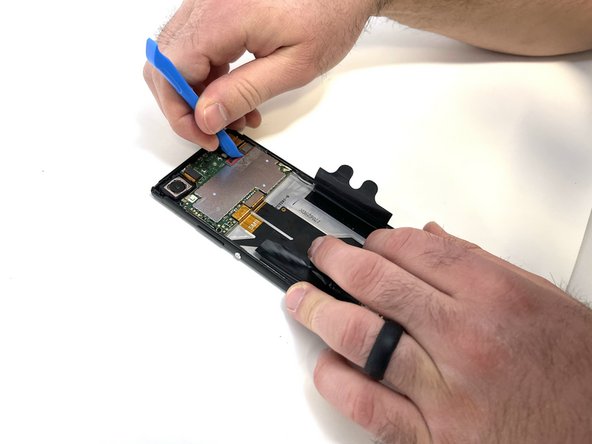
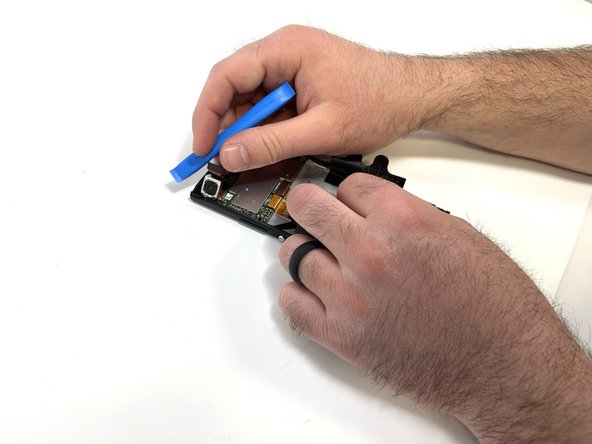
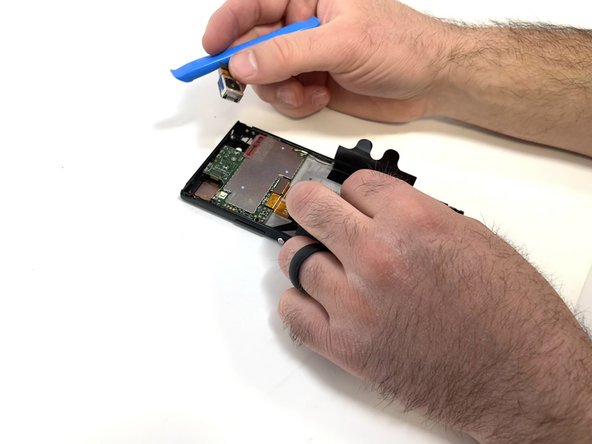
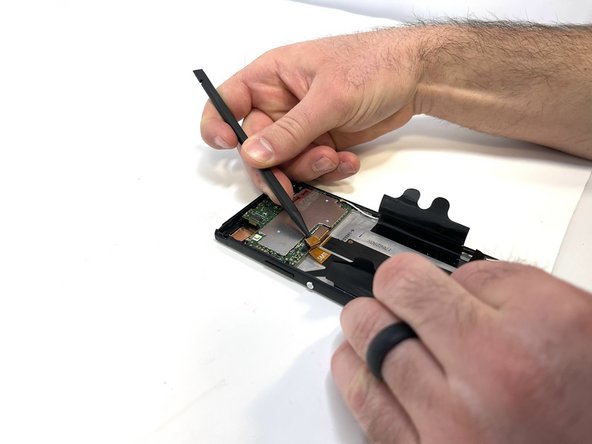
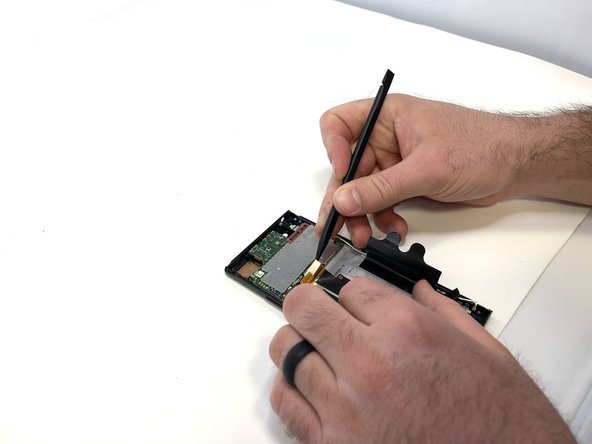
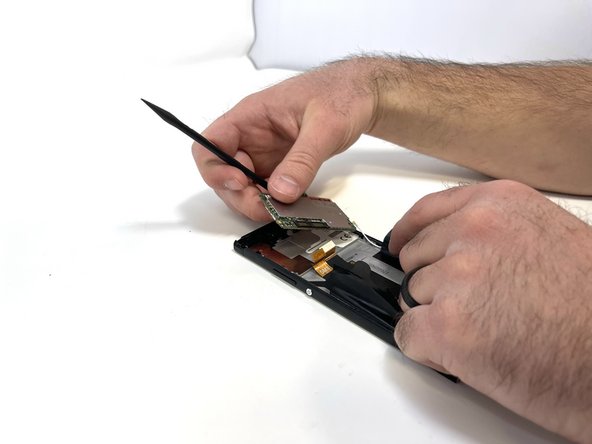
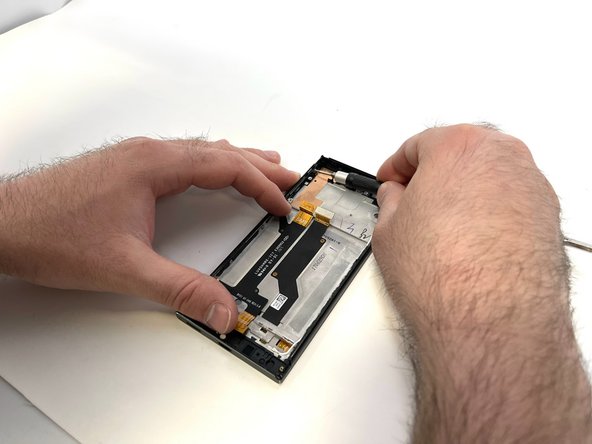
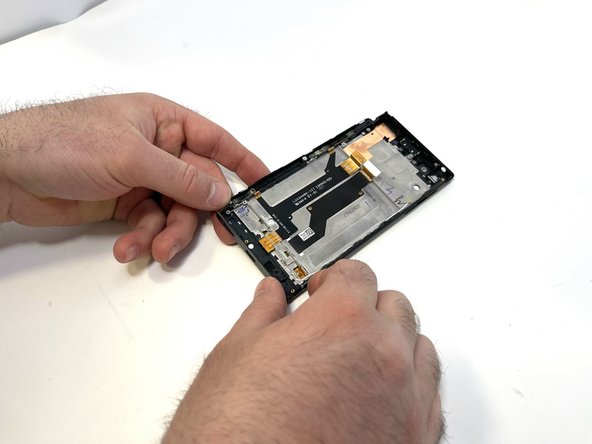
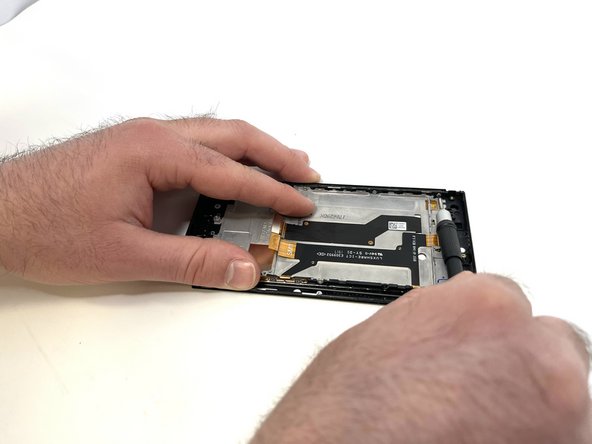
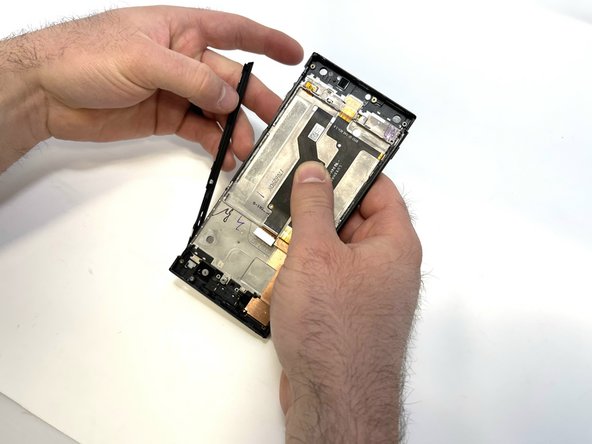
    • Using a spudger, carefully remove the thin copper piece attached to the motherboard.

    • This part is very easy to damage and can not be reused if damaged too much.

  9. Sony Xperia XA1 Screen Replacement: étape 9, image 1 de 3 Sony Xperia XA1 Screen Replacement: étape 9, image 2 de 3 Sony Xperia XA1 Screen Replacement: étape 9, image 3 de 3
    • Carefully remove the front-facing camera with a spudger or your fingers.

  10. Sony Xperia XA1 Screen Replacement: étape 10, image 1 de 3 Sony Xperia XA1 Screen Replacement: étape 10, image 2 de 3 Sony Xperia XA1 Screen Replacement: étape 10, image 3 de 3
    • Remove the single 3mm screw holding the audio jack using a Phillips #000 bit.

    • Using an iFixit Opening Tool, disconnect the audio jack from the motherboard.

    • Use a prying tool, such as a spudger, to remove the audio jack.

  11. Sony Xperia XA1 Screen Replacement: étape 11, image 1 de 3 Sony Xperia XA1 Screen Replacement: étape 11, image 2 de 3 Sony Xperia XA1 Screen Replacement: étape 11, image 3 de 3
    • Disconnect the camera using an iFixit opening tool and remove it with your fingers.

  12. Sony Xperia XA1 Screen Replacement: étape 12, image 1 de 3 Sony Xperia XA1 Screen Replacement: étape 12, image 2 de 3 Sony Xperia XA1 Screen Replacement: étape 12, image 3 de 3
    Outil utilisé dans cette étape :
    Tweezers
    $4.99
    J'achète
    • Disconnect the two antennas from the motherboard using an iFixit opening tool or pair of tweezers.

  13. Sony Xperia XA1 Screen Replacement: étape 13, image 1 de 3 Sony Xperia XA1 Screen Replacement: étape 13, image 2 de 3 Sony Xperia XA1 Screen Replacement: étape 13, image 3 de 3
    • Remove the SIM tray using your fingernail.

    • Using a spudger, remove the two connector tabs attached to the motherboard

  14. Sony Xperia XA1 Screen Replacement: étape 14, image 1 de 3 Sony Xperia XA1 Screen Replacement: étape 14, image 2 de 3 Sony Xperia XA1 Screen Replacement: étape 14, image 3 de 3
    • Remove the single 3mm screw from the motherboard using a Phillips #000 bit.

    • Use a spudger to gently pry the motherboard free.

  15. Sony Xperia XA1 Screen Replacement: étape 15, image 1 de 3 Sony Xperia XA1 Screen Replacement: étape 15, image 2 de 3 Sony Xperia XA1 Screen Replacement: étape 15, image 3 de 3
    • Peel the plastic battery tabs free.

  16. Sony Xperia XA1 Screen Replacement: étape 16, image 1 de 3 Sony Xperia XA1 Screen Replacement: étape 16, image 2 de 3 Sony Xperia XA1 Screen Replacement: étape 16, image 3 de 3
    • Using a pair of angled tweezers, carefully remove the earpiece.

    • The ear piece is attached using a sticky adhesive

  17. Sony Xperia XA1 Screen Replacement: étape 17, image 1 de 3 Sony Xperia XA1 Screen Replacement: étape 17, image 2 de 3 Sony Xperia XA1 Screen Replacement: étape 17, image 3 de 3
    • Using a pair of angled tweezers, carefully remove the small metal bracket from the top left side of the phone.

  18. Sony Xperia XA1 Screen Replacement: étape 18, image 1 de 3 Sony Xperia XA1 Screen Replacement: étape 18, image 2 de 3 Sony Xperia XA1 Screen Replacement: étape 18, image 3 de 3
    • Remove the four 3mm silver screws located on the left side of the case using a Phillips #000 bit.

    • Once the screws are removed, unfold the side piece.

  19. Sony Xperia XA1 Screen Replacement: étape 19, image 1 de 3 Sony Xperia XA1 Screen Replacement: étape 19, image 2 de 3 Sony Xperia XA1 Screen Replacement: étape 19, image 3 de 3
    • Using a pair of angled tweezers, remove the power and volume buttons.

  20. Sony Xperia XA1 Screen Replacement: étape 20, image 1 de 3 Sony Xperia XA1 Screen Replacement: étape 20, image 2 de 3 Sony Xperia XA1 Screen Replacement: étape 20, image 3 de 3
    • Carefully remove the antennas.

    • Use a pair of tweezers if needed.

  21. Sony Xperia XA1 Screen Replacement: étape 21, image 1 de 3 Sony Xperia XA1 Screen Replacement: étape 21, image 2 de 3 Sony Xperia XA1 Screen Replacement: étape 21, image 3 de 3
    • Remove the four 3mm silver screws from the right side of the phone using a Phillips #000 bit.

    • Once unfolded, peel the side piece from the phone, separating the glue that holds the two pieces together.

  22. Sony Xperia XA1 Screen Replacement: étape 22, image 1 de 3 Sony Xperia XA1 Screen Replacement: étape 22, image 2 de 3 Sony Xperia XA1 Screen Replacement: étape 22, image 3 de 3
    • Remove the other side in the same manner.

    • All removeable components should be free, ready to be installed into your replacement screen.

Conclusion

To reassemble your device, follow these instructions in reverse order.

Hunter

Membre depuis le 02/14/23

349 Réputation

2 tutoriels rédigés

Équipe

Utah Tech University, Team 1-4, McMurrin Spring 2023 Membre de l'équipe Utah Tech University, Team 1-4, McMurrin Spring 2023

UTAHTECH-MCMURRIN-S23S1G4

3 membres

7 tutoriels rédigés

0 commentaires

Ajouter un commentaire

Nombre de vues :

Dernières 24 heures : 0

7 derniers jours : 6

30 derniers jours : 15

Total : 199