Introduction
Use this guide to replace the face buttons on your SteelSeries Nimbus+ controller.
Ce dont vous avez besoin
-
-
Use your fingers to remove the phone mount by pulling it straight out of the controller.
-
-
-
Use your fingers to remove the sticker located on the back cover of the Nimbus+.
-
-
-
Use a Y1 Tri-point screwdriver to remove the five 9.1 mm-long screws securing the back cover.
-
-
-
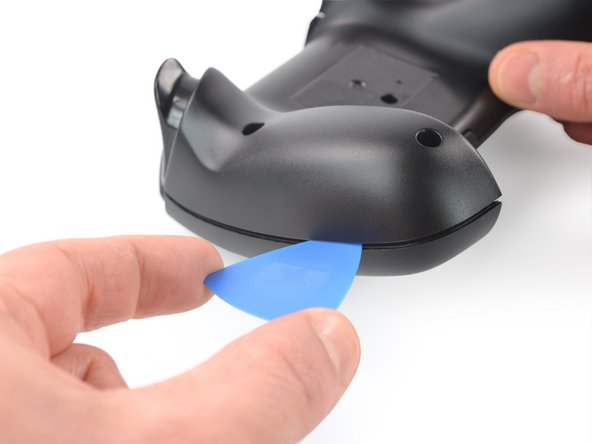
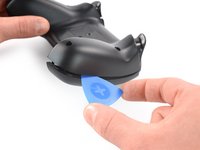
Insert an opening pick into the gap between the front and back cover assembly at the outside of the right controller handle.
-
-
-
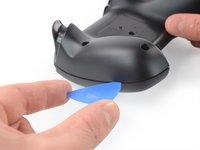
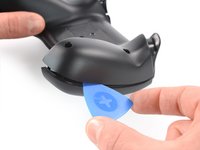
Slide the opening pick to the top of the controller to release the remaining plastic clips on the right edge.
-
-
-
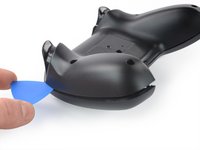
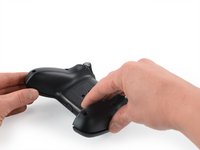
Insert an opening pick into the gap between the front and back cover assembly at the outside of the left controller handle.
-
-
-
-
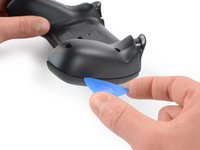
Slide the opening pick to the top of the controller to release the remaining plastic clips on the left edge.
-
-
-
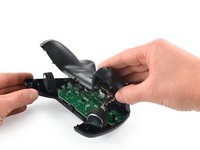
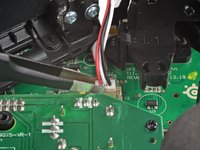
Carefully fold the back cover assembly to the top of the SteelSeries Nimbus+ and bring it in an 90 degree angle.
-
-
Outil utilisé dans cette étape :Tweezers$4.99
-
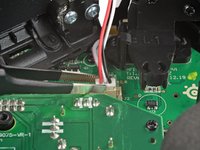
Use a pair of blunt nose tweezers to disconnect the battery cable from the mainboard.
-
-
-
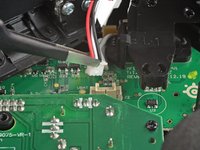
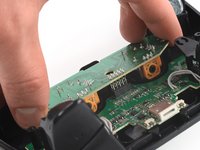
Use a Phillips screwdriver to remove the two 7.0 mm-long screws securing the board.
-
-
-
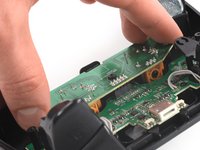
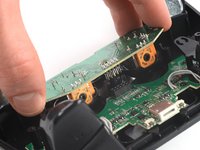
Disconnect the thumbstick board by pulling it straight out its socket on the mainboard.
-
-
-
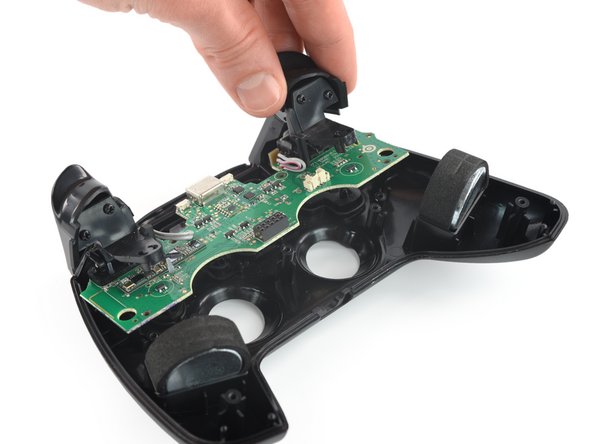
Use a Phillips screwdriver to remove the five 7.0 mm-long screws securing the mainboard to the front assembly.
-
-
-
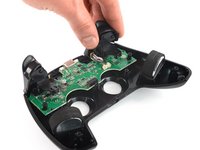
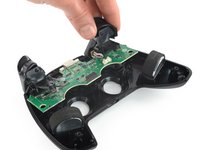
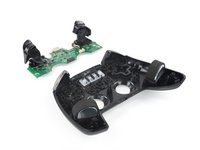
Use your fingers to lift up the mainboard from the front case.
-
Remove the mainboard.
-
-
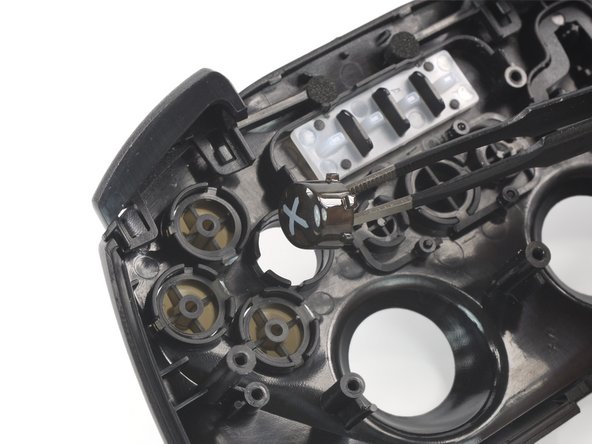
Outil utilisé dans cette étape :Tweezers$4.99
-
Use a pair of tweezers to remove the face buttons from the housing.
-


To reassemble your device, follow these instructions in reverse order.
Take your e-waste to an R2 or e-Stewards certified recycler.
Repair didn’t go as planned? Check out our Answers community for troubleshooting help.

