Aller au contenu principal

Vizio VTAB1008 Battery Replacement

Ce dont vous avez besoin

  1. Vizio VTAB1008 Battery Replacement, Vizio VTAB1008 Back Cover Removal: étape 1, image 1 de 2 Vizio VTAB1008 Battery Replacement, Vizio VTAB1008 Back Cover Removal: étape 1, image 2 de 2
    • Carefully slide the heavy duty opening tool between the gap on the side of the device with no buttons.

    • Do not insert the opening tool too far into the tablet as this can damage connectors close to edges of the cover.

    • The angled tip of the opening tool can be wedged into the device by pressing on the back of the opening tool with the thumb. Move the opening tool in a sliding motion to ensure all tabs separate.

    • Corner tabs may require a more forceful prying tool. If needed, carefully insert the metal prying tool into corners to separate the tabs.

  2. Vizio VTAB1008 Battery Replacement: étape 2, image 1 de 1
    • Look into the tablet for loose connectors.

    • There are three loose connectors: one for the screen, one for the digitizer, and one for the motherboard. They are held in place by the pressure of the backing and screen assemblies.

    • Flip the backing from the button-less side over, being careful not to separate the ribbon connector from the display screen.

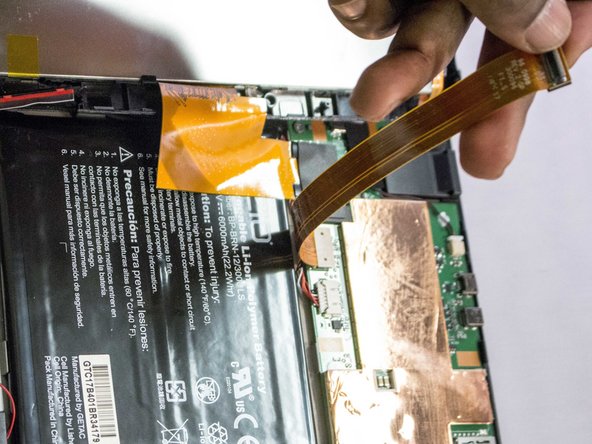
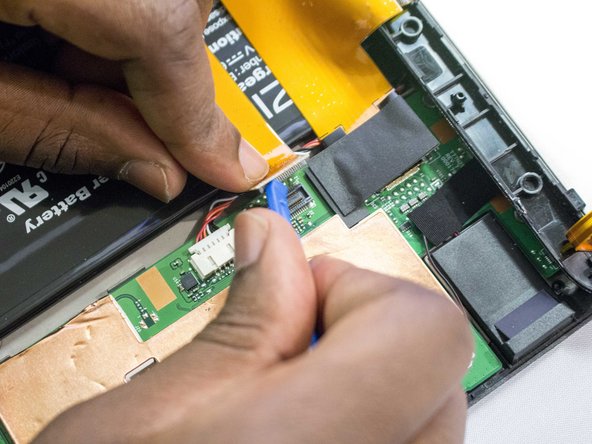
  3. Vizio VTAB1008 Battery Replacement, Battery: étape 3, image 1 de 3 Vizio VTAB1008 Battery Replacement, Battery: étape 3, image 2 de 3 Vizio VTAB1008 Battery Replacement, Battery: étape 3, image 3 de 3
    • Remove the ribbon strip that crosses the battery from both ends.

    • A blue opening tool may be used to assist.

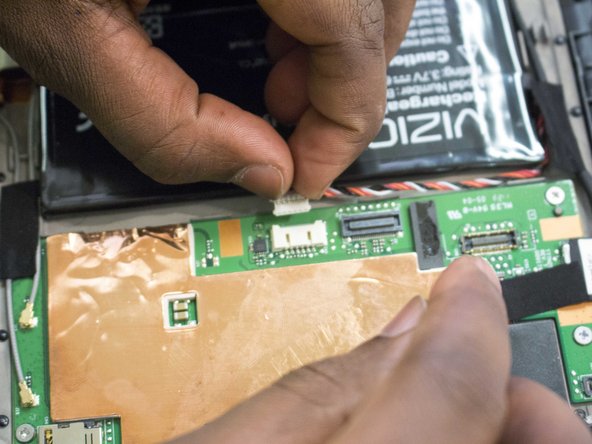
  4. Vizio VTAB1008 Battery Replacement: étape 4, image 1 de 2 Vizio VTAB1008 Battery Replacement: étape 4, image 2 de 2
    • Remove the connector at the top of the motherboard by pulling out and away from the motherboard.

    • This is the connector with the wires leading to the battery.

    • Tweezers may help.

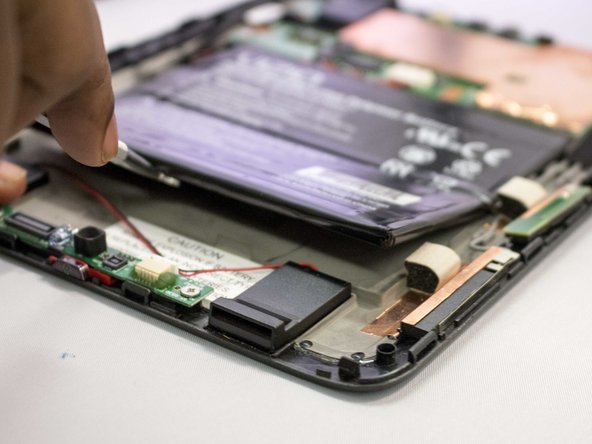
  5. Vizio VTAB1008 Battery Replacement: étape 5, image 1 de 3 Vizio VTAB1008 Battery Replacement: étape 5, image 2 de 3 Vizio VTAB1008 Battery Replacement: étape 5, image 3 de 3
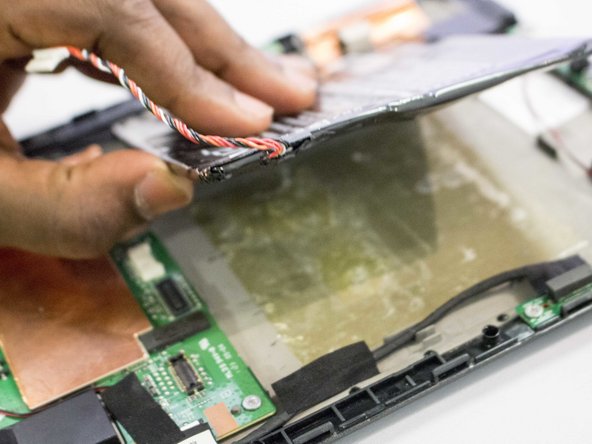
    • Pull the battery away from the back panel.

    • A metal spudger may be needed to pry the battery from the backing.

    • The battery is glued to the back panel and caution should be used as to not break or rupture the battery pack.

Conclusion

To reassemble your device, follow these instructions in reverse order.

Une autre personne a terminé cette réparation.

Gilberto Ambriz

Membre depuis le 09/29/16

546 Réputation

5 tutoriels rédigés

Équipe

0 commentaires

Ajouter un commentaire

Nombre de vues :

Dernières 24 heures : 0

7 derniers jours : 6

30 derniers jours : 6

Total : 1,330