Introduction
Use this guide to replace the door seal in your Whirlpool Refrigerator. Getting the old seal off is relatively easy. Installing a replacement seal can be tricky because you need to stretch the seal.
The door seal isolates the airflow inside the refrigerator so it can stay cool. If your refrigerator is not getting cold, or you feel the cold escaping, your door seal might be bent or torn.
This guide will work for most Whirlpool refrigerators. This guide is written with a model WRS315SDHW refrigerator. If you have a different model, you may encounter some minor disassembly differences, but the overall repair process will be the same.
Ce dont vous avez besoin
-
-
-
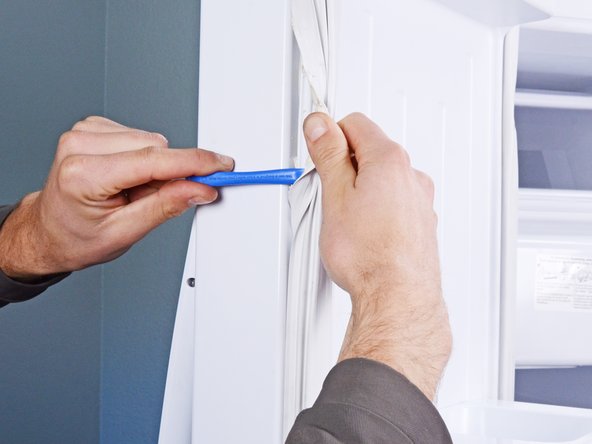
Insert an opening tool, or a similar tool, between the door frame and the seal.
-
Pry up to separate the seal from its groove on the frame.
-
-
-
Use your hand and the opening tool to peel the door seal away from the frame.
-
Repeat this process for the perimeter of the door seal until the seal is completely separated.
-
-
-
You're now left with the door seal.
-
Use a Jimmy, or a similar tool, to remove any sealing foam in the door frame groove.
-
Use a mild cleaning solution to fully clean the groove.
-
Reinstall your door by attaching the top edge first, then wrapping the seal around the frame's perimeter.
-
-
-
Open the door slightly and insert a clean, flat bill between the door seal and the frame.
-
Close the door and slowly drag the bill away from the device.
-


To reassemble your device, follow these instructions in reverse order.
Take your e-waste to an R2 or e-Stewards certified recycler.
Repair didn’t go as planned? Ask our Answers community for help.
To reassemble your device, follow these instructions in reverse order.
Take your e-waste to an R2 or e-Stewards certified recycler.
Repair didn’t go as planned? Ask our Answers community for help.

Équipe
