Aller au contenu principal
Pour réparer ensemble - Je crée un compte

iMac 27" 2017 RAM Replacement

Ce dont vous avez besoin

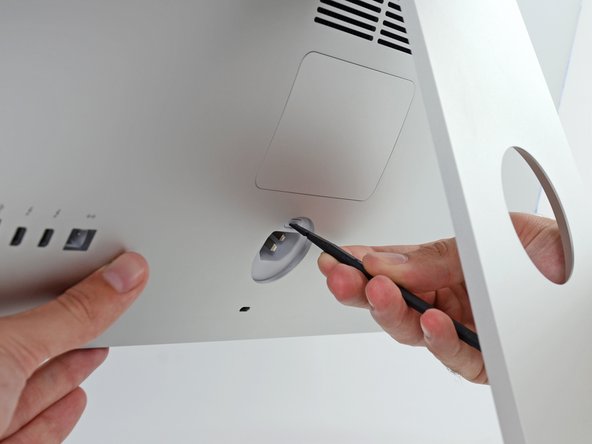
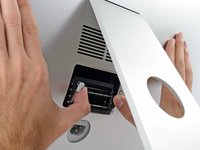
    1. iMac 27" 2017 RAM Replacement, Open the RAM door: étape 1, image 1 de 2 iMac 27" 2017 RAM Replacement, Open the RAM door: étape 1, image 2 de 2
      • While holding the display steady, use the flat end of a spudger to press in on the RAM door release button, located just above the power port.

      • You may have to press fairly hard—keep at it until the bottom of the door pops out about 0.25" from the rear of the iMac.

      Demander à FixBot

      Ajouter un commentaire

    2. iMac 27" 2017 RAM Replacement, Remove the RAM door: étape 2, image 1 de 3 iMac 27" 2017 RAM Replacement, Remove the RAM door: étape 2, image 2 de 3 iMac 27" 2017 RAM Replacement, Remove the RAM door: étape 2, image 3 de 3
      • Pull the RAM access door off the back of the iMac.

      Demander à FixBot

      Ajouter un commentaire

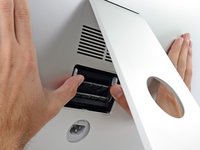
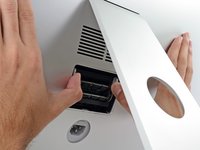
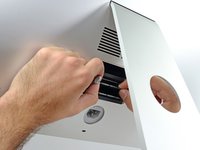
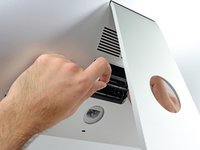
    3. iMac 27" 2017 RAM Replacement, Unlock the RAM tray: étape 3, image 1 de 3 iMac 27" 2017 RAM Replacement, Unlock the RAM tray: étape 3, image 2 de 3 iMac 27" 2017 RAM Replacement, Unlock the RAM tray: étape 3, image 3 de 3
      • The RAM tray is locked into its upright position with two grey tabs.

      • Use your thumbs or index fingers to unlock the tray by pushing the tabs outward, away from the RAM.

      • Pull the tabs out and down, swinging the RAM tray down to a near-horizontal position.

      Demander à FixBot

      Ajouter un commentaire

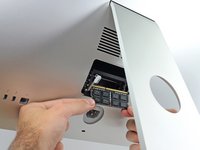
    4. iMac 27" 2017 RAM Replacement, Remove the RAM: étape 4, image 1 de 3 iMac 27" 2017 RAM Replacement, Remove the RAM: étape 4, image 2 de 3 iMac 27" 2017 RAM Replacement, Remove the RAM: étape 4, image 3 de 3
      • Remove a stick of RAM by grabbing it with two hands and pulling straight out of the RAM tray.

      • RAM modules are keyed so that they can only be installed in the proper orientation. Note where the shorter section of contacts is when removing, and reinstalling, your RAM.

      • To install a new module, insert the module into the desired slot in the tray and press it firmly in place. Push the tray back up until it locks in place.

      • The RAM access door is not symmetrical. If it is not flush on both ends, try putting it in the other way.

      • Re-insert the RAM access door back into its place.

      Demander à FixBot

      Ajouter un commentaire

Conclusion

To reassemble your device, follow the above steps in reverse order.
Take your e-waste to an R2 or e-Stewards certified recycler.
Repair didn’t go as planned? Check out our Answers community for troubleshooting help.

Annulation : je n'ai pas terminé ce tutoriel.

6 autres ont terminé cette réparation.

Adam O'Camb

Membre depuis le 04/11/15

224 788 Réputation

416 tutoriels rédigés

2 commentaires de tutoriel

Thanks Arthur, I got them

walser1 - Réponse Partager

bom dia, posso trocar a memoria de 2444MHZ para 2666MHZ? 3000MHZ ?

MARCELO MIRA - Réponse Partager

Ajouter un commentaire

Nombre de vues :

Dernières 24 heures : 9

7 derniers jours : 57

30 derniers jours : 220

Total : 21,658