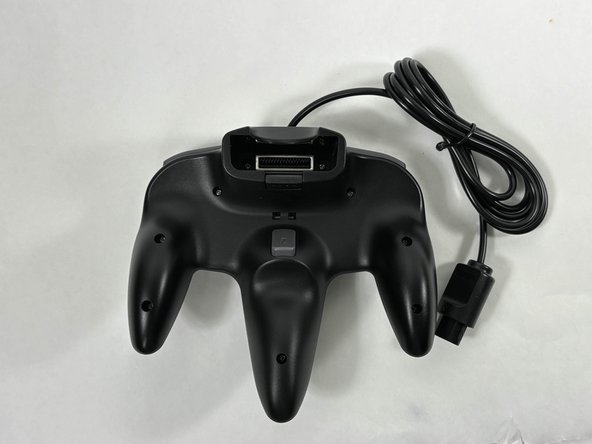
Introduction
Use this guide to replace a joystick cover on an iNNEXT N64 Classic Controller.
Before opting for replacement, ensure any joystick malfunctions are not a product of any debris or any substance that could be cleaned with a dust blower and cotton swap dipped lightly in isopropyl alcohol.
Before you begin this repair, make sure to disconnect your controller from the console.
Ce dont vous avez besoin
-
-
Turn the controller face down.
-
Use a Phillips #00 screwdriver to remove the eight screws on the back of the controller.
-
-
-
-
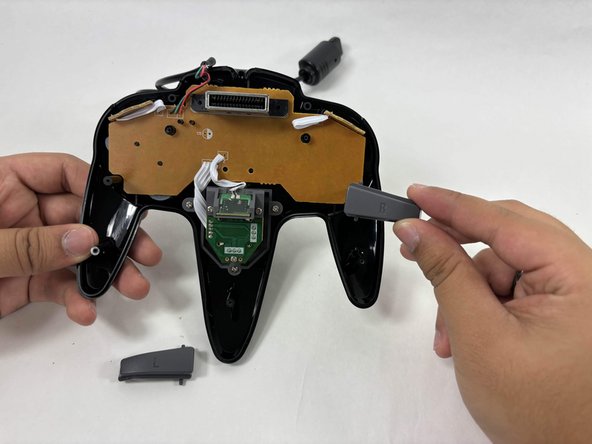
To remove the shoulder buttons, lift the buttons labelled with "L" and "R" upwards and out of the controller. There should not be any resistance coming out.
-
-
-
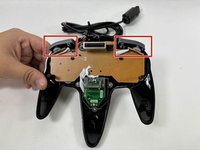
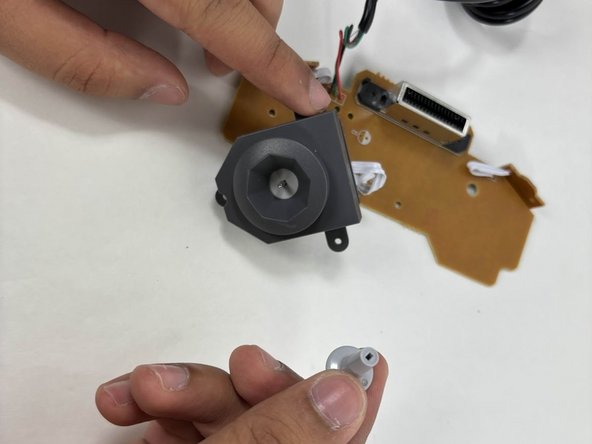
Use a Phillips screwdriver to remove the 6 screws securing the joystick assembly to the top of the controller.
-
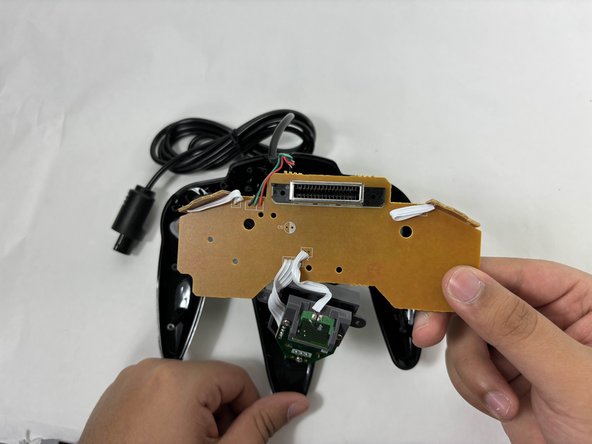
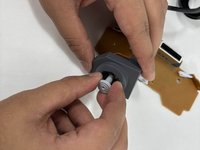
Gently lift the control panel and joystick assembly from the top cover of the controller.
-
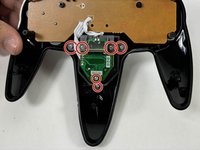
Flip the control panel along with the attached joystick assembly over so that they are facing you.
-


To reassemble your device, follow these instructions in reverse order. Take your e-waste to an R2 or e-Stewards certified recycler.
To reassemble your device, follow these instructions in reverse order. Take your e-waste to an R2 or e-Stewards certified recycler.

Équipe

UMass Dartmouth, Team 3-4, Santin Fall 2024 Membre de l'équipe UMass Dartmouth, Team 3-4, Santin Fall 2024
UMASSD-SANTIN-F24S3G4
4 membres
5 tutoriels rédigés