Introduction
Follow the steps in this guide to replace the display assembly in an iPad mini 4 Wi-Fi.
Note that if you would like to maintain Touch ID functionality or your replacement part does not include a home button, you should follow the screen and digitizer replacement guide, which includes removing and transferring your home button to the new display panel.
Ce dont vous avez besoin
-
-
-
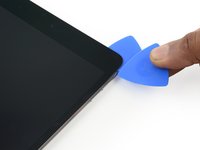
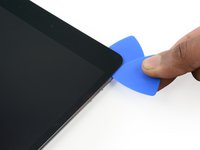
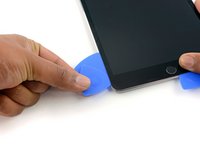
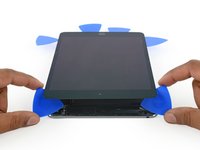
Leave the opening pick in the iPad slightly past the front-facing camera.
-
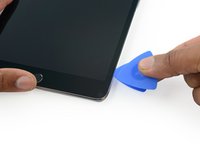
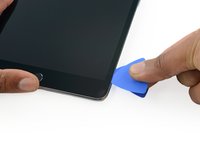
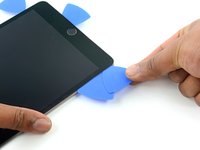
Take a second pick and insert it to the left of the camera, where the first pick just was. Slide it back to the corner to completely cut any remaining adhesive.
-
Leave the second pick in place to prevent the corner adhesive from re-sealing as it cools.
-
-
-
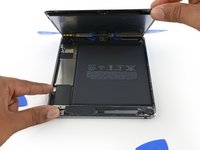
Remove the four 1.2 mm Phillips screws over the battery/display connector bracket.
-
-
-
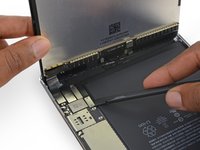
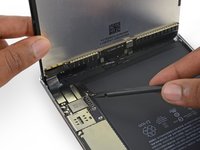
Use the flat tip of a spudger to disconnect the display data connector from its socket on the logic board.
-
Disconnect the digitizer cable connector from its socket on the logic board.
-


To reassemble your device, follow these instructions in reverse order.
To reassemble your device, follow these instructions in reverse order.
Annulation : je n'ai pas terminé ce tutoriel.
36 autres ont terminé cette réparation.

2 commentaires
why after replacement power button doesn’t lock screen, where is those smart cover sensor are located?
great guide but u dont discuss reapplying the adhesive strips .. which is very important.