Il est possible que cette traduction ne reflète pas les dernières mises à jour du tutoriel source. Aidez à mettre à jour la traduction ou bien consultez le tutoriel source.
Introduction
Le remplacement de cette batterie iPod nécessite un fer à souder avec une panne fine.
Ce dont vous avez besoin
-
-
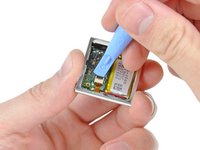
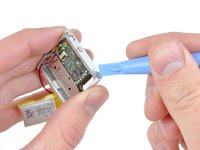
Retirez l'unique vis cruciforme de 2,1 mm qui fixe la carte mère au boîtier avant.
-
-
-
-
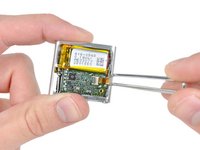
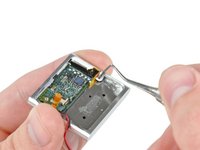
Utilisez la pointe d'une tige métallique pointue pour gratter la colle recouvrant les bornes de la batterie près de la prise ZIF du bouton de commande.
-


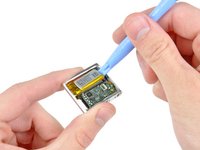
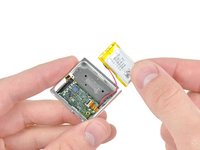


Pour remonter votre appareil, suivez ces instructions dans le sens inverse.
Annulation : je n'ai pas terminé ce tutoriel.
57 autres ont terminé cette réparation.
Merci à ces traducteurs :
83%


Ces traducteurs nous aident réparer le monde ! Vous voulez contribuer ?
Commencez à traduire ›

24 commentaires de tutoriel
I have a question. Why can't the leads to the old battery be cut without pulling the board, then just solder new battery leads to the old. Seems it might even be possible to add snap in connectors at this point to facilitate future changes.
I'm gonna try to remove the back cover with minimal prying to reduce cosmetic defects. The plan is to somehow remove the spring loaded clip by pushing out the lever pin, then drilling holes along the edge of the over wherre the 3 little hooks are (In this image, where the right thumb is touching. https://d3nevzfk7ii3be.cloudfront.net/ig...).
It would be great if someone could provide a closer look at where exactly the hooks are so I can position my 1.5mm drill bit better. Also, if you can to figure out how to remove the spring loaded clip mechanism without going through the 4 screws, that'd be awesome! I suspect the pin is held in place by just adhesive, but don't want to risk pushing too hard and causing defects. :(